Scan App
The scan app is a stand alone app in the Array platform that allows you scan and set up NFC tags, QR codes and barcodes.
In this article, we will show you how to:
- create or log into your account
- program a NFC tag
- create QR codes & Barcodes
- scan NFC tags, QR Codes & Barcodes
- see your scan history
- view your profile
Creating or logging into your account
Once you have downloaded and opened the App on your device, you will be given the options to create a new account or log in to an existing account.
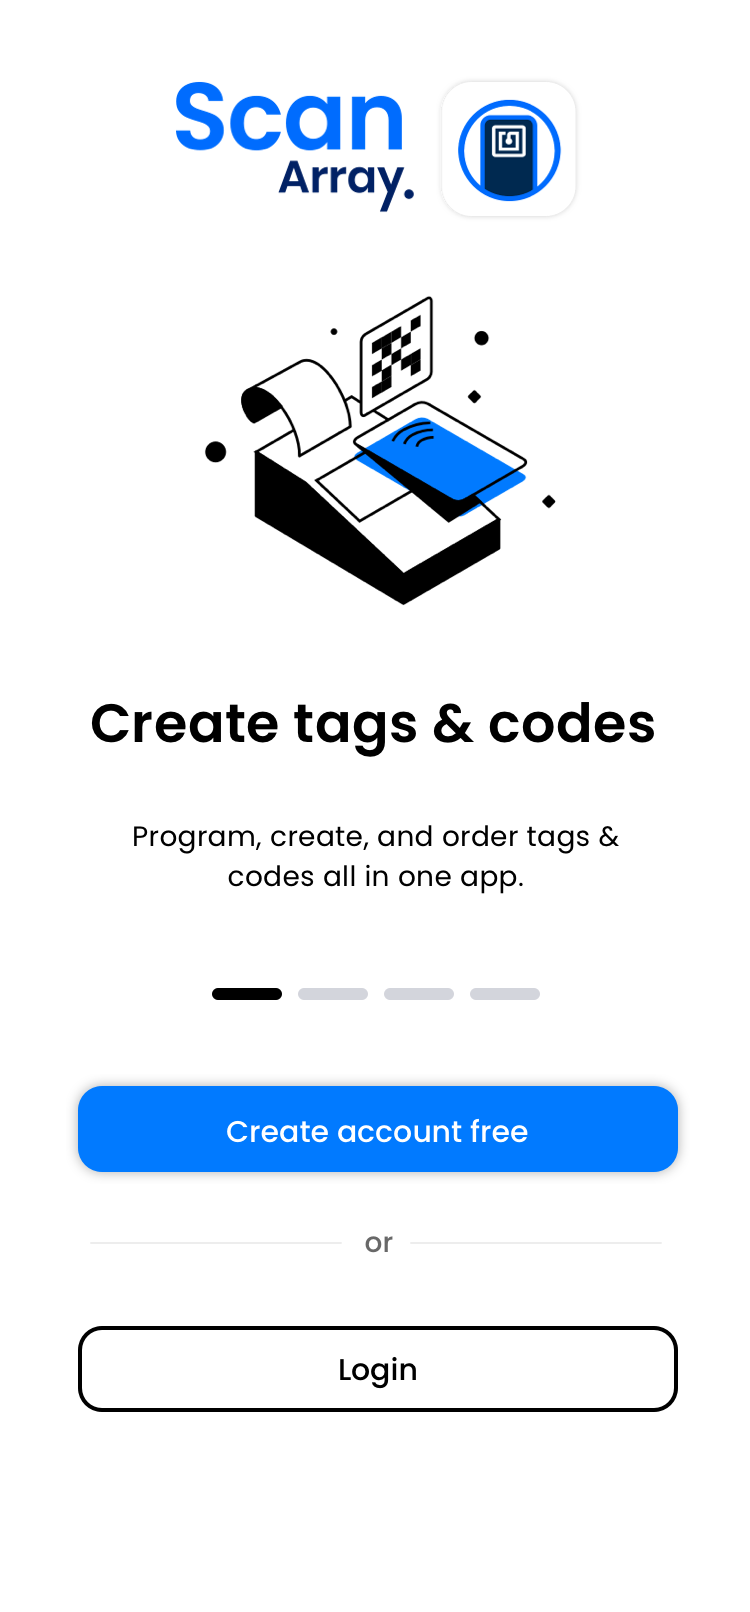
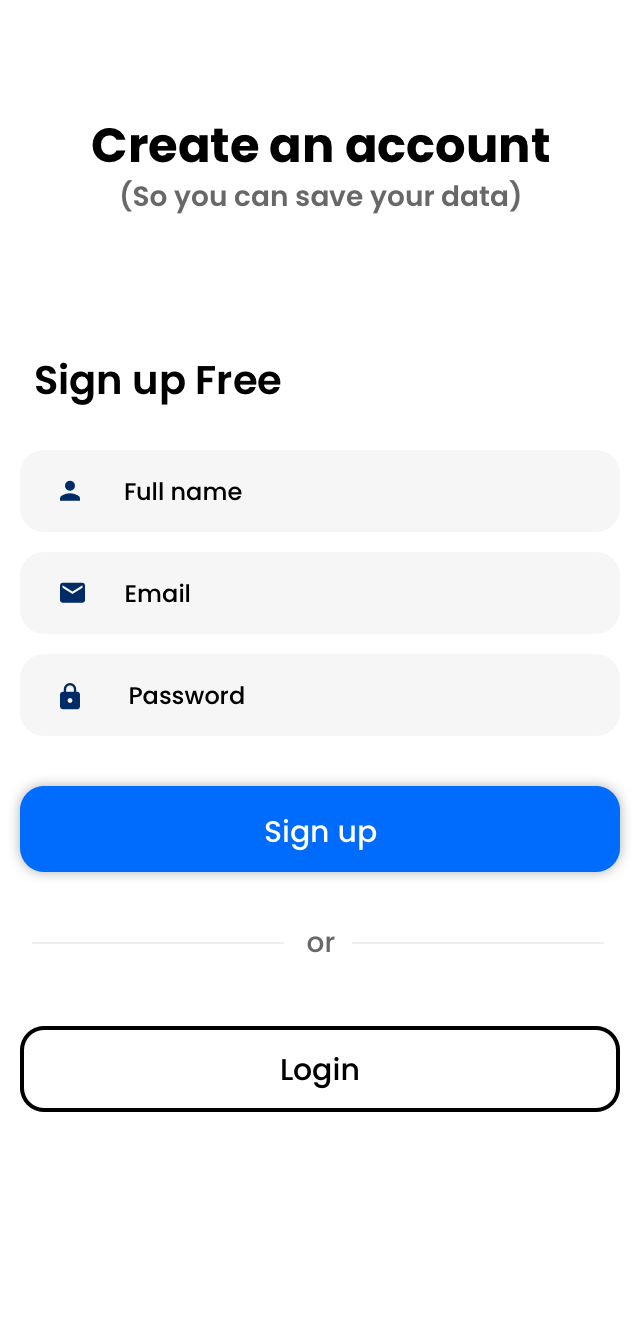
If you need to create a new account, click on ‘Create Account Free’

All the information you will need is your Full Name, Email Address and Password.
If you already have an account, click on ‘Login’

You will be taken to the login page where you will need your email address and password.

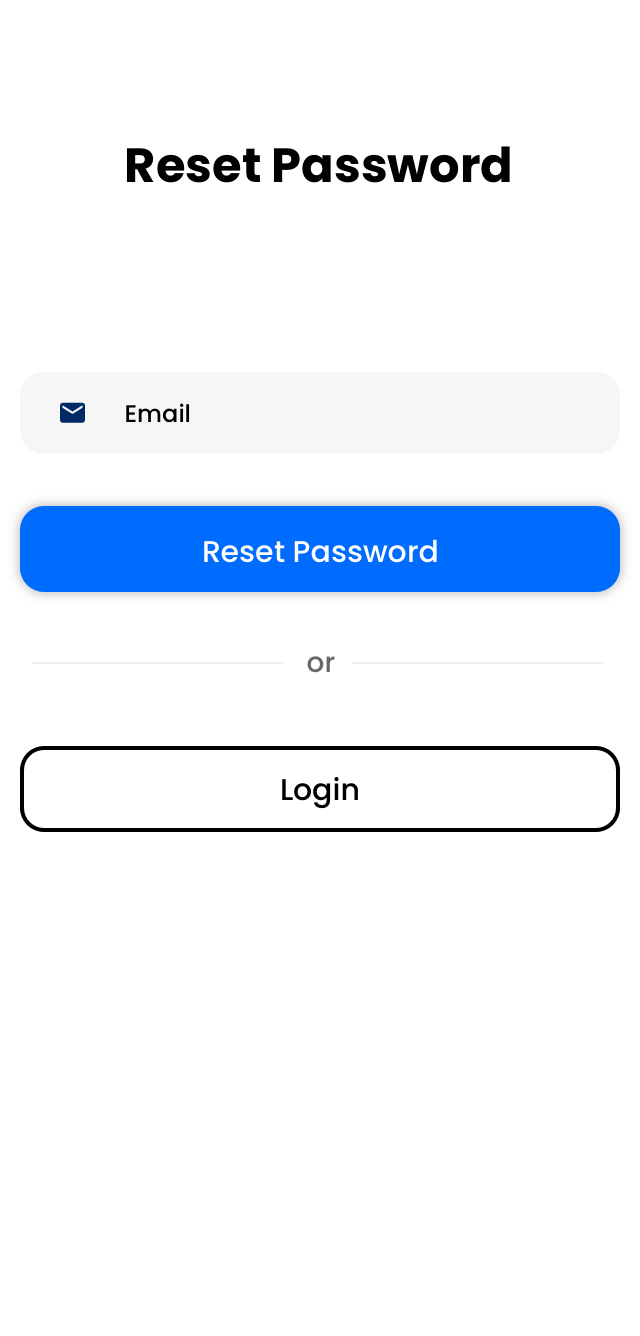
If you have forgotten your password, click ‘Forgot Password’ at the bottom of the login page

You will be asked to enter your password so you can receive an email to reset your password.
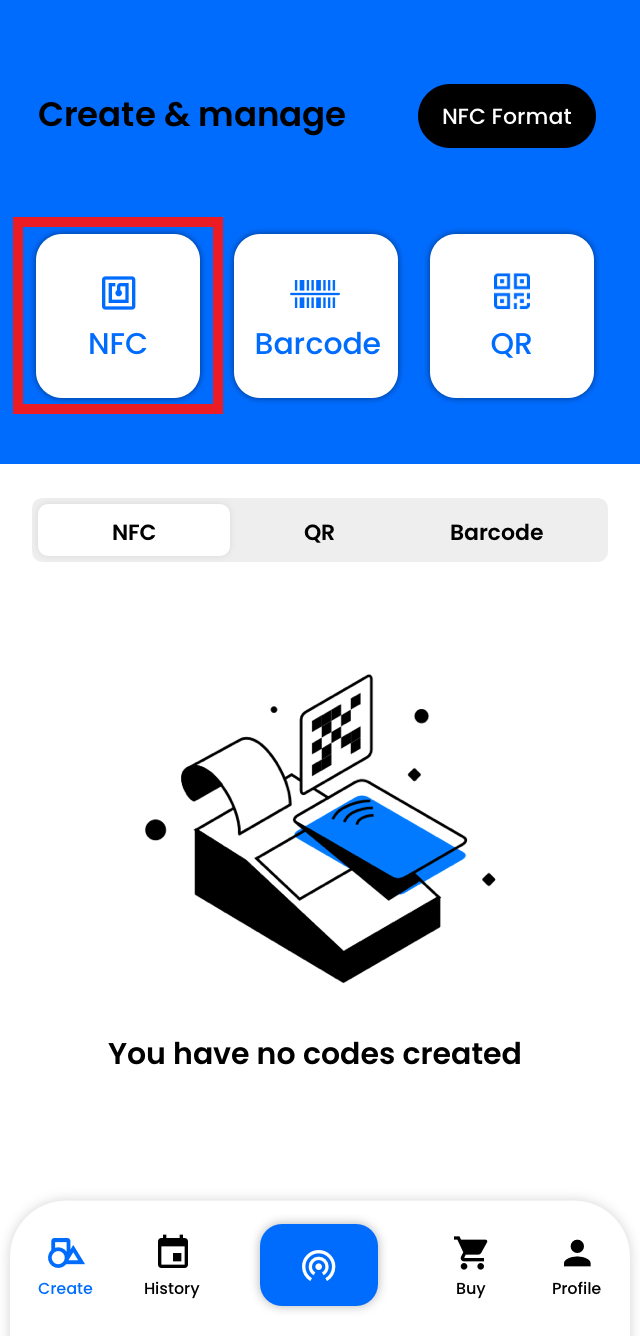
Once you have either created a new account or logged into an existing account, you will see the home page

Programming a NFC tag
Now that you are logged into the app, you can start to program your NFC tags (see ‘Buying NFC Tags’ below to get yours)
To program a NFC tag, you will need to click on ‘Create’ on the menu at the bottom of the home page

You will need to select the NFC Tag icon at the top of the create page
You will be able to select what you want your tag to do once scanned
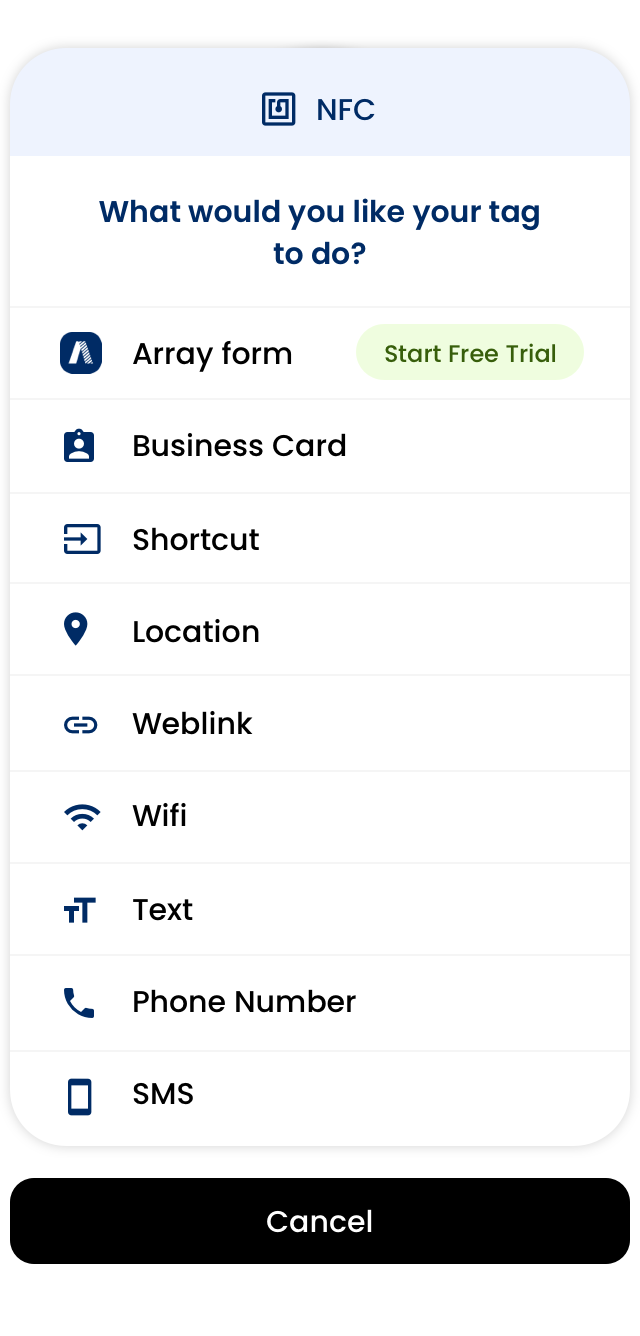
Each option allows you to enter information for that specific option. For example, if you select ‘Weblink’ you will be able to enter a weblink.
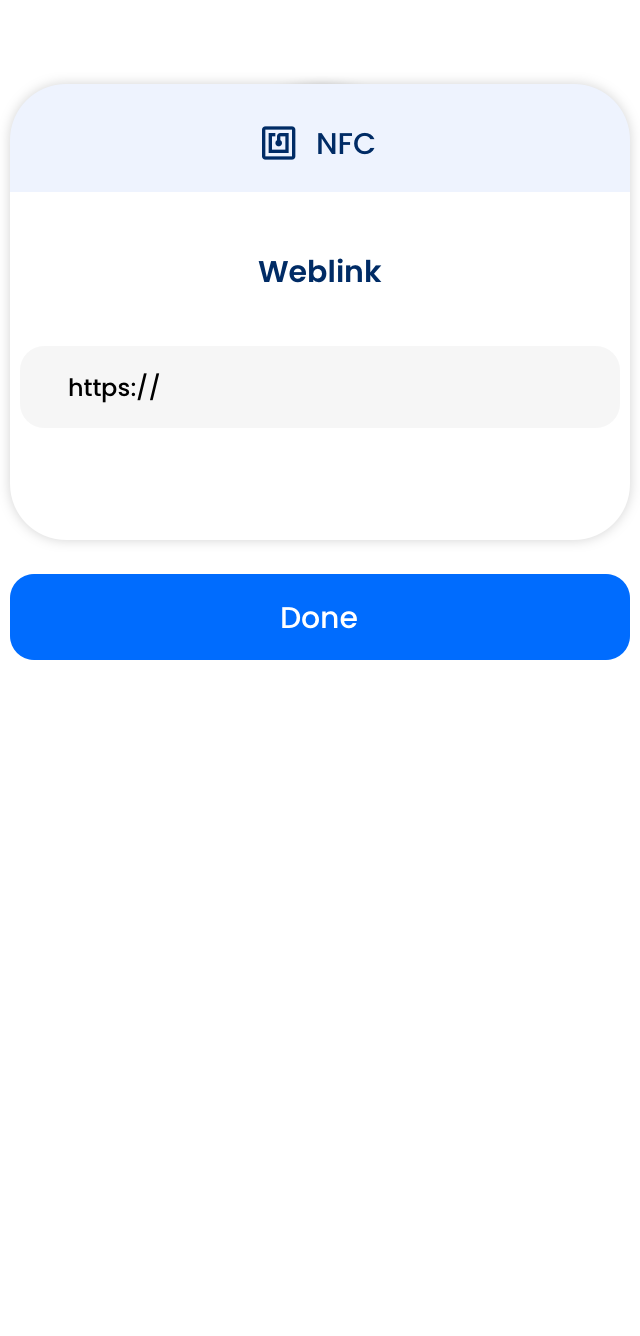
Once you have added the information, click on ‘Done’ at the bottom of the page.

Next you will be asked to scan the tag so it can be formatted.

Once it has been scanned, the tag will be saved in the ‘Create’ tab under NFC.
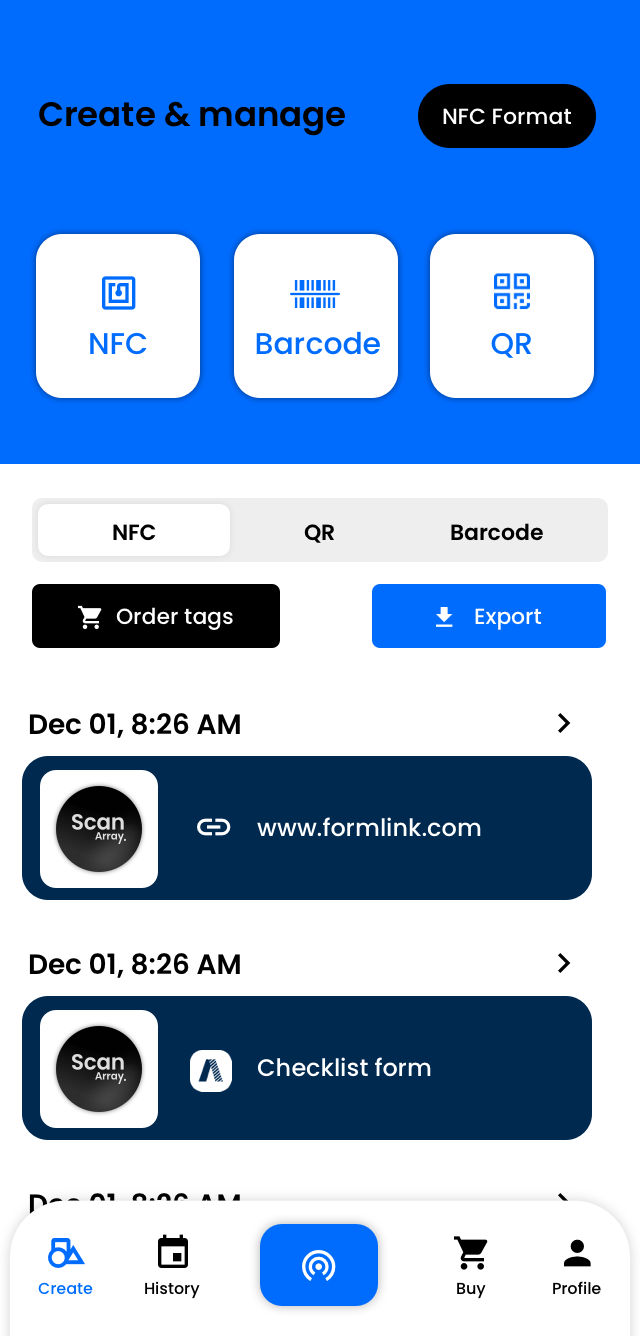
On this page, you can either ‘Order tags’
Or you will be able to export any of your set up tags in to a spreadsheet. For further information on Export, take a look at Export in Scan App.

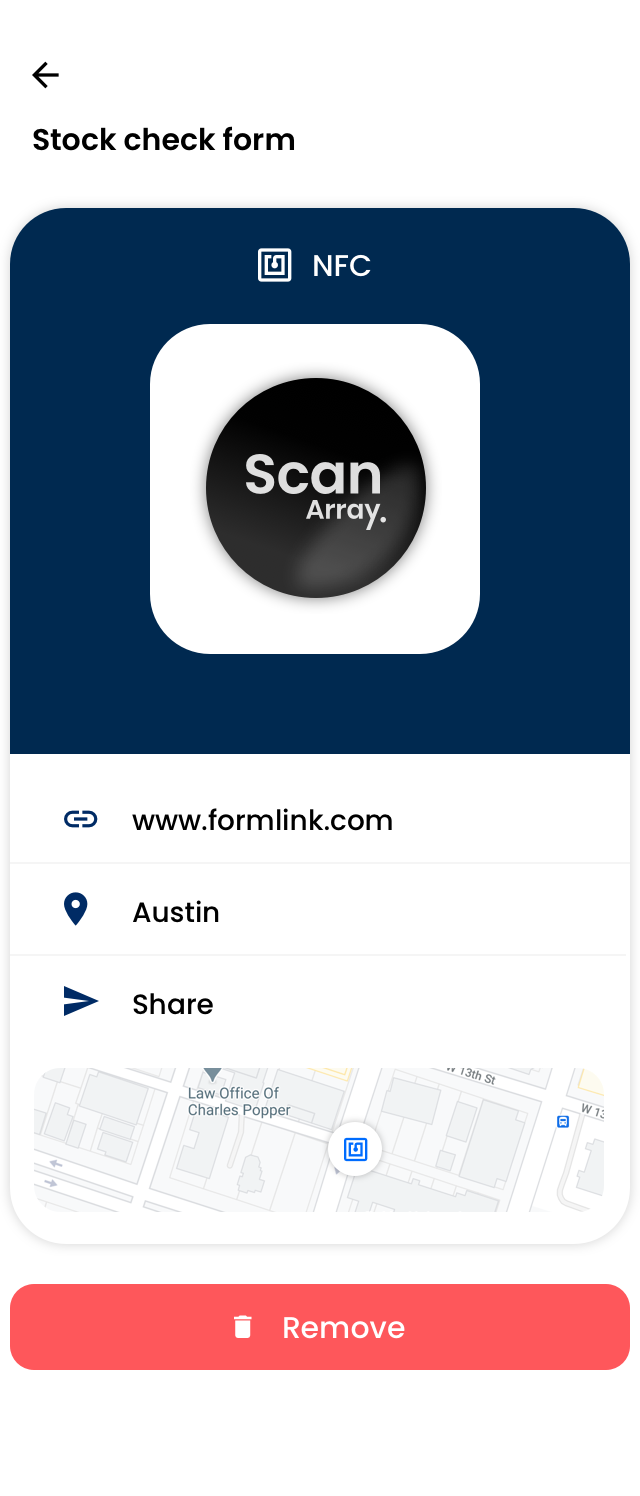
If you select a created NFC tag, you will be able to see the information on this tag, it’s location and also have the ability to share the NFC tag
Creating a QR Codes
To create a QR code you will need to click on ‘Create’ on the menu at the bottom of the home page

You will need to select the QR Code icon at the top of the create page
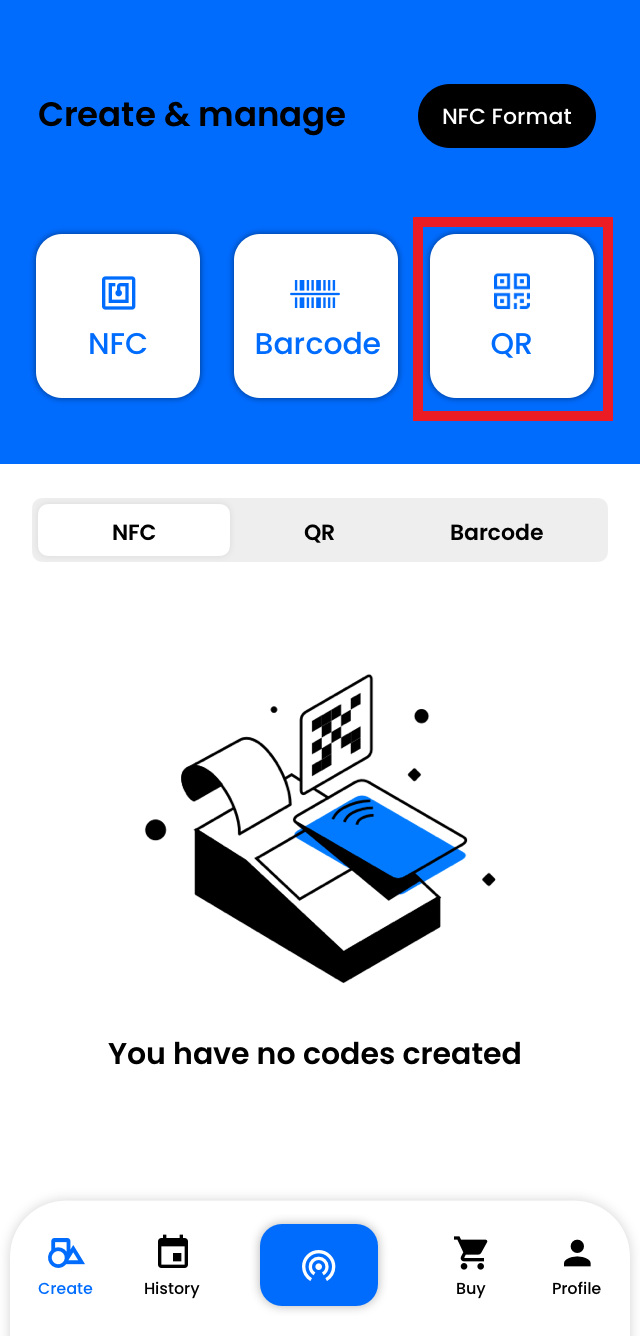
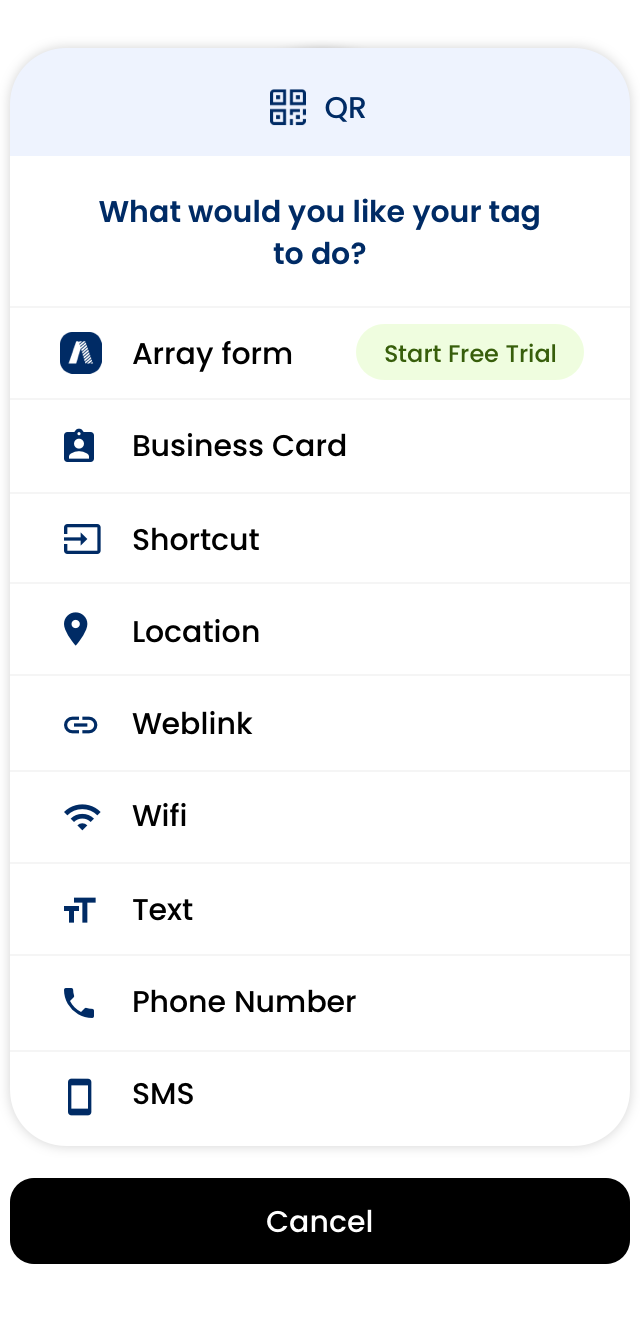
You will be able to select what you want your QR code to do once scanned
Each option allows you to enter information for that specific option. For example, if you select ‘Weblink’ you will be able to enter a weblink.
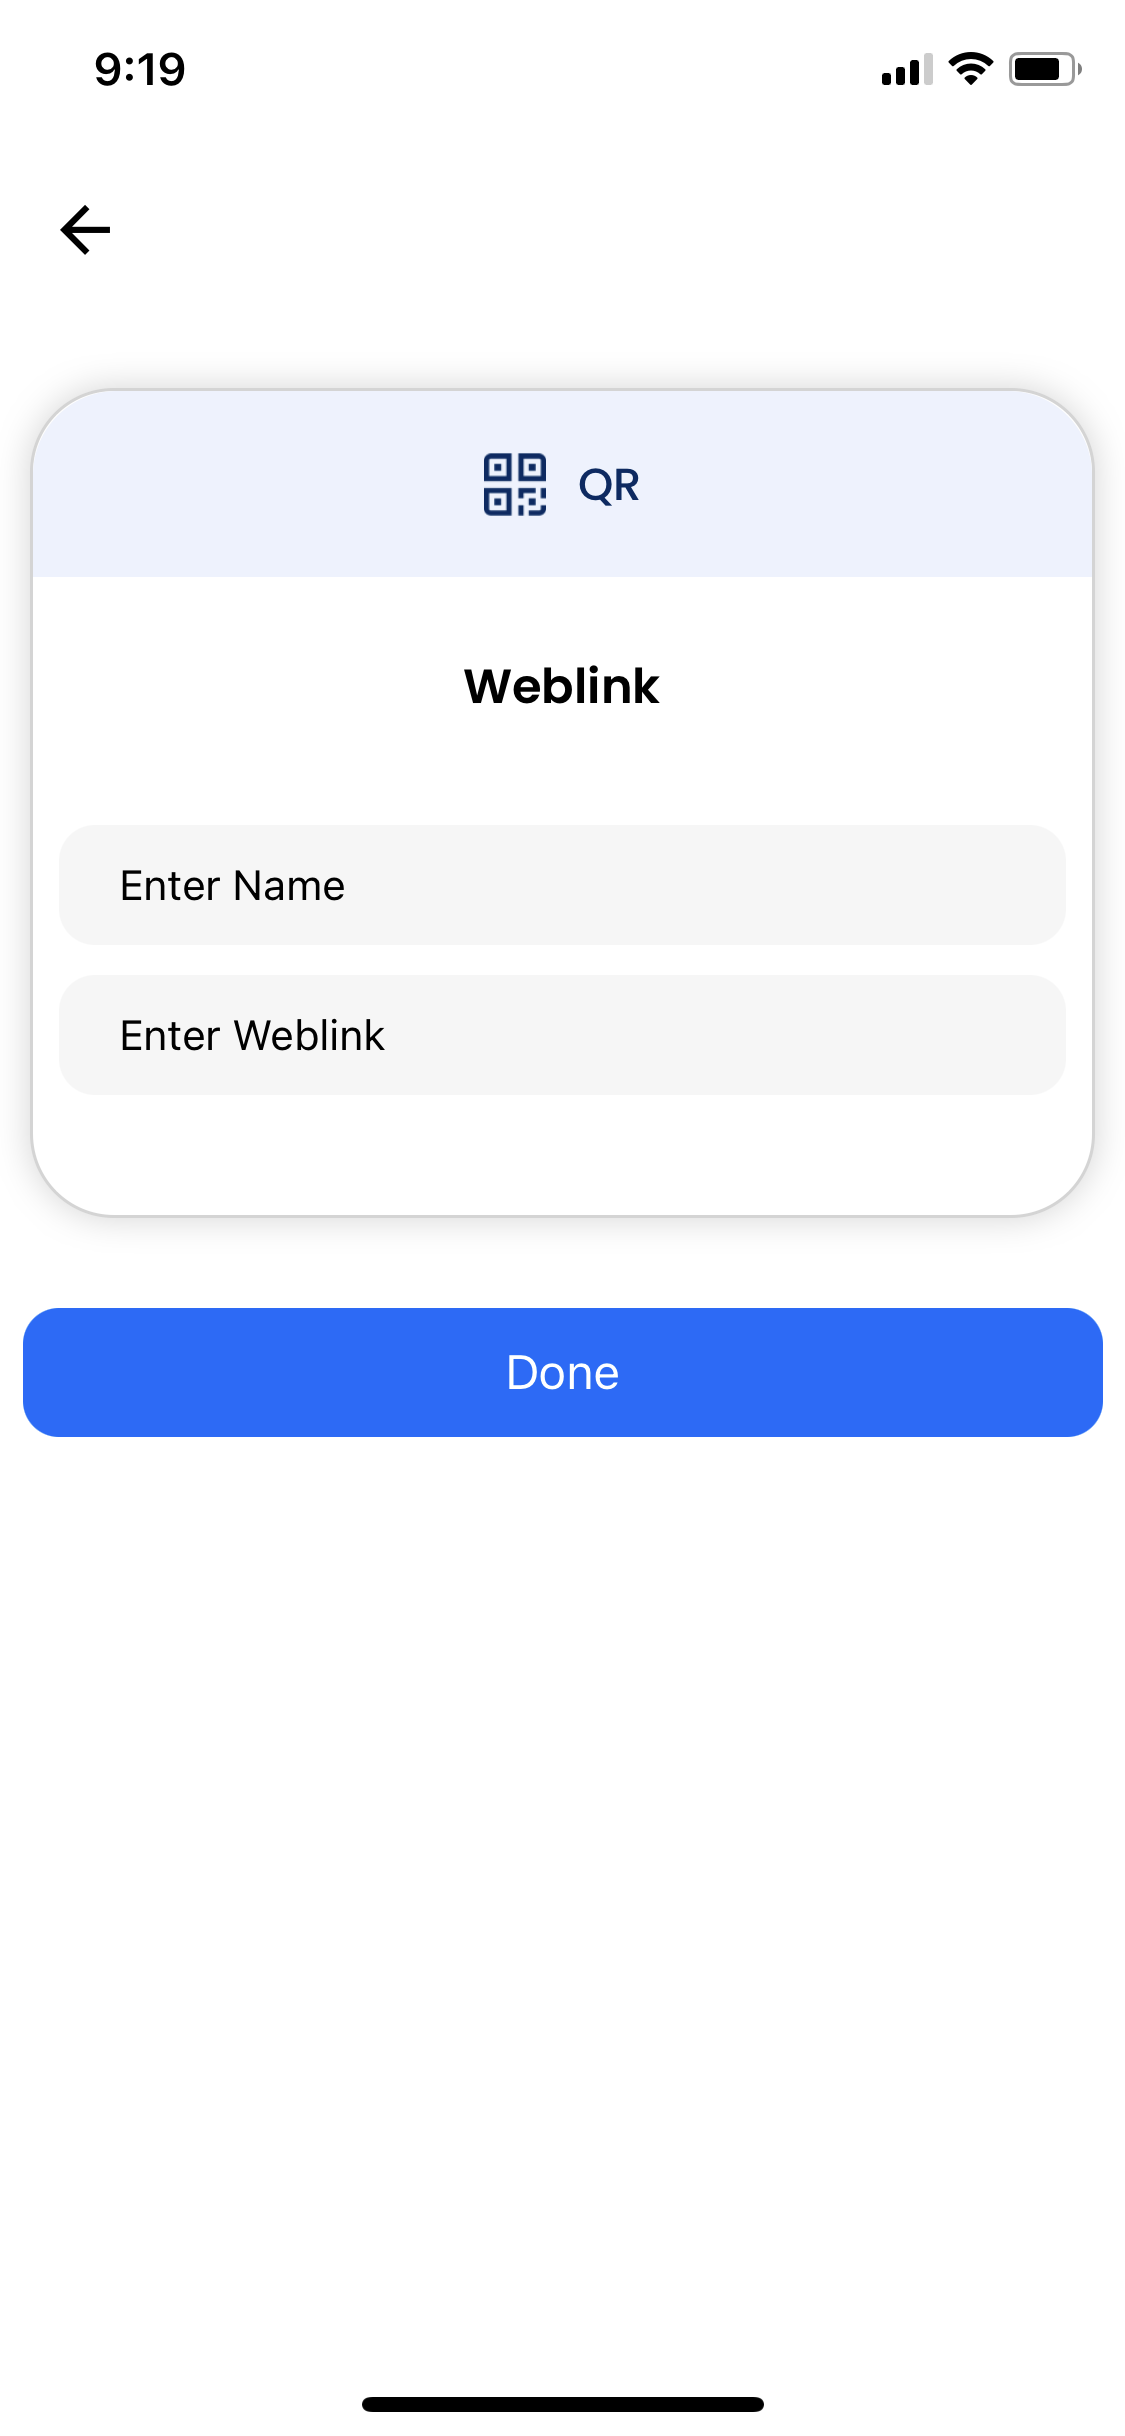
Once you have added the information, click on ‘Done’ at the bottom of the page.

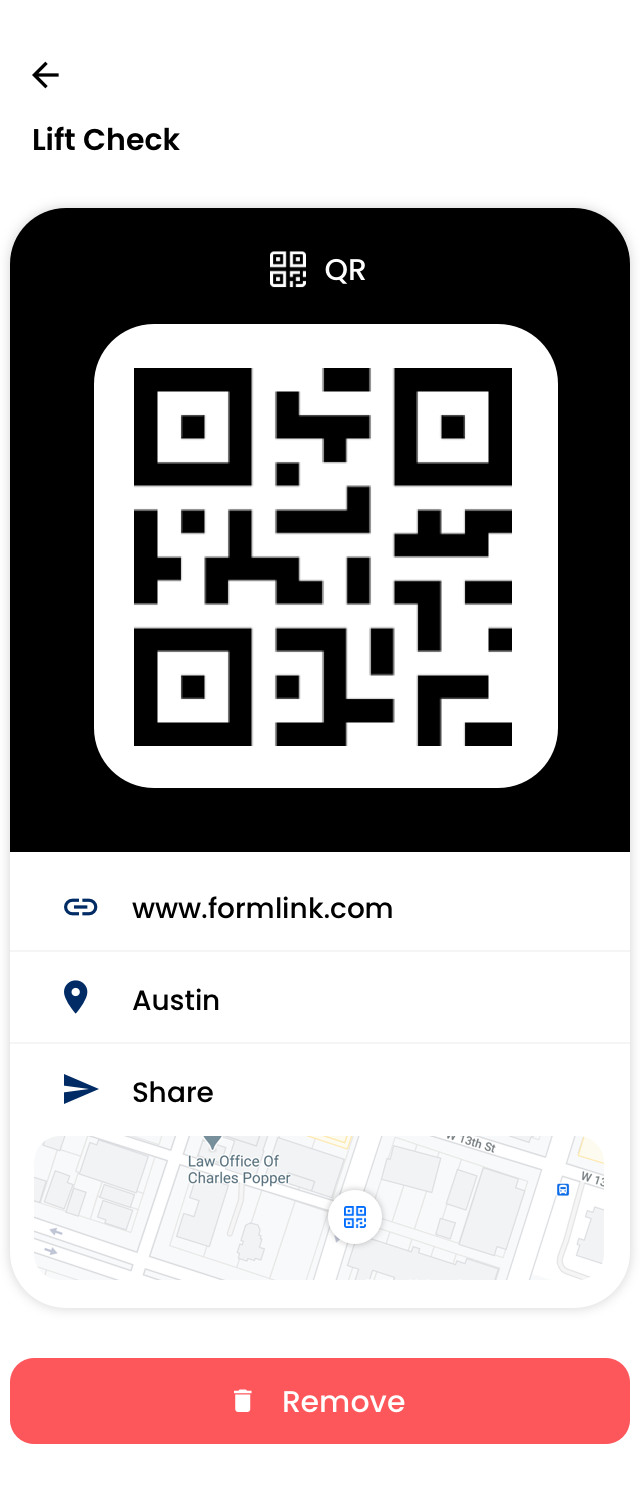
Once the options have been saved, the QR will be saved in the ‘Create’ tab under QR.
If you select a created QR code, you will be able to see the information on this code, it’s location and also have the ability to share the QR Code.
Creating a Barcode
To create a Barcode you will need to click on ‘Create’ on the menu at the bottom of the home page

You will need to select the Barcode icon at the top of the create page
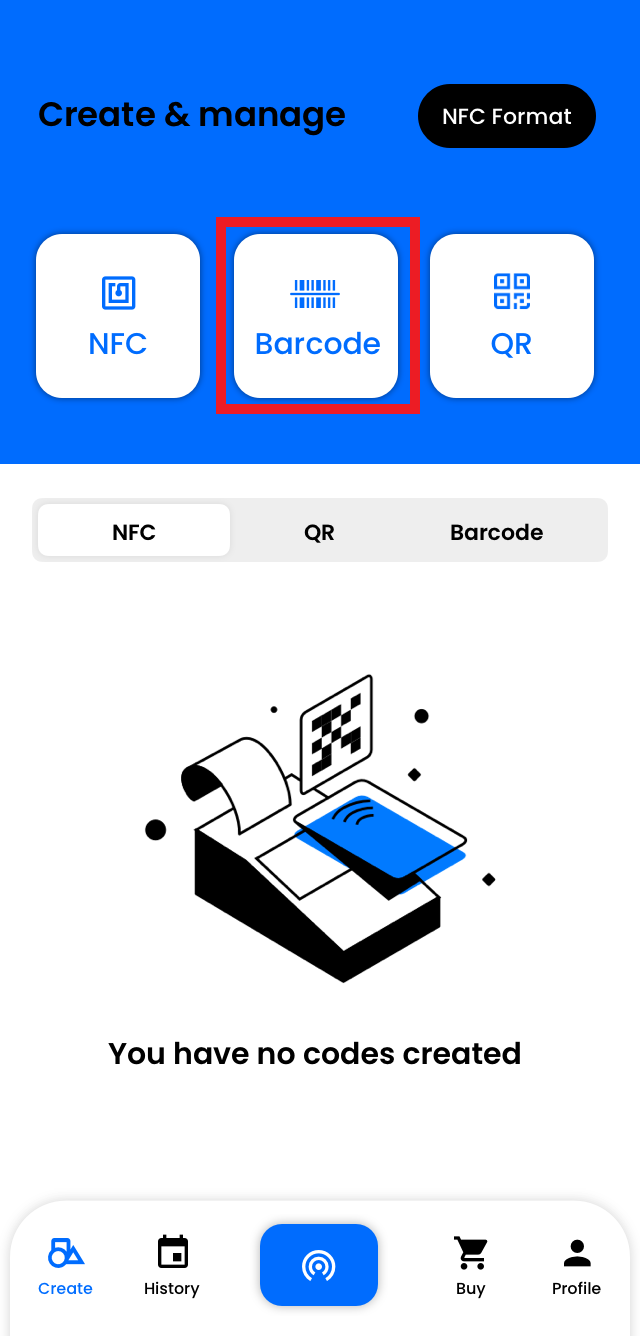
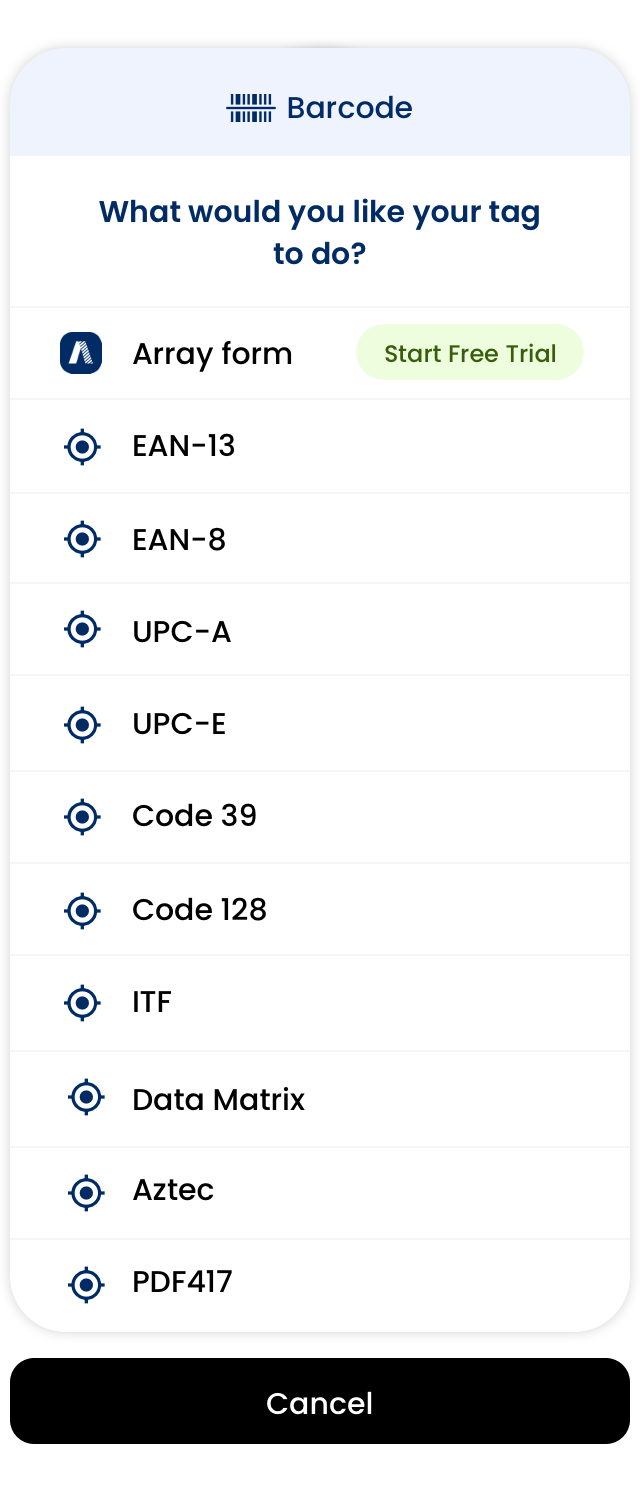
You will be able to select what type of Barcode
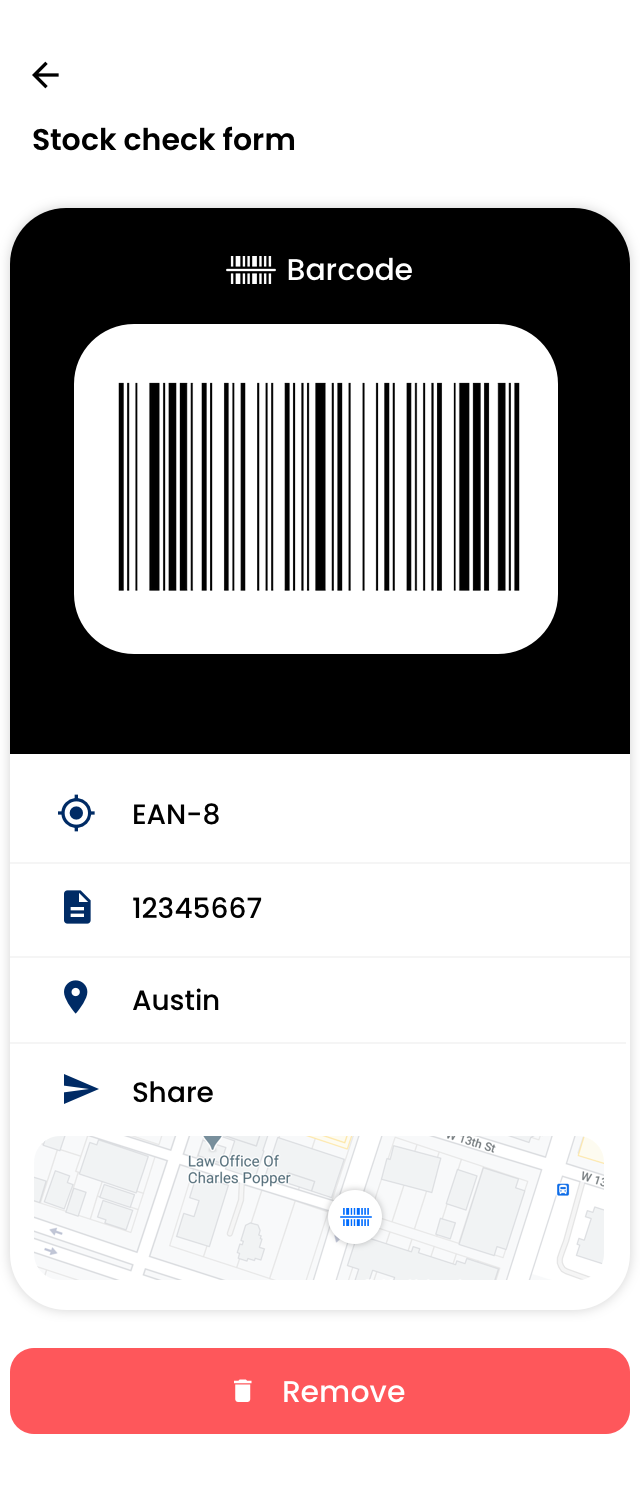
Once the options have been saved, the Barcode will be saved in the ‘Create’ tab under Barcode.
If you select a created Barcode, you will be able to see the information on this code, it’s location and also have the ability to share the Barcode.
Scanning NFC tags, QR Codes and Barcodes
Within the App, you have the ability to scan NFC tags, QR codes and Barcodes.
To scan, you will need to click on the blue scan button at the bottom of the page

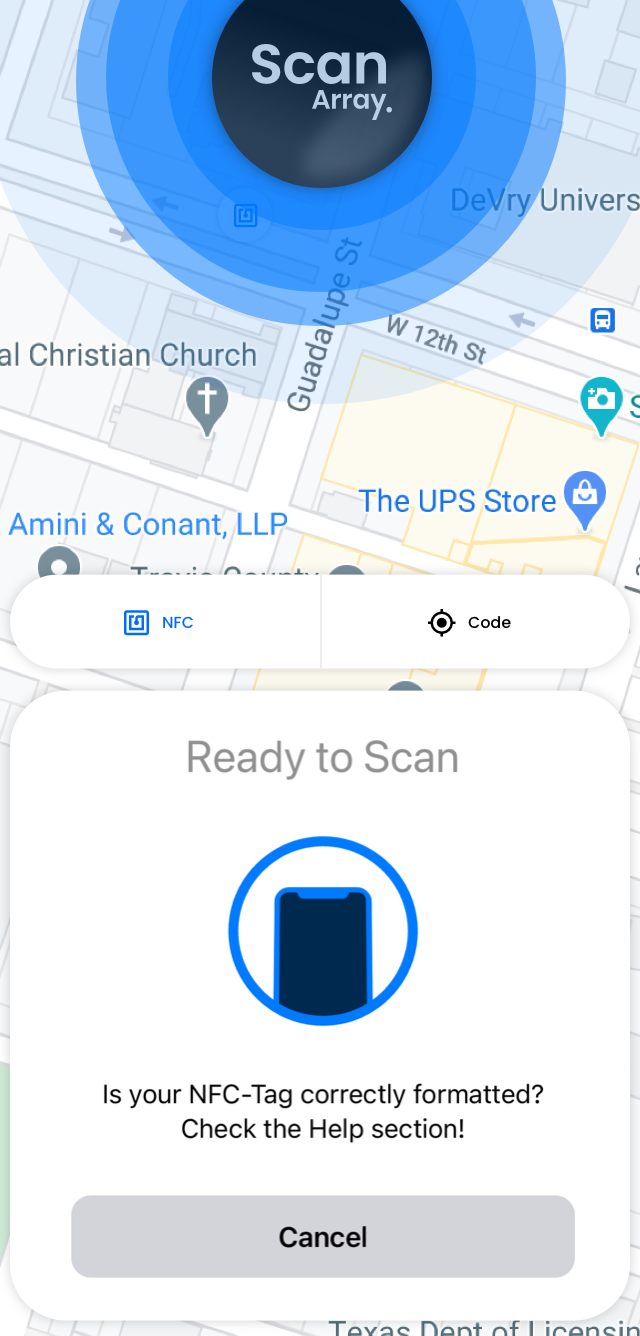
A pop up menu will appear for you to choose to scan a NFC or a Code.
Scan a NFC
Scan a Code
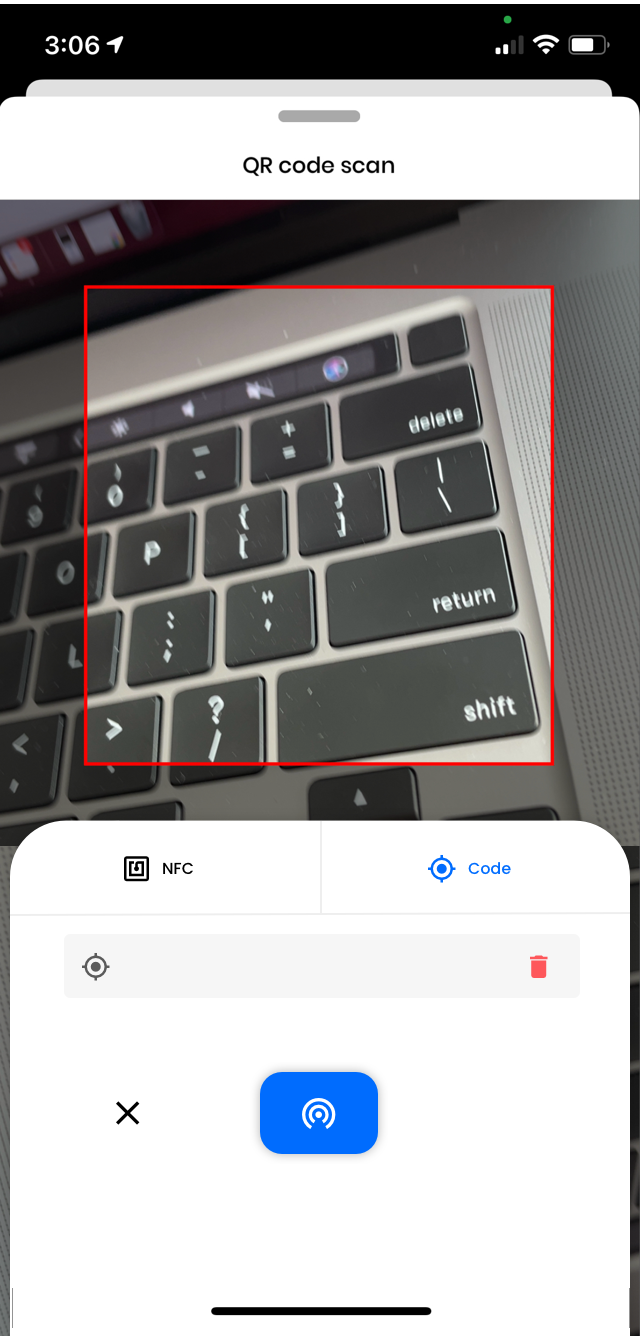
If successful, you will be presented with the information linked with the tag or code.
Your Scan history
You are able to see a history of tags and codes that you have scanned in the past.
In the bottom menu, click on ‘History’

This will show you a history of your scans
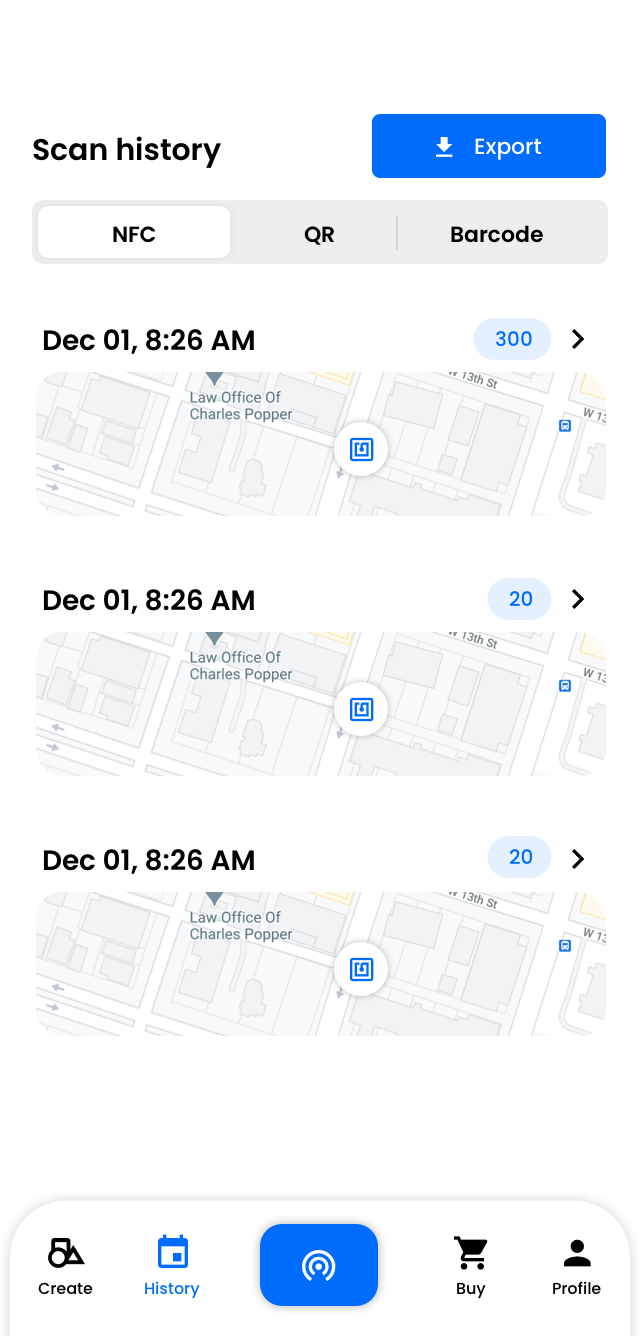
Click on ‘NFC’ , ‘QR’ or ‘Barcode’ tab to show your scan history

You are able to download your scan history to a spreadsheet by clicking on 'Export' at the top of the History page. For further information on Export, take a look at Export in Scan App.

Viewing your Profile
To view your profile, click on ‘Profile’ on the bottom menu of the page

This will show you a pop out menu where you can either view your profile or change your password.

If you select ‘View Profile’ you will be able to change your name, email and contact number and add a picture.
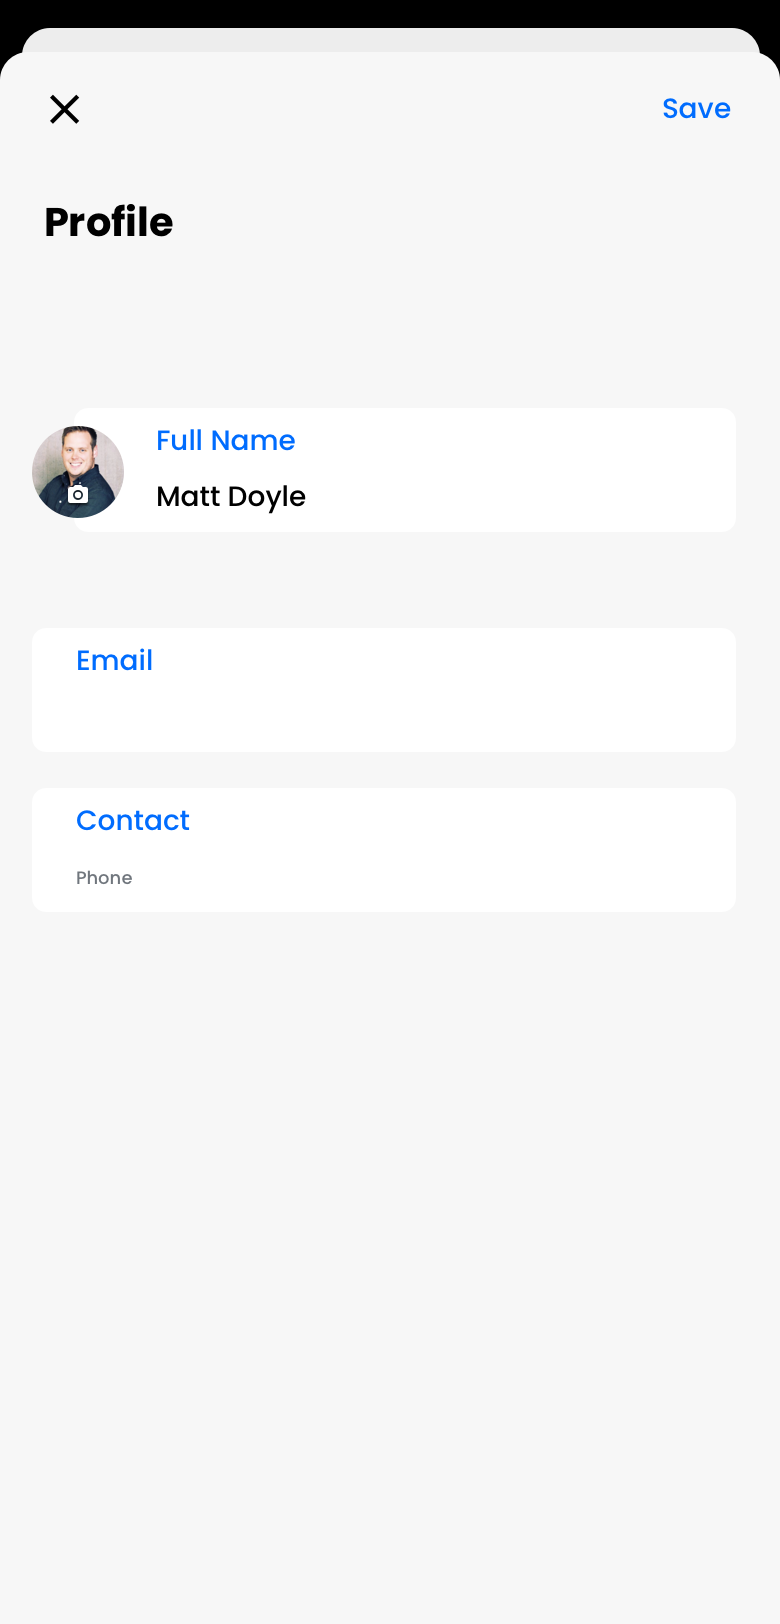
Once you have made the changes, click on 'Save' in the top right hand corner.

If you select 'Changed Password' you will be able to change your password
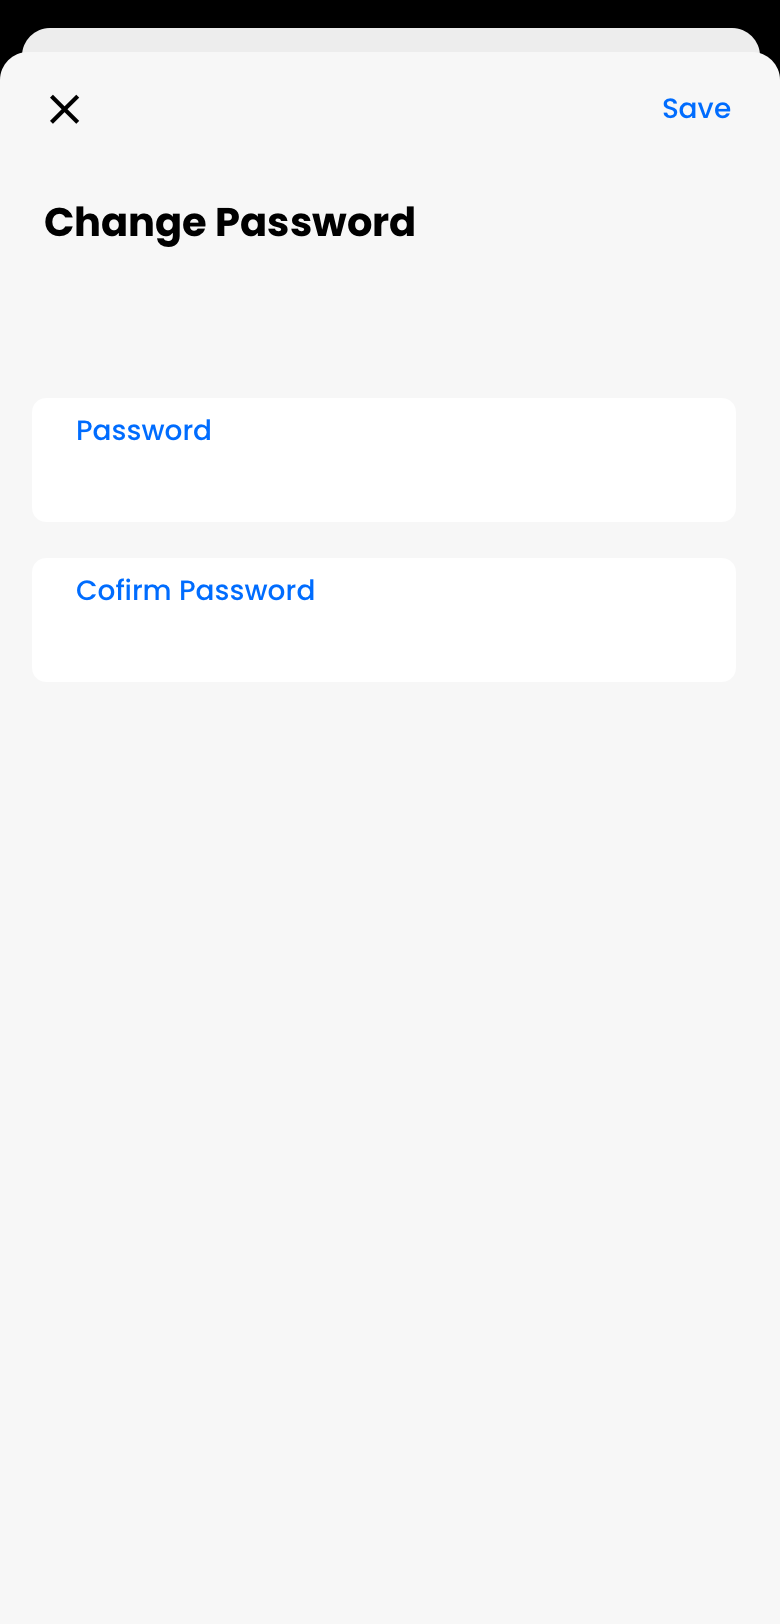
Once you have made the changes, click on 'Save' in the top right hand corner.

Related Articles
Export in Scan App
Export can be found in several places in the Scan App for different types of lists. Export can be found in several places in the Scan App to download different types of lists straight onto your device. In this article, we’ll be showing you Where to ...Array Forms in Scan App
Array forms can be programmed to NFC tags, QR codes and Barcodes through the Scan App. Array forms can be programmed to your NFC tags, QR codes and Barcodes through the Scan App allowing you to use different forms for when scanning NFC tags, QR codes ...iOS app
The Array iOS app can be used to submit forms, as well as manage your account information, such as your profile picture and password The Array iOS app can be used to submit forms, as well as manage your account information, such as your profile ...Android app
The Array Android app has been developed significantly that you have access to your data at your fingertips. The Array Android app has been developed significantly that you have access to your data at your fingertips. The android app can be used to ...In-App Reporting
Having reports available in app enables teams to have much more control over the data they collect. Having reports available in app enables teams to have much more control over the data they collect and opens a whole range of opportunities for field ...