I opened an account - Next Steps!
Welcome to Array
You don't need to be overwhelmed at the prospect of getting started with Array; we've made it easy for you. In addition to helping you create your first folder and filling it with your first forms, this guide will provide the basics of Array navigation, viewing reports, adding a user and basic branding of your account.
To help you get started, your Array account displays three steps to get started: Visit the Array Market, make a submission, and view your reports.
In this article, you will understand how to:
- Navigate Array
- View your first Folder
- View your first Form
- View the Web Form
- Get our Mobile Apps
- Access Submissions & view Reports
- View Users and access permissions
- Find the basic branding of your Array account
- Integrate your forms with other software
You can also read the following links for more information on:
If you have questions that aren't answered in this guide, just contact our expert support staff. Now, let's get started.
Navigating around Array
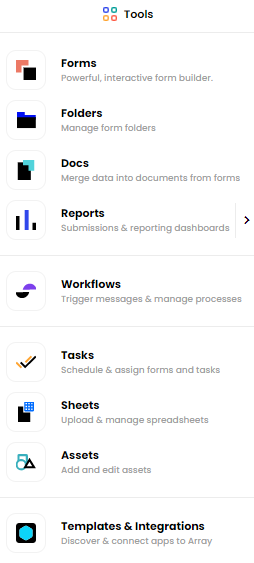
The navigation in Array has been made as simple as possible by placing all your options in the top toolbar. You can navigate around Array by using the 'Tools' dropdown menu in the top right hand side of the page next to your account name.
![]()
In 'Tools', you will be given our core locations to navigate to and possibly more depending on your permissions and account extras.
These elements are Folders and Forms, Docs, Reports, Workflow, Sheets & Assets which can be found on all accounts. On Pro and Enterprise Accounts, you will also have access to Tasks & Templates & Integrations (Our Market place with Form Templates, Integrations and Bots).
Folders
Folders are located by using the 'Tools' dropdown menu

Folders being one of the most vital parts of Array for an account. By selecting folders it will take you to see all folders that have been created, at first you may not have many but this will grow with time!
The first folder you will find that we have placed in your account is: "My First Folder", this folder is empty at first unless you have already begun creating a form to place inside it. Folders are where your forms will be stored and if you want to edit them, add to them or add a team to a folder, this is where you will do so. To access a folder simply do so by clicking the bar of the desired folder and this will open up to all the forms you have in that folder.
 Sharing, making them live and editing the permissions of folders can be completed on the folders page too. Sharing a folder can only be done with a team or an individual user but cannot be shared publicly. For more information on folders read out in-depth Folders Support Doc available under the Support tab of our website.
Forms
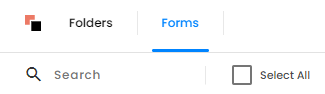
Just like folders, forms can be found in the 'Tools' dropdown menu.

Initially, you may not have any forms in your account unless you have created one or downloaded one using our Market. If you download a form from our Market, please be aware some of the features may not be accessible depending on what package you have selected. Please take a look at our Pricing page to see what features each package has.
Once you have a number of forms in your account, selecting forms will show all form you have in your account. Splitting folders and forms made sense as you may know the form you want but not the folder so under Forms there is a search at the top left hand corner to search for the specific form you need.
The plus button, in the top right hand corner, can be used to create a new form. Take a look at our Form Builder doc to see more information.
![]()
If you decide to create your own form, our form builder uses the drag and drop system with the elements from the toolbox.
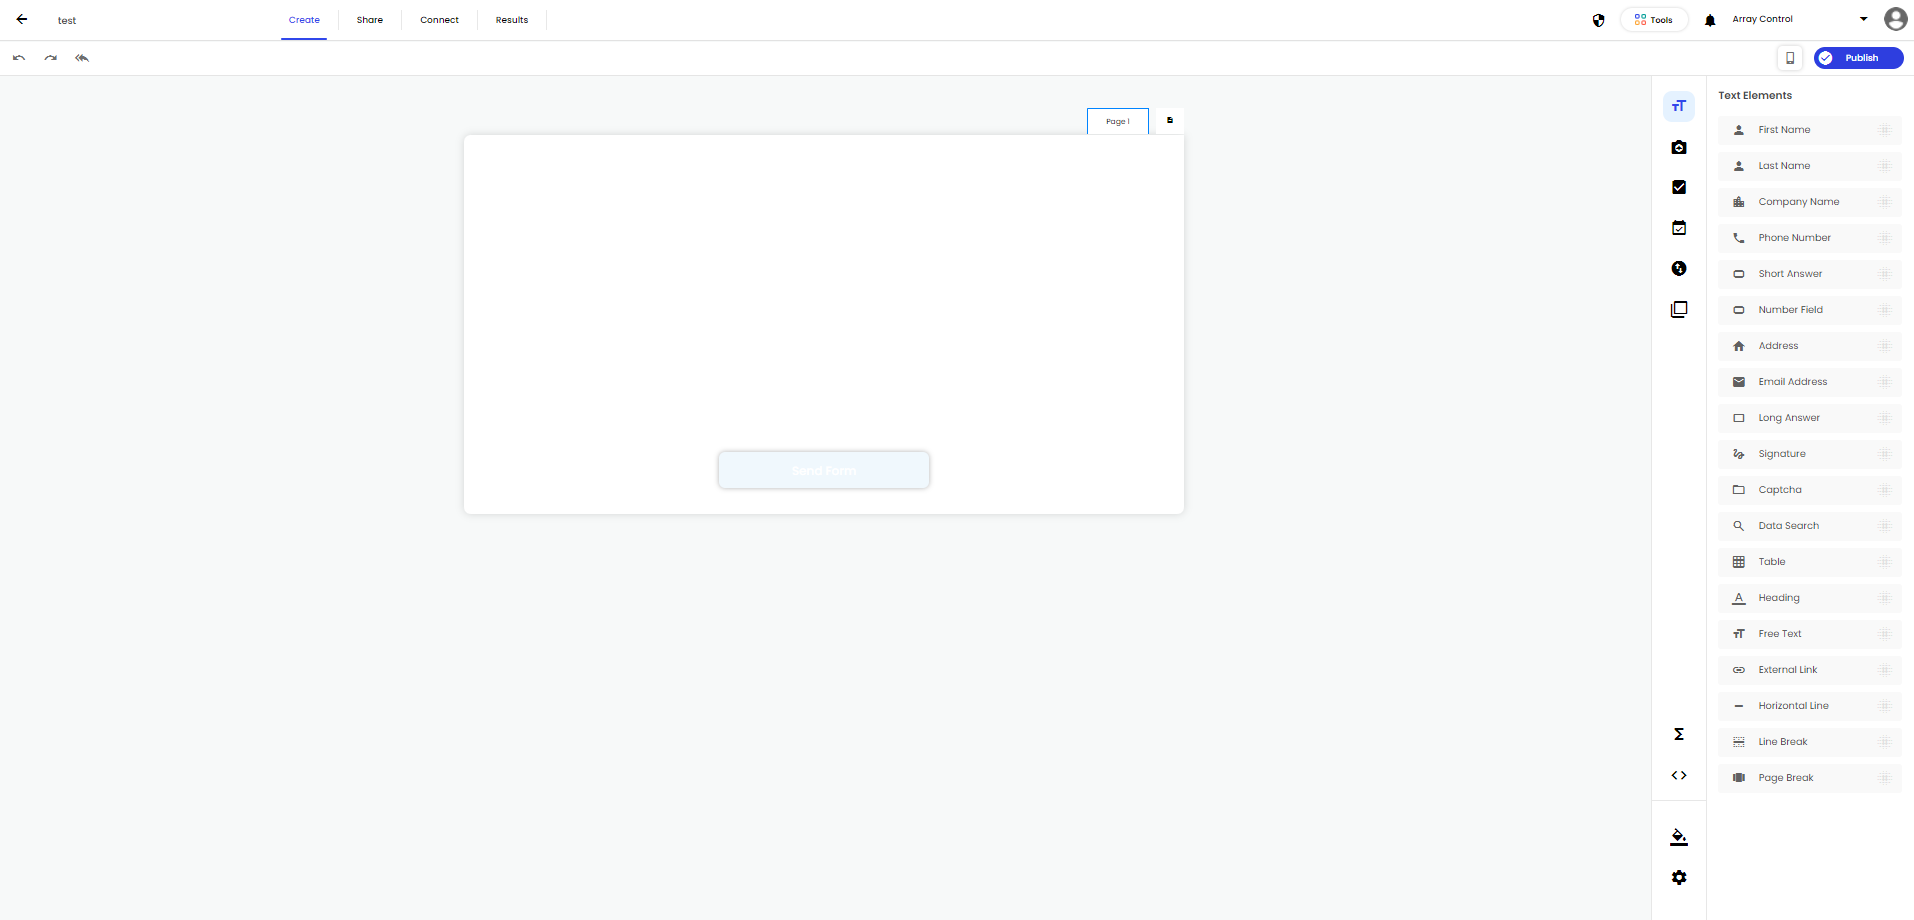
Once you have finished adding all the elements to your form, click on 'Publish' in the top right hand corner to save your form.
Individual forms can be shared with Teams, Users or can be shared publicly. For more information on Sharing Forms with Users or Sharing Forms Publicly, take a look at our Support doc.

Web Form
The Web Form is primarily focused on administering surveys and collecting responses to your forms, in essence, pure data collection with the ability to access reports but not create or edit forms.
For more information, take a look at Web Form.
Mobile Apps
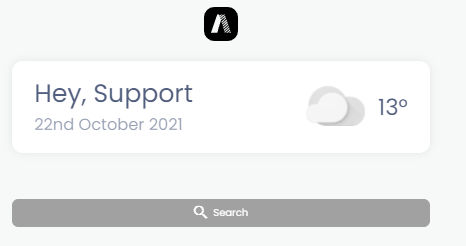
The Array apps has been developed significantly that you have access to your data at your fingertips. The app can be used to submit forms, manage your account information such as your profile picture and password, view submissions, view reports and any other custom dashboards you have.
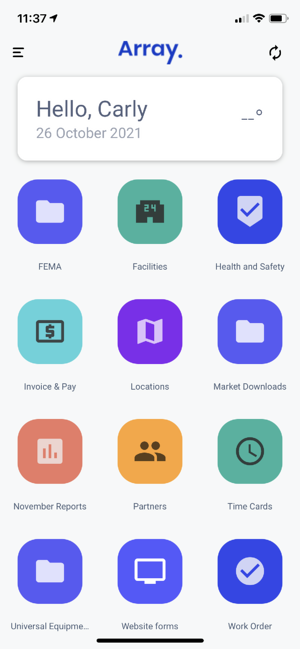
By logging into Array you will see you have clear access to everything on your account in the side navigation bar.
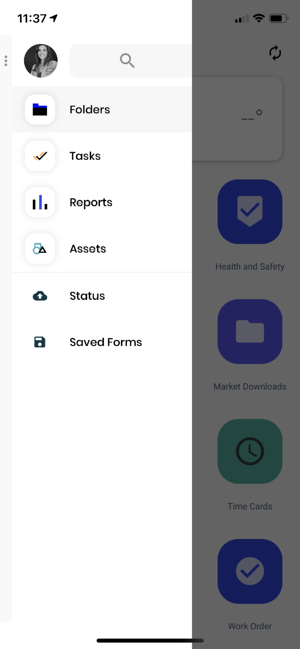
If you're in an area with no internet connection, you will still be able to use the app offline. Any Forms sent will be shown as 'queued' within your 'Status' page.
As soon as the internet connection returns these queued Forms will send, and then move to the 'Submitted Forms' area.
Found out what our apps can do in our App support docs
Download the free iOS Array App or Android Array App using the link onto a mobile device or search 'Array' within your app store.
Array Reports & Submissions
You may have stumbled across reports for your individual forms already. Reports can be accessed by clicking on the Report icon in the 'Tools' dropdown menu which gives you a report of all your submitted forms by folder.
Once on reports you will be provided with a number of tiles for each report available. Each tile will have 4 options at the bottom, these are how you would like to view your data, these are Location, Graph, Media and Submissions. The most common would be Submissions View where you can see all submissions that are made in date order and you can 'Show Fields' to display specific information at a glance.
To understand each a little better take a look at our support article on Reports.
Users & Access Permissions
If you have the right permissions, you will be able to see 'Users & Teams' under your account settings.
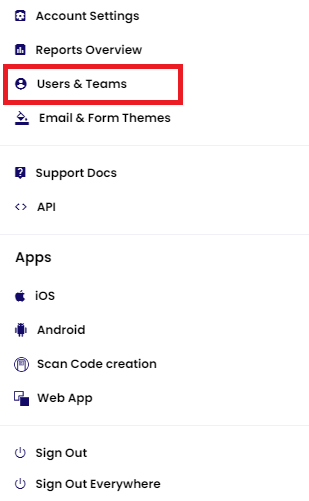
This will display all users connected to the account. This will only display if you are Account Admin. From here you can edit the users' details, password, Accesses, Permissions, the Teams they are in and access to any accounts they are assigned to (if you have multiple accounts).
Selecting users will display a menu with all users connected to your account already. You may be the first user so you will be the first to appear.
This will be where you add new users to the account, for more information on adding users, see our Adding User article. This will also be where you can arrange the individual permission of each user and allocate them to specific Teams. Adding a user to a team will send an invite, to understand Teams and what they can do for you, take a look more in-depth at our Teams article. For more information on permissions of each user and what it entitles them to do, take a look at our doc on Permissions.
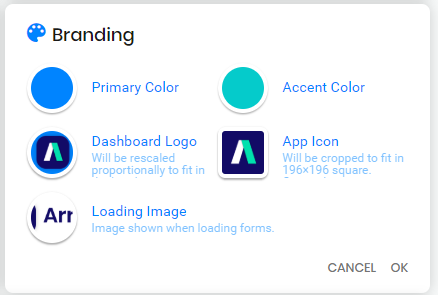
Basic Branding of your Account
Now you have reached a stage where you know where your Folders are, your Forms are and where your Users are, you may want to brand your account. Array allows you to brand your account to make it as bespoke as possible to your business. You can brand the logo shown as the Web app icon to the emails that are sent once forms are completed. To understand how to do this look into Form Themes, Email Themes and Account Branding where it will be explained a lot more in-depth.
For a basic understanding, we start with your profile picture in the top right hand corner. Clicking on Account Setting and scrolling down to Branding will allow you change the Account Branding. This will only display if you are Account Admin.
It details clearly what each element is for but make sure you have the colours correct or colour codes before you begin.
These are only some of the basics that we feel will get you started with your Array account and make it feel more personal to you. Take a look at Account Management & Branding for more.
The Integration we offer for your forms
Array is the best option for easily creating beautiful forms for quick information capture, but did you know we also offer several integrations that allow you to share that data with the apps you’re already using?
To get to our integrations, when on the dash, click on 'Tools' and then click on 'Templates & Integrations'
This will take you to our integration page on our website
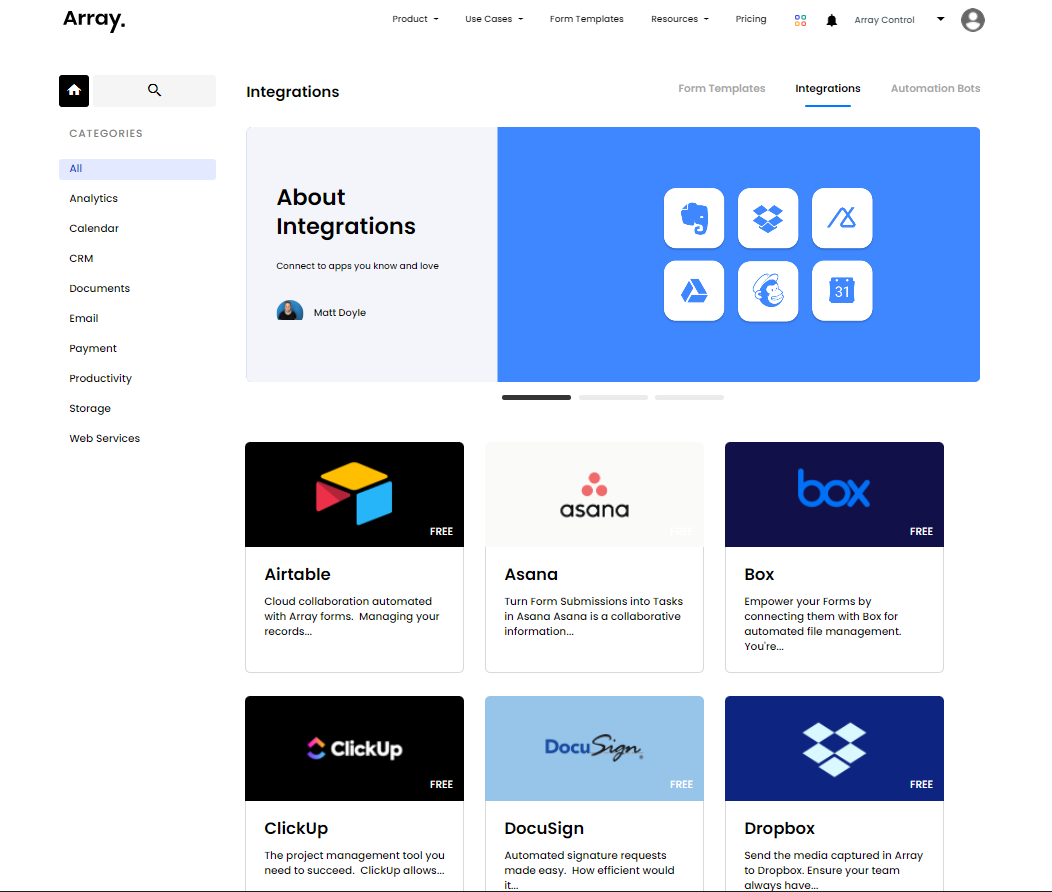
Alternatively, you can click here to visit our integration page.
Check out our support docs that explain our Integrations and some of the integrations we offer.
Related Articles
Admin Dashboard
We will introduce you to the admin dashboard’s functionality and familiarize you with its navigation. The Array platform is split into two separate, interrelated sections: the admin dashboard and the Web App. To learn more about the Web Form, click ...What do I need to get started?
All you need is a computer and an internet connection to benefit from any plan. What do I need to get started? Array can fit right in with your current business infrastructure. All you need is a computer and an internet connection to benefit from any ...