Form Themes
Form themes are a great way of making your form fit within your wider branding. It is especially useful if you are embedding a form on your website, sending out forms to customers or data capturing at events. You can customize your web themes in many ways ranging from; changing your header image, a wide range of fonts and a wide colour palette to choose from.
How To Create Form Themes
If you’d like to design your own theme, click on your profile in the top right hand corner of the page, next to your account name, and click on 'Email & Form Themes'

After clicking the Form Themes button you will be directed to the list of all your Form Themes.
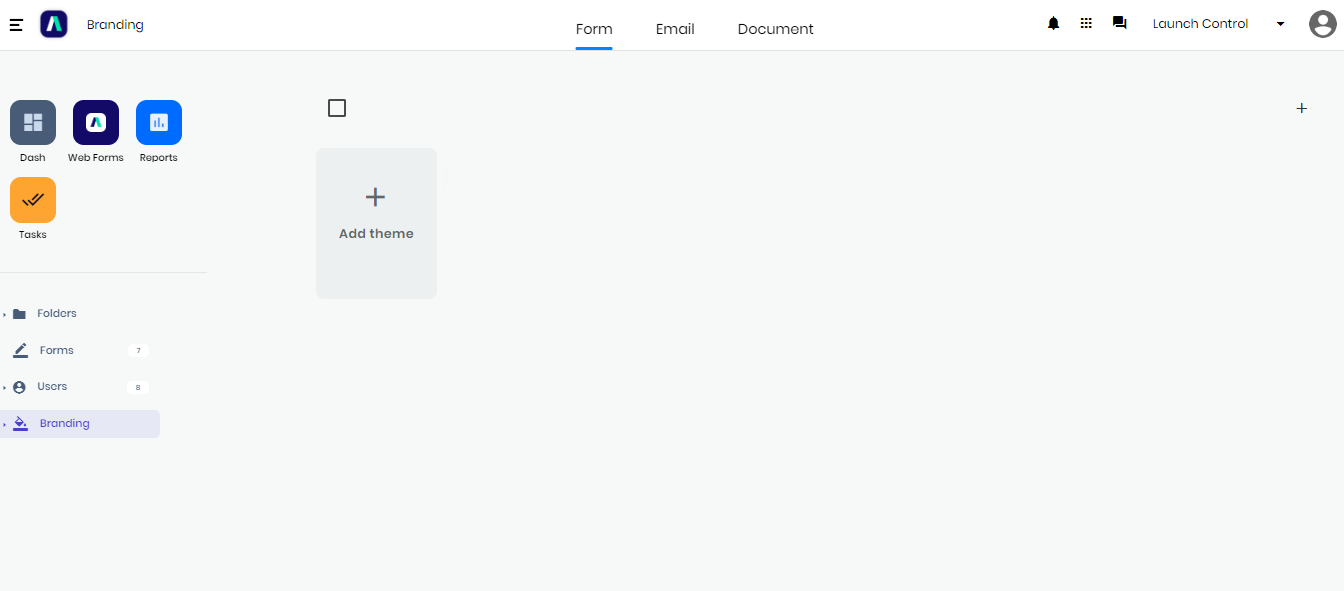
Clicking on the 'Add theme'
or the Plus button in the top right hand side will take you to the form theme creation page
![]()
To give your Form Theme a name, click the pencil button which is located at the top left corner of the creation page or on the name of the form theme itself.
You’ll then see a variety of fields on the right-hand side:
Logo
Upload an Image - This image displays above the top of your form and is a great place to include a banner image.
Background
Background Color — This color will only appear if you do not have a background image set.
Background Pattern — This image displays as a pattern behind your form, similar to a screensaver on your computer. We recommend avoiding attention-grabbing patterns. Solid colors or your company’s logo work well here, or alternatively, leave it empty for a transparent look when embedding onto your website.
Button
Background Color — The main color of any buttons, including calendar and form submission buttons.
Text Color — The color of any text and icons that appear within a button.
Text
Header Font
Body Font
Primary Text Color — The color of your field headers.
Second Text Color — The color of nested text elements, including radial sliders and star rating icons.
Fields
Field Background — The color that fills the input field.
Field Text — The color of the text that appears in each input field.
Field Border — The outline color of your input fields.
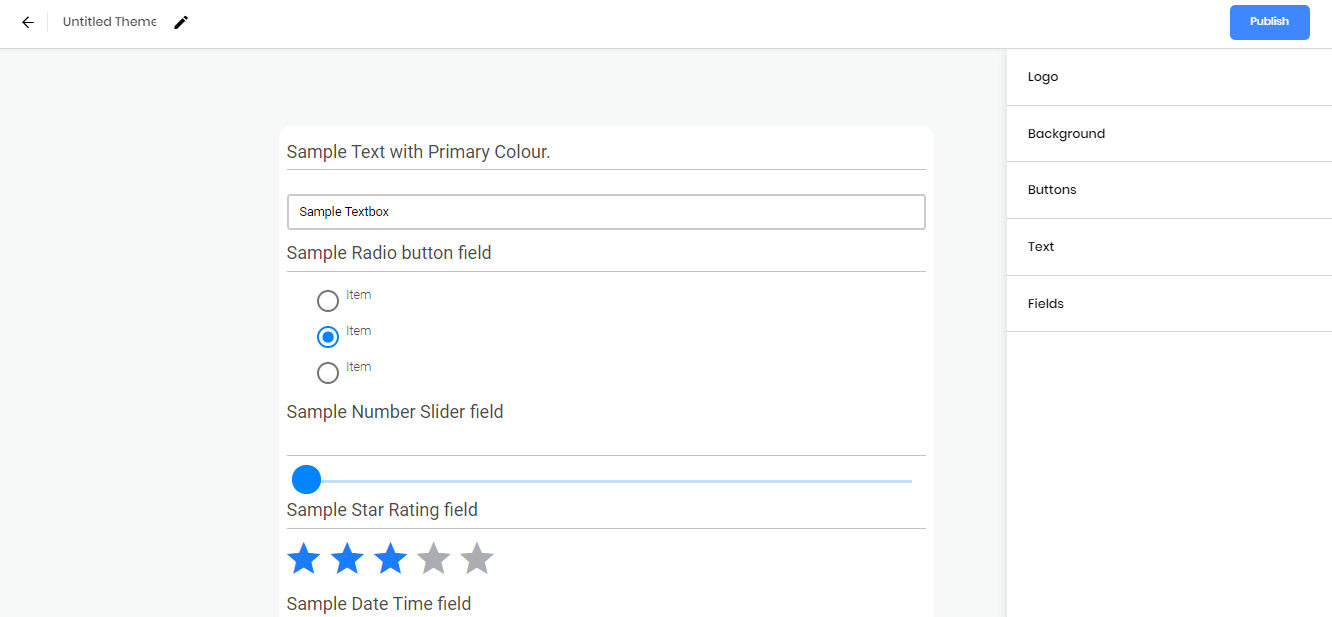
When you’re finished, be sure to save your work by clicking the Publish button at the top of the page.
How To Apply Form Themes
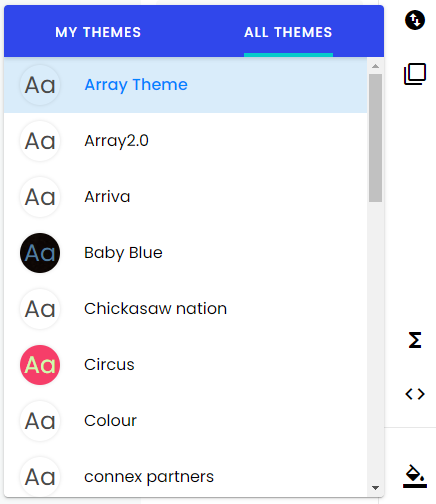
Now that you’ve got a form theme that matches your brand guidelines, it’s time to apply it to your forms. To do so, go back to the Form builder and select the paint bucket tool in the bottom right-hand side.
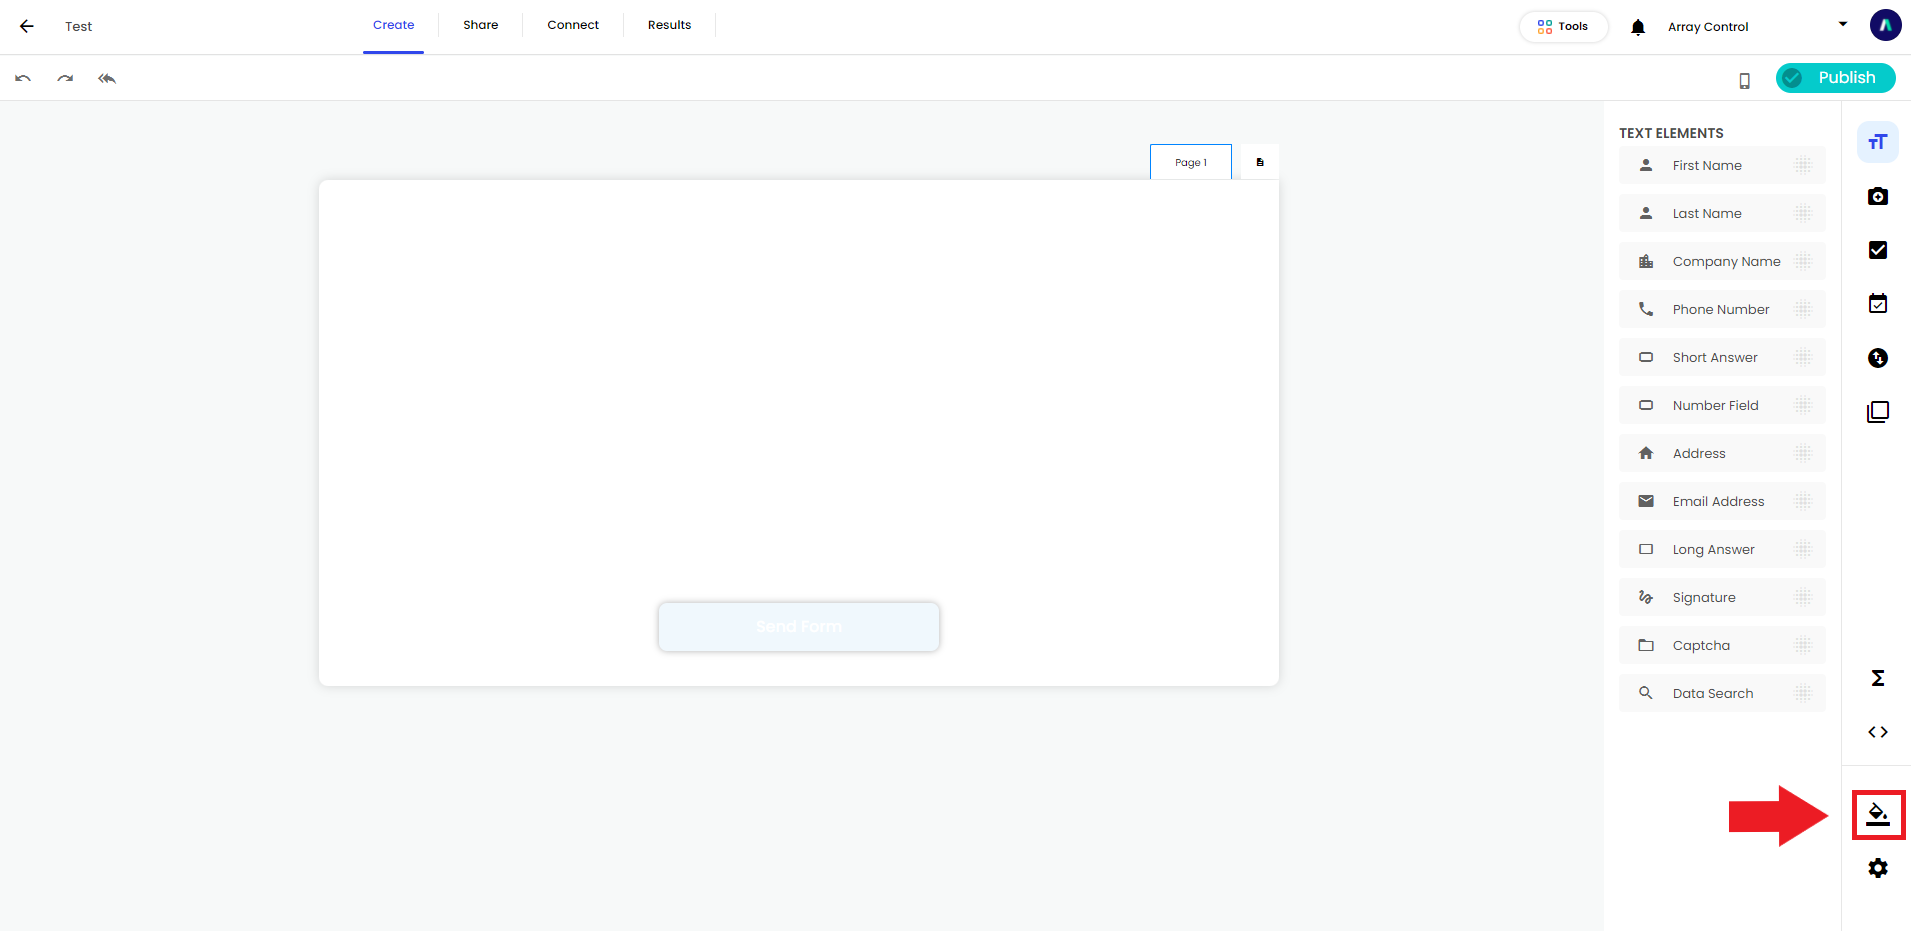
This will launch a drop-down list of all the themes you’ve created, as well as a larger list including the Array default templates. Simply select the theme you’d like to apply, and save the updates to the form.
Related Articles
Email Templates
Email templates can create automatic customizable email send outs when somebody completes your form. Say you want to send out an email to a person who fills out your form, like a thank you email or a voucher for your customer's next purchase - with ...Dash Builder
Dash Builder allows you to build a Canvas for your dash. The Dash Builder gives users the ability to customize their Array dashboards to display information they require for their company. In this article, we’ll be showing you How to find the Dash ...Canvas
Canvas gives users the chance to customize their dash. Canvas gives users the chance to customize their Array dash so they can see the information they require for their company. In this article, we’ll be showing you: Where to find Canvas How to ...