Formview
The Formview feature allows users to make video calls, fill in Array forms live on screen during the call and save any messages and images taken from the call all in one place.
In this article, we’ll be showing you:
- How to find Formview
- Setting up a Formview call
- How to share your Formview form
- How to launch and join a call
- The features available during a call
Where is Formview
To set up your Formview, you will need to create a form with the Form Builder.
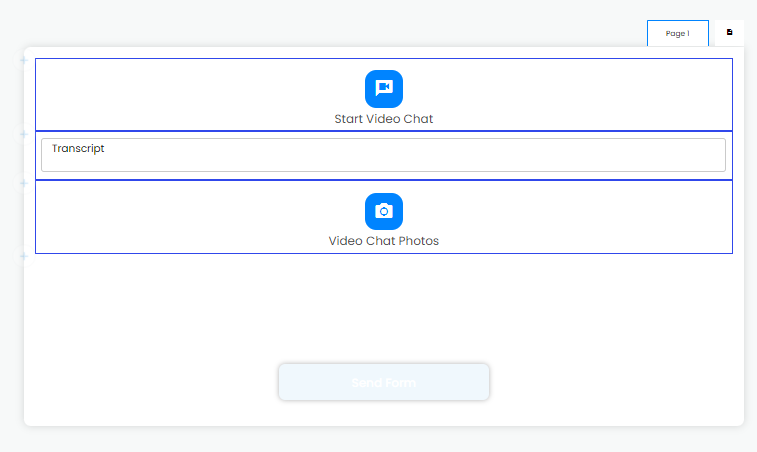
On the form, in the toolbox on the right hand side of the page, under ‘Media & More’, is the element called ‘Live Video’
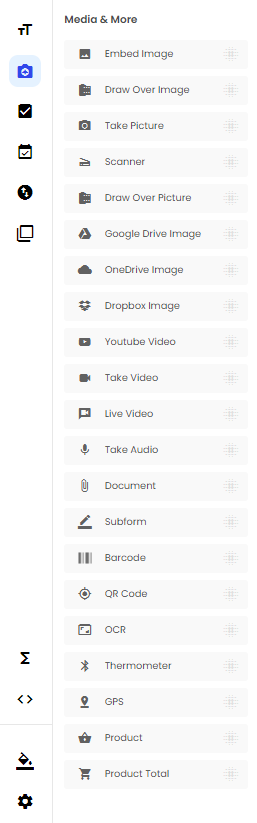
Drag the element on to your form will give you a ‘Start Video Chat’, ‘Transcript’ and ‘Video Chat Photos’ elements.
Setting up a Formview call
Once you have dragged the ‘Live Video’ element onto your forms, a popup window will appear straight away with settings for the call

On the settings you are able to selected whether you would like to send a notification via Email for SMS.

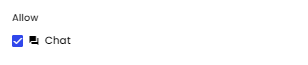
You also have the chose to allow a chat window during the call. Having this ticked will allow chat and unticked will hide the chat window.
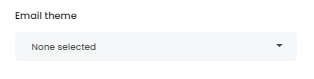
Under this you can select an email theme of how your notification email will appear. Click on the drop down to select your theme. See Email Templates support doc to start creating your own themes.
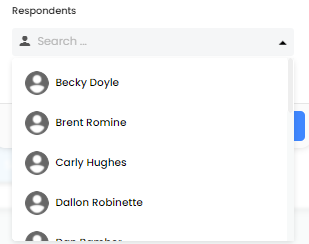
And lastly, you get to select who you would like on the call from your Array account. Click on the dropdown to reveal a list of your users.
Once you are selected all the options you need, click on the ‘Save’ button at the bottom right hand corner of the popup window

If you need to edit any of the settings, you can find the settings button in several places. Firstly it can be found by clicking on the ‘Start Video Chat’ element and in the toolbar at the top of the page is the ‘Live Video Settings’ button
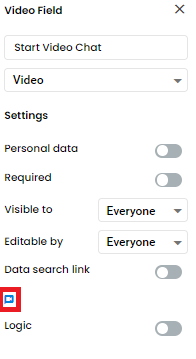
Alternatively, you can hover over the ‘Start Video Chat’ element and the ‘Live Video Settings’ button will appear in the top right hand corner of the element

Once you have set up your ‘Live Video Settings’ you can now build out the rest of your form ready for your call. Take a look at all our Form features and Logic for some great additions to your form.
Sharing your Formview Form
Now it’s time to get your form to the right people. Depending on the use of your form, there are several ways to share your form.
You will need to get the link to your form. Take a look at Share in Form Builder on how to get the link.
One way to share your form is by using a booking form. If you require a people to book a call with you, then you can use a booking form. The link can be sent to the people via email. Take a look at our support doc on Email Templates.
Another way to share your form is by scheduling a task to one of your users. Take a look at Task Overview on how to schedule a task.
Lastly, another suggested way to share your form is by scheduling in an event or calendar entry in another service such as Google Calendar etc.
Launching and Joining a Call
The Formview calls can be launched on the Web Forms, a web browser and works on iOS and Android devices with no app download. When you or your guest clicks on the link for the form, they will see the live form
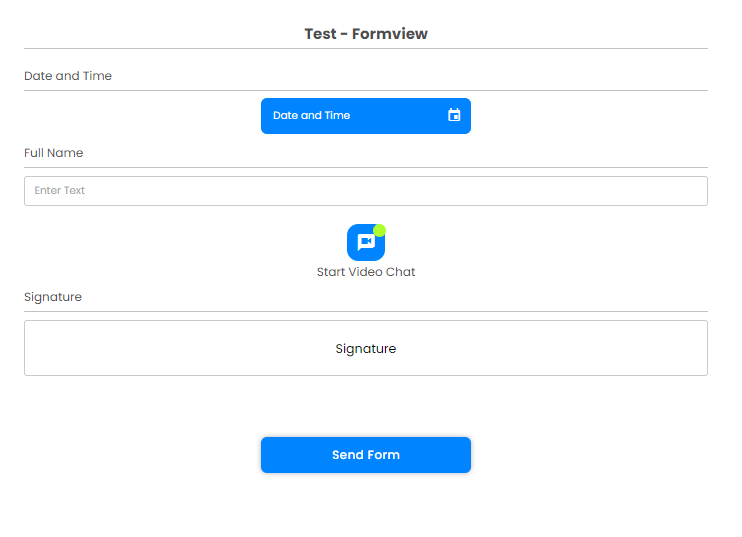
Click on ‘Start Video Chat’

You will be taken to waiting room. In the waiting room, you will be able to change your settings, turn on and off your microphone and camera
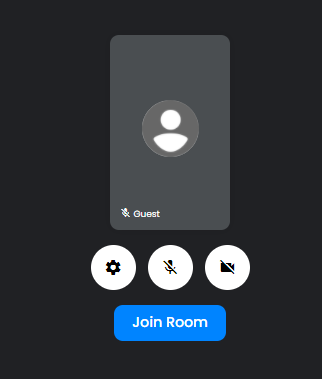
The settings you can select are your ‘Audio Output’ and ‘Audio Input’
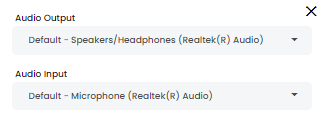
Once you are ready, click on ‘Join Room’
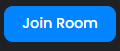
You will be placed into your meeting room
Once your guests are on the call, you will either receive a email or SMS, dependent on what was selected when setting up your form.
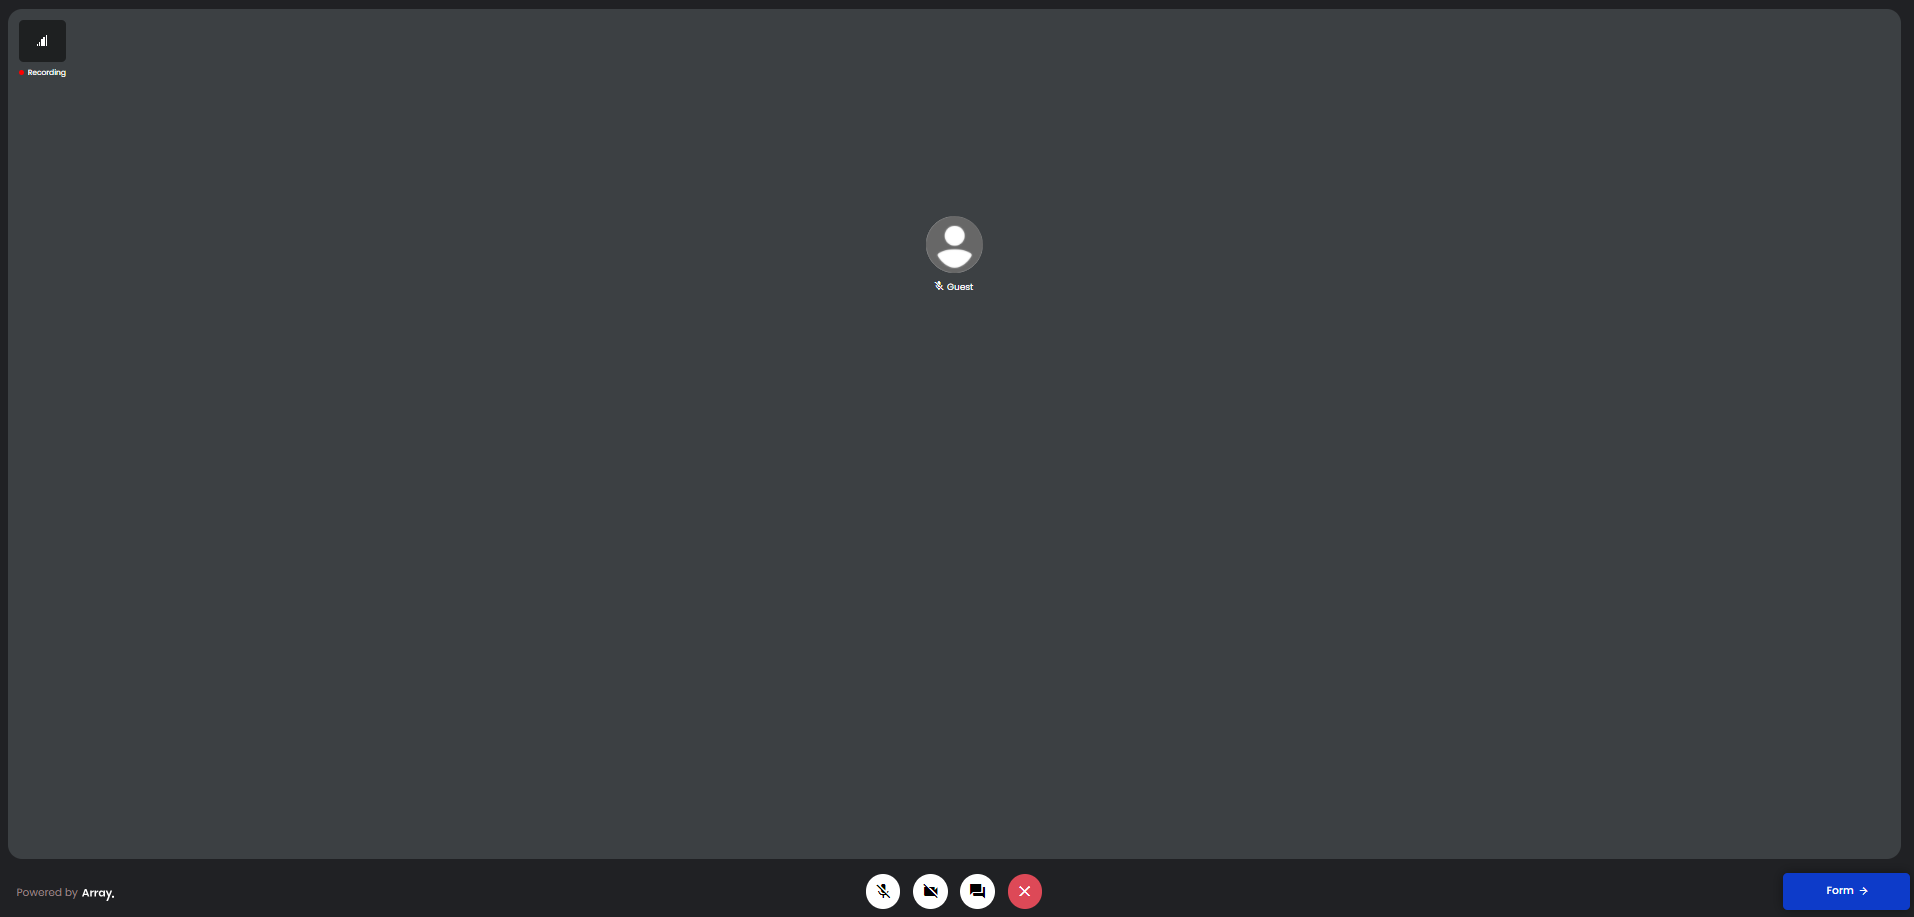
The Features on The Call
In the room, at the bottom, in the middle of the page, you are able to turn on and off your microphone and camera, reveal the chat and leave the room.
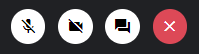
If you decide to reveal the chat window, this will appear on the right hand side of the page
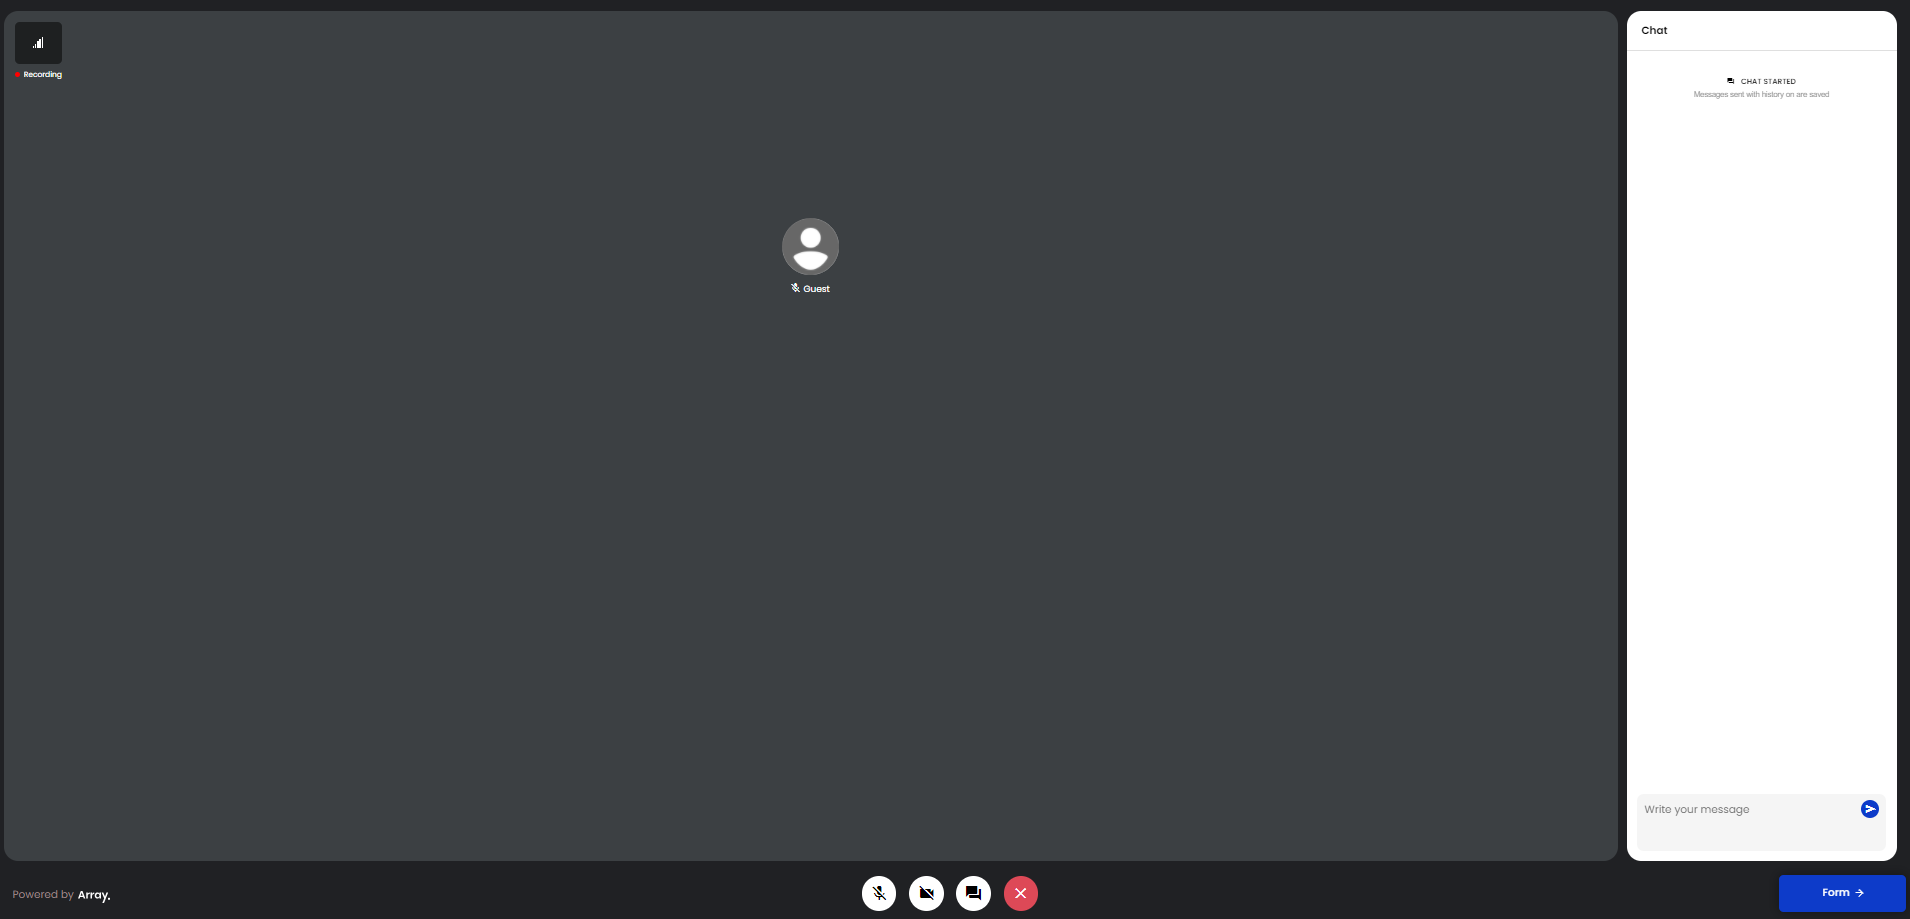
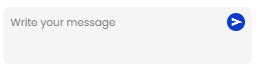
To write a message, click on ‘Write your message’ at the bottom of the page, write your message and then press enter on your keyboard or the send button to add your message to the chat.
Any message put in this chat will saved on the submission of the form after the call.
When cameras are turned on, on the call, you will have access to the take picture button
![]()
This will take a screenshot of what is on screen, you can decide to ‘Use Photo’ or ‘Cancel’

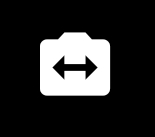
If you are using a mobile device, you will be able to flip your camera. When your camera is on, you will able access to the flip button in the top right hand corner of your screen
In the bottom right hand corner of the page is ‘Form’.
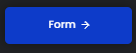
Clicking on this button will take you to a live view of your selected form so that everyone on the call can see any information enter into this form.

If you wish to return to the call, click on ‘Video Chat’ at the top of the page

Once you have finished your call, don’t forgot to submit your form by clicking on ‘Send Form’
And then click on the leave button at the bottom of the video chat page
