Admin Dashboard
The Array platform is split into two separate, interrelated sections: the admin dashboard and the Web App. To learn more about the Web Form, click here.
In this article, we will show you
- How to Log In to Array
- The Admin Dashboard
- The Tools Menu
- Notifications on your account
- How to switch between multiple accounts
- Your Profile and the options
Logging In
Log in to the admin dashboard by visiting www.buildarray.com/login and use your email and the password that you set up when you first created your Array account.

Admin Dashboard
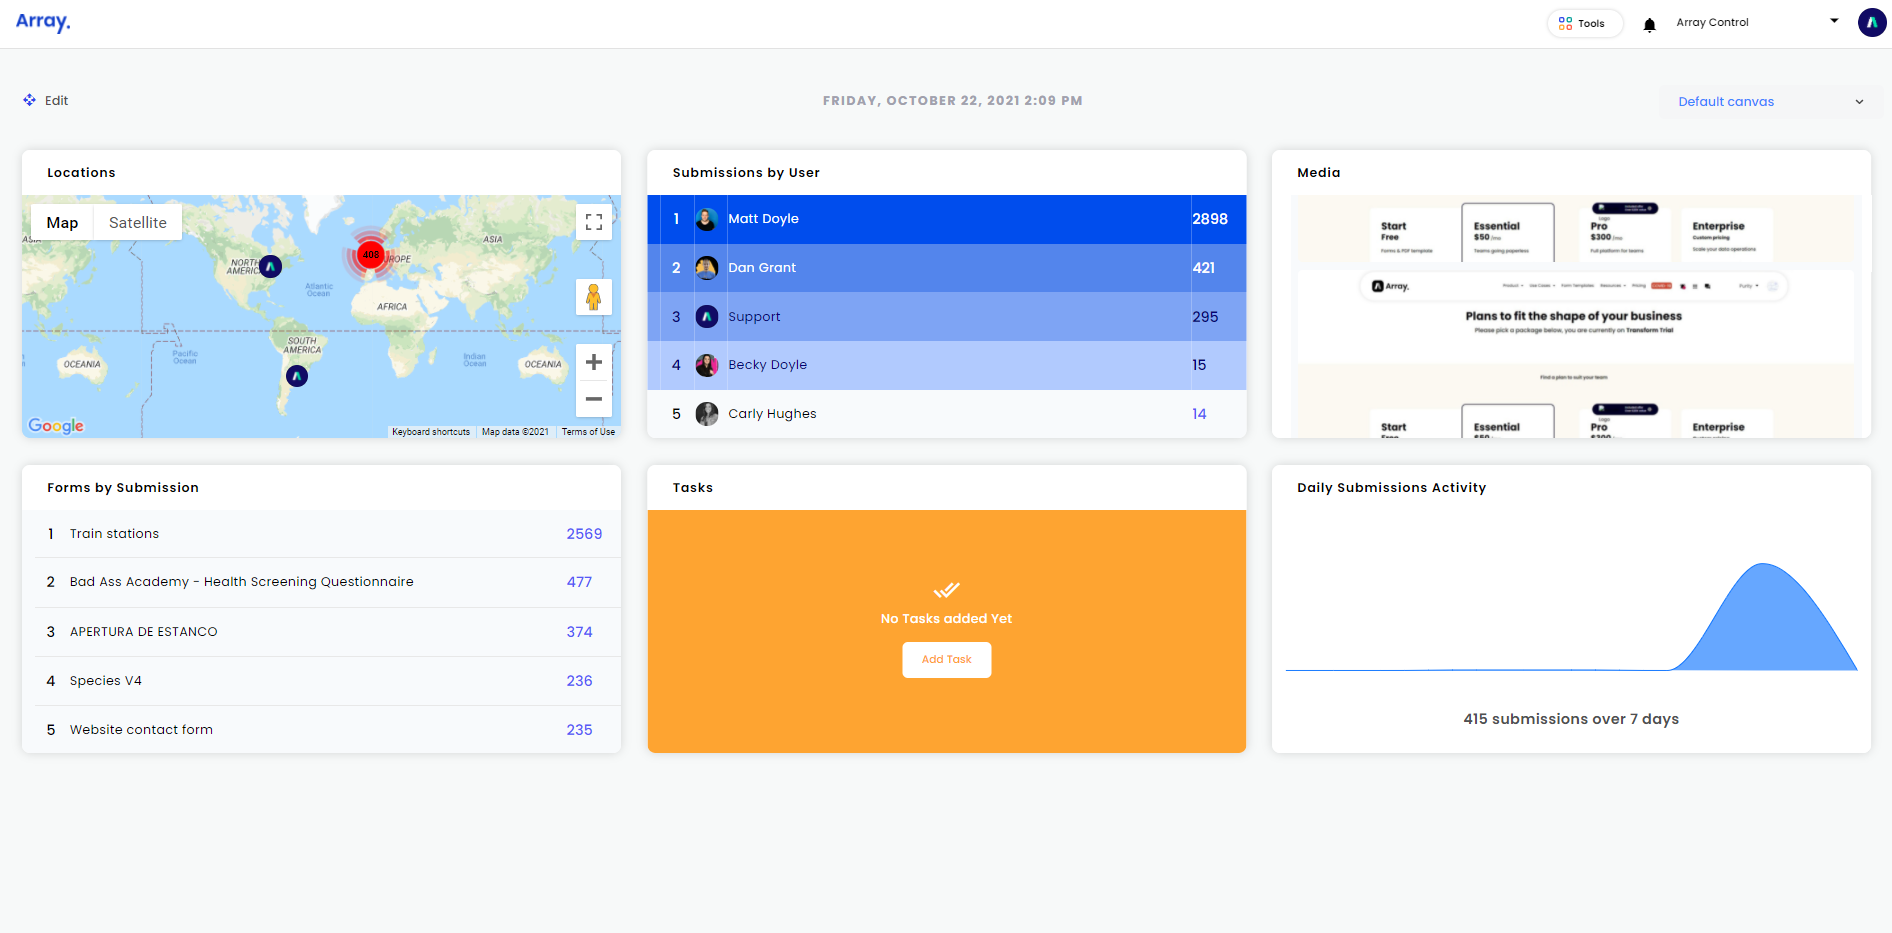
Immediately after logging in, you’ll land on the main dashboard. The admin dashboard is your central hub for preparing and monitoring Array forms. It’s where you’ll go to create a new form, design a custom theme, or view reports based on data you’ve collected. You can also handle account logistics here as well, such as adding users and establishing teams, specifying account permissions, or setting up notifications.
The dashboard provides an overview of the various elements of your account, including your form submissions, submissions by users and much more.
You can move these panels around to suit you by clicking 'Edit' at the top left hand corner of the page

You can now drag and drop the panels around. Once you have finished, click 'Save'

The Tools Menu
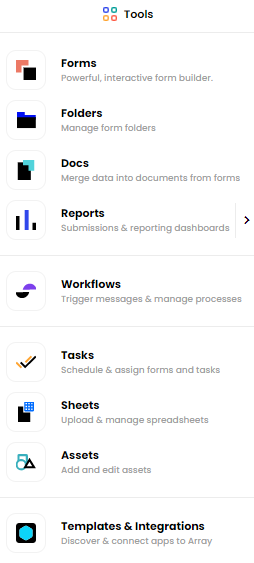
You’ll do most of your navigation through the 'Tools' dropdown menu, which is found by clicking on 'Tools' in the top right hand corner, next to your account name.
![]()
You can access the majority of Array’s core areas from here.

Notifications
The bell icon holds all your notifications about account changes and new form submissions.

Accounts
Click the drop-down box with your account name in it to switch between all accounts which you’ve access to.

Profile Management
Lastly, clicking your profile picture will allow you to view your account settings or sign out from Array.

The Account Settings page is where you can customize the personal information associated with your account, including your profile picture, password, primary and secondary emails, and time zones.
Related Articles
I opened an account - Next Steps!
You don't need to be overwhelmed at the prospect of getting started with Array; we've made it easy for you. Welcome to Array You don't need to be overwhelmed at the prospect of getting started with Array; we've made it easy for you. In addition to ...
