Tasks Overview
Our Task feature allows users to be assign tasks and use many features built into each task such as being able to attached your Array forms, setting a timescale of when the task should be completed by and much more.
In this article we’ll be explaining:
Creating a new Task
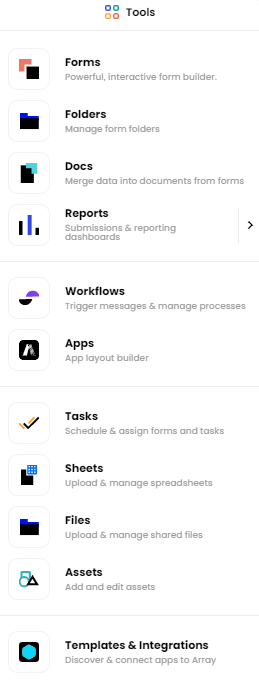
To add a new task, you will need to click on the ‘Tools’ in the right hand corner and click on ‘Tasks’

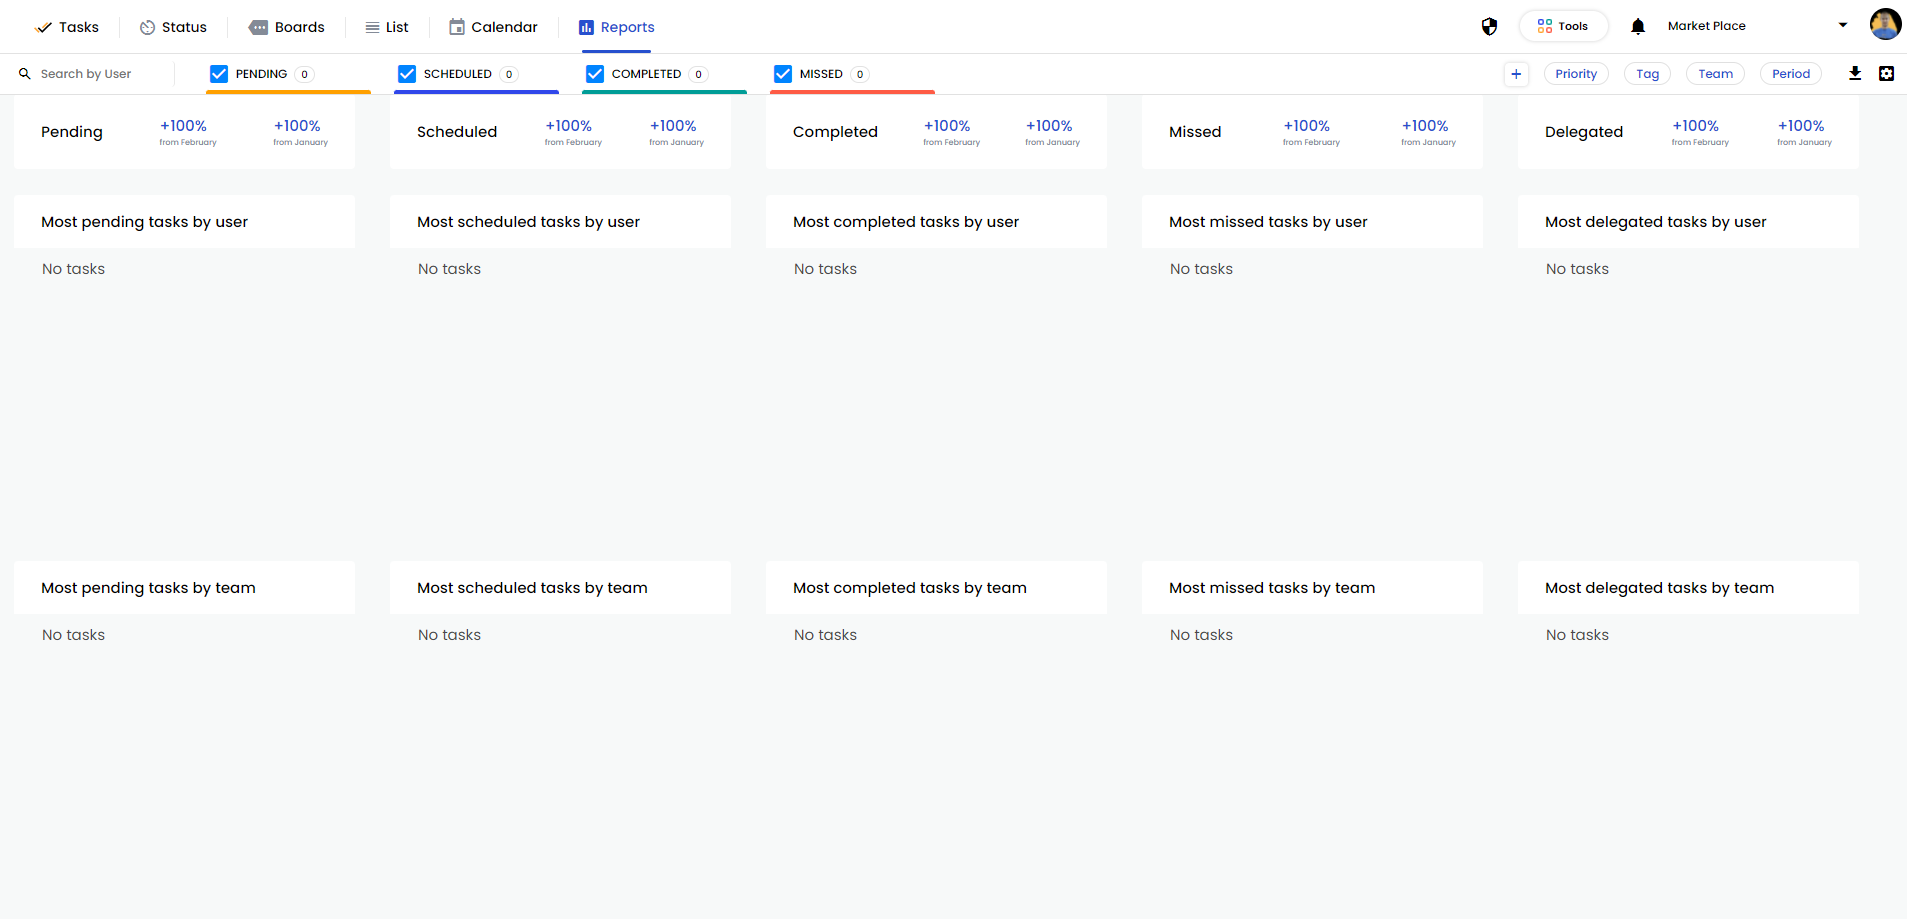
This will take you to the Task Reports page. In the top right hand corner, under ‘Tools’, there is a plus button.

Click on the plus button and the screen will appear for you to start adding a new task.
![]()
The Tasks Features
Now you have opened up a new task, you now have loads of different options to choose from to set up your task.

At the top of the screen window, you will see:

Task Title – The name of your Task
Priority - Can be set to 1, 2, 3 or 4 priority. This will determine how important the task is with 4 being the highest.
Date and time from and to – The date and time the task will take place. Using the ‘All Day’ slider will set the task to show all day on your chosen day.
Repeat – This will repeat your task and can be set by Minutes, Hours, Days, Weeks, Months and Years.
Escalation – This will allow you to set a date so if the task is not completed by this date then it is escalated to a different user.
On the left hand side, you will see:

Location – Where the task will be taking place
Description – A description of the Task
Tag – You will be able to give your task a tag. You can either select create a new tag by typing in your tag or selecting from the list of already created tags. See 'Boards' on our Task Views support doc for more ways to manage tags.

Notify Me Via – Select if you wish to be notified by email by clicking on the email icon
Attach Forms – You can attach a form from your account for the assigned users to fill in by clicking the plus button when ‘Forms’ is highlighted.

Attach File – You can attach a file from your device i.e. guidelines on how to fill in the form. Click on the plus button when ‘Files’ is highlighted.

In the right hand side, you will see:
Users – you can assign a user to the task by clicking the plus button on the right hand side when on the ‘Users’ tab. When added, they will appear at the bottom of the ‘Users’ tab
Teams – you can assign a team to the task by clicking the plus button on the right hand side when on the ‘Team’ tab. When added, they will appear at the bottom of the ‘Teams’ tab

When you are on the ‘Users’ tab
Max Accepts – The maximum number of acceptations to the task
Notify User of Task Via – Can be set up to notify the user of a task you have assigned them via email.
Guess Permissions - Can be set up so users can delegate the task to others.

Once you have filled in all the information need for your task, you can save it by clicking ‘Save’ in the top right hand corner

Task Views
Once you have saved a task, you will be able to see your task in several different ways. You are able to check the ‘Status’ of your task, check where your task sets on the ‘Board’ and check your task in a ‘List’ or ‘Calendar’ view. Take a look at our Task Views support doc for further information on these views.

Task Reports
You are able to keep track of all your tasks under ‘Reports’. You are able to see all your pending, scheduled, completed and missed tasks, broken down in to several different categories. Take a look Task Reports for further information.

Related Articles
Tasks in App
Use the Array App to access and delegate your Tasks. The Array App gives you a great view of all your assigned tasks, a simple way to filter them all and the ability to delegate the tasks. In this article, we’ll be explaining How to find Tasks How to ...Task Views
Display and track all your Tasks in several different ways. Tasks Views is a great way to display and track all your Tasks in several different ways. Take a look at Tasks Overview to see what tasks are and all the features included. In this article, ...Task Reports
Track and analysis all your tasks with the Task Reports view. The Task Reports view has some great ways to track and analysis all your tasks on one helpful page. In this article, we’ll be explaining: How to get to the reports page What reports there ...