Form Builder
The form builder is where you can design and edit your forms in Array. The form builder also contains all the information for that specific form such as any submissions and all the sharing option.
In this article, we'll be showing you:
- Our Form Builder
- An overview of the tabs – Create, Share, Connect and Results
- Location of features
Our Form Builder
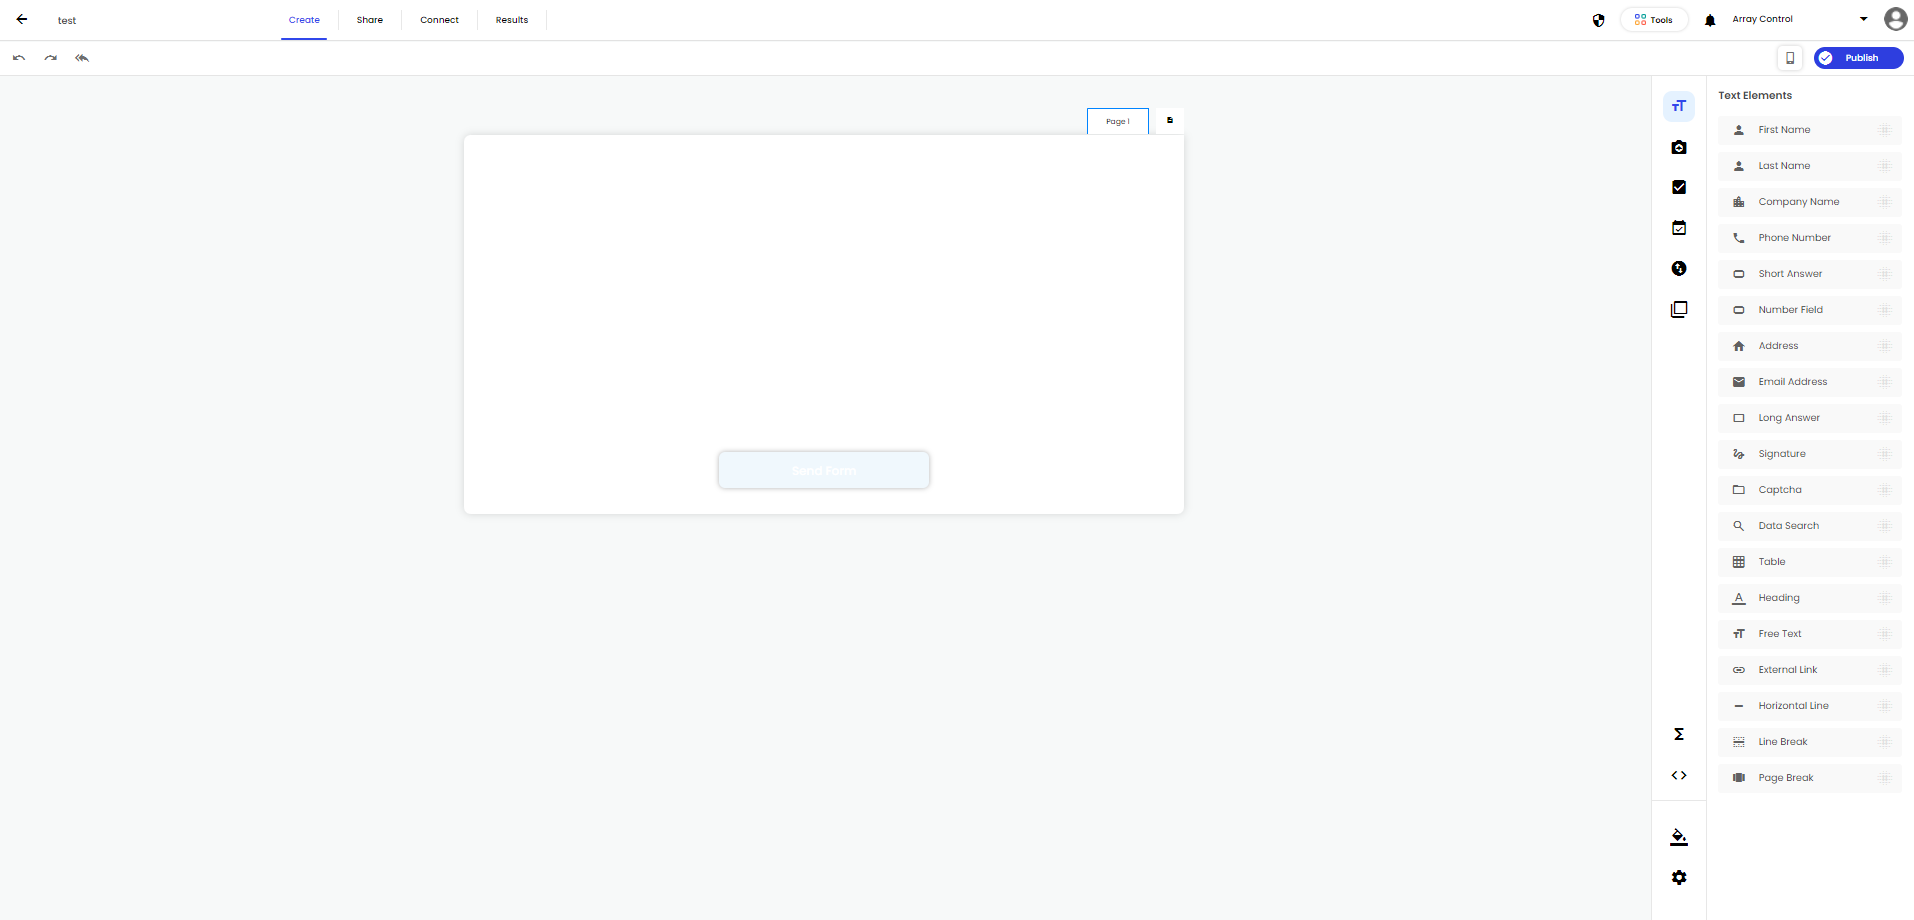
When you design a new form or edit an existing form, you will do so through our form builder. Once you click on your new or existing form, the form builder will load up on the 'Create' tab

‘Create’ is where you create and design your form. Our form builder uses the drag and drop system with the elements from the toolbox.
The Tabs
At the top of the form builder you have several options on this form - Create, Share, Connect and Results.

Share
When you click on Share you will be shown the sharing options on this form in the top right hand side. The tab options are:
Public Settings - this includes the options for URL Redirect, Passwords, Logo, Complete Text, Button Alignment and Analytics Tracking ID.
Email - this tab allows you to share the form via Email
Link - this includes the public link and the QR code. You can also share the form straight to your social media accounts.
Embed - this option gives users the iframe and HTML codes.
Custom Link - this tab allows users to create a custom link for the form.

Take a look at Share on Form Builder support doc for a more detailed look at ‘Share’
Connect
When you click on the ‘Connect’ tab you will be shown how to connect your form with others, with apps or webhooks. The options on this tab are:
Automation – set up an email copy
Storage – Connect to storage apps we integrate with such as Google Drive
Webhooks – set up a webhook

Results
When you click on the ‘Results’ tab you will be taken to the submission view of any submissions made using this form.
Take a look at Results in Form Builder for more information on this page.
Features on the Form Builder
The form builder has loads of features and setting built into it. Starting in the top left hand corner of the form builder is 'Undo', 'Redo' and 'Reload Last Published Version' buttons.

These will allow you to either 'Undo' and 'Redo' any changes they have made. If you wish to reset all unpublished changes to the form click on 'Reload Last Published Version' button.
Above these buttons are the 'Back' button and the form name

If you click the back button it will take you back to your list of forms. If you click on the form name you'll be able to change the name of the form.
If you wish to save the form you click on 'Publish' in the top right hand corner.

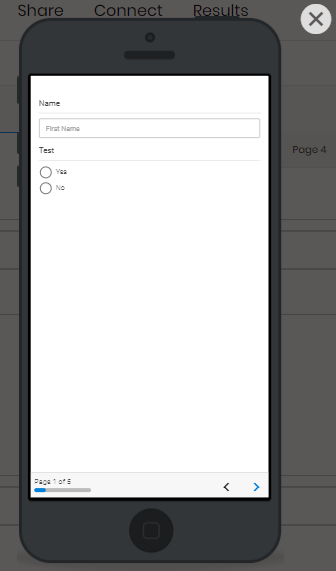
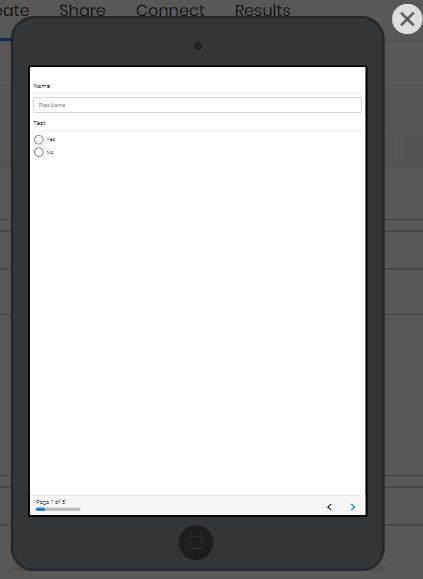
The button next to the 'Publish' button is 'Device Preview'. Clicking on this will allow you choose to view your form on a mobile or tablet preview. Only published form will display on the previews.
Mobile

Tablet

Above the form is the 'Add Page' button to add new pages to your form.

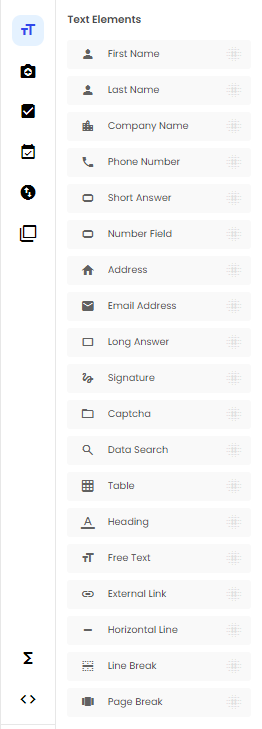
On the right hand side of the page is the toolbox, with several tabs full of different elements you can use to build your form.

When using the elements from the toolbox, each element has it own settings you can customise. When drag or highlight an element, the toolbox will change to the settings menu

On the left hand side of the Toolbox tabs is the 'Functions' tab so you can build in functions to your forms.
![]()
Under the functions tab is the 'Intelligence' tab
![]()
Under the intelligence tab is 'Theme' and 'Settings' icons.

Clicking on the 'Theme' icon will apply you to apply a theme to your form. Take a look at Form Themes support doc to see how to build a theme.
Related Articles
Form Settings
How to use the wider range of functions that can be found in the settings cog of your form. This section details how to use the wider range of functions that can be found in the settings cog of your form. These settings are designed to enable you to ...Edit an Existing Form
Editing a form is a task that will need to be done with information changes. Editing a form is a task that will need to be done with information changes, new data is needed or just you want to update your form. Doing this is a simple task and can ...Add a Link to a Form
Adding a link to a form could be used in multiple ways and can be great to link someone to an external source before they complete a form. Adding a link to a form could be used in multiple ways and can be great to link someone to an external source ...Signature
How users can include signature fields in their form. Forms built in Array can capture a wide range of data types, from photos and videos to barcodes and PDFs. In this article, we look how users can include signature fields in their form, converting ...Sections
Sections gives users a view of the sections that need completing before submitting the form. Sections can be used to change how users approach your forms by either selecting for them to collect sections rather than the more traditional pages. ...