Zapier Integration with Zendesk Sell
Maintaining and growing a healthy list of sales leads plays a pivotal role for any marketing team’s success. It provides the fuel to power your sales engine and keep the machine churning out paying customers. That’s why Zendesk Sell CRM was among the first apps we chose to integrate with our core Array product.
In this article, we'll be showing you how to:
- Set up Zapier
- Set up a Trigger
- Set up an Action
- Connect your Array account to Zendesk Sell
- Add information to Zendesk Sell using a Array form
- Send documents and media files to Zendesk Sell from Array
How to set up Zapier
If you would like to get started using Zapier, click the link here to locate to Array/Zapier setup.
You will need to ensure you have a Zapier account set up. Visit Zapier's login page to set up your account
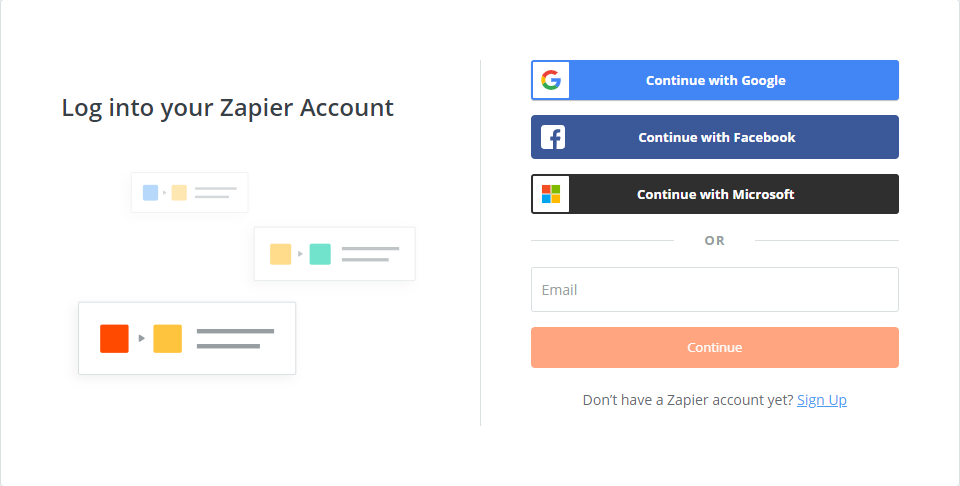
If you have an existing account then login with your details.
Once you have created an account the integration is set up and you can begin to set up your Zaps in Zapier.
Setting up a Trigger
First, start by signing into your Zapier account.
Either navigate to the admin dashboard of your account on the left hand side menu and click on 'Zaps'
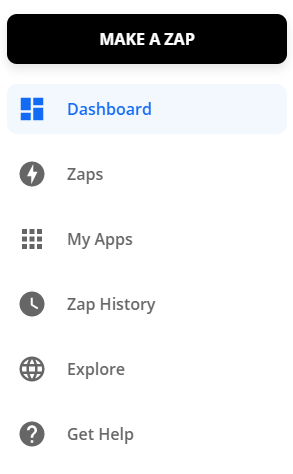
Or select the large 'Make a Zap' button to begin.

You will be taken to a page where it will show you all applications you have linked to your account.
This is where we begin. Zapier will walk you through each step so you can set up your zaps correctly.
If Array is not linked to your Zapier account begin by searching for Array and adding your account. This is what Zapier call a 'Trigger App' to start the process.

You are then directed to choose a trigger that will cause your new Zap to happen. This could be when a form is submitted or if you want the process to occur after administration of your submission, you may want to start the Zap when a form is updated.
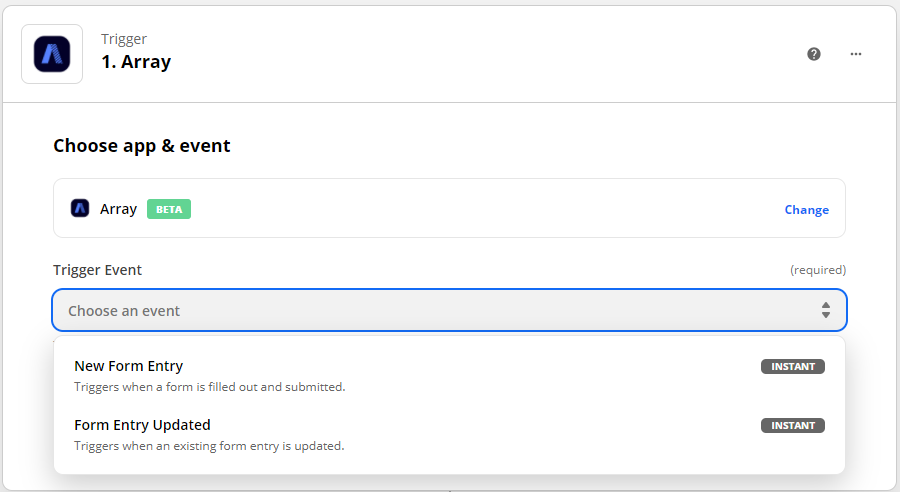
For this example, we have selected 'New Form Entry'

Now you will need to sign in to your Array account by clicking on 'Sign in to Array'

A pop up window will appear to put your log in details in.

Now select the form that you would like the action to happen upon. You can either search for the form or look at the drop-down that is produced.
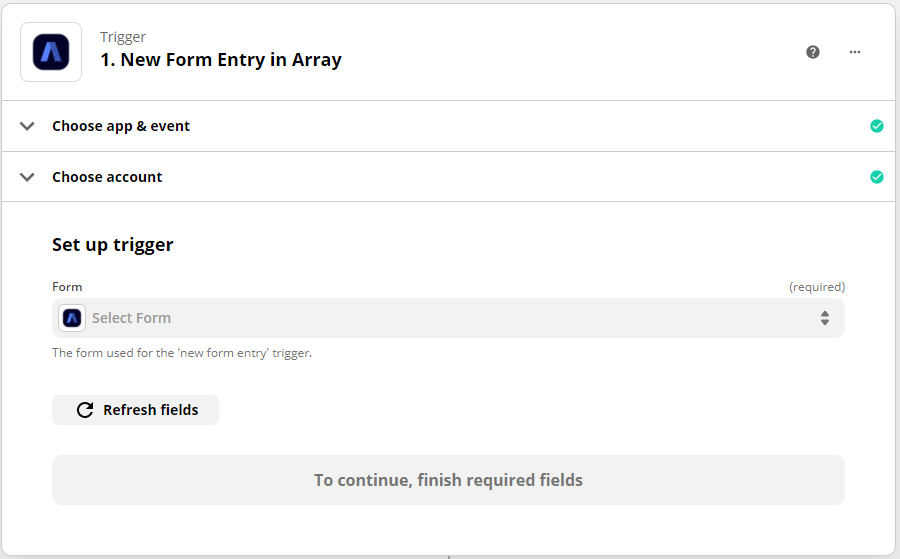
If your form is not shown, select the 'Load More' button to load more.

If this does not work, you can use the advanced feature to locate your form with the Unique ID produced at the end of the form URL. To understand this more follow the doc here.

You need to ensure at least one submission of the form has been completed on Array for Zapier to pick up and test the form itself.

Once this has been successful you will move onto the application you want to connect with in exactly the same manner, expect you will be choosing what you want to happen to that submission/data on that form. This is called the 'Action'.
Setting up an Action
Firstly, Select your Action Application. If you have not already linked any to your account this is where you will be asked to do so. You will be provided with a long list of apps to choose from as well as built-in software you may already use. Either search for the application in the search bar or scroll the page to see what apps are available.

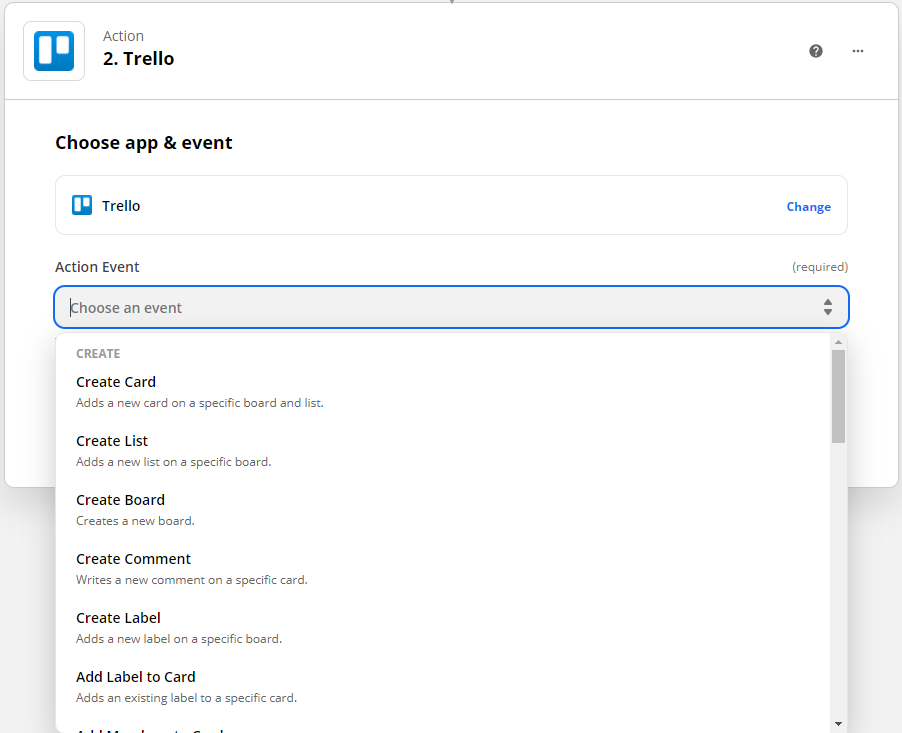
In this example, I shall choose Trello.
Next stages you are asked what you want the action to be. You will see on Trello you have a few options but this could range from anything to set up a calendar event with the specific date on the form to sending specific data on the form to Asana or another CRM. There are hundreds of actions and depending on the app/software will depend on the Zaps that can be performed.
Here for Trello I have the option to Create a new List/Board/Card and more or search for Find Board/Find Member/Find Card and more. Depending on your action will depend which one you choose. each has a description so can be understood easily.
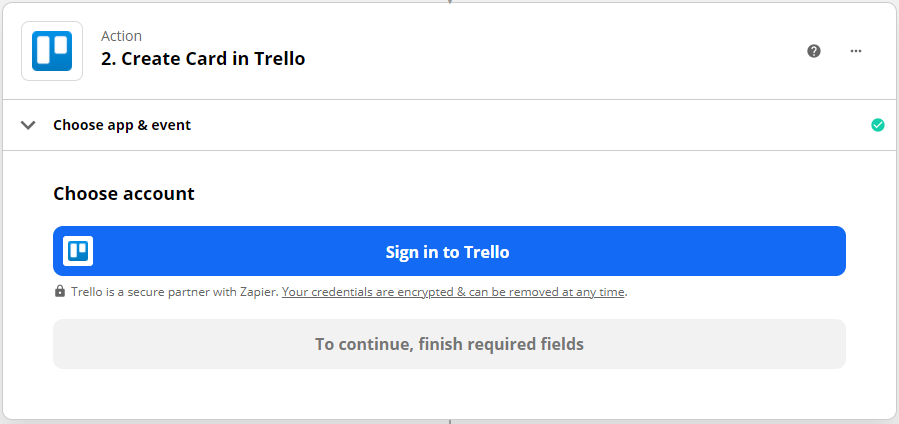
Once you have chosen your action to perform you will be asked to link your account so Zapier has access to send the data to. This will run a quick test to ensure it has access and you can continue.
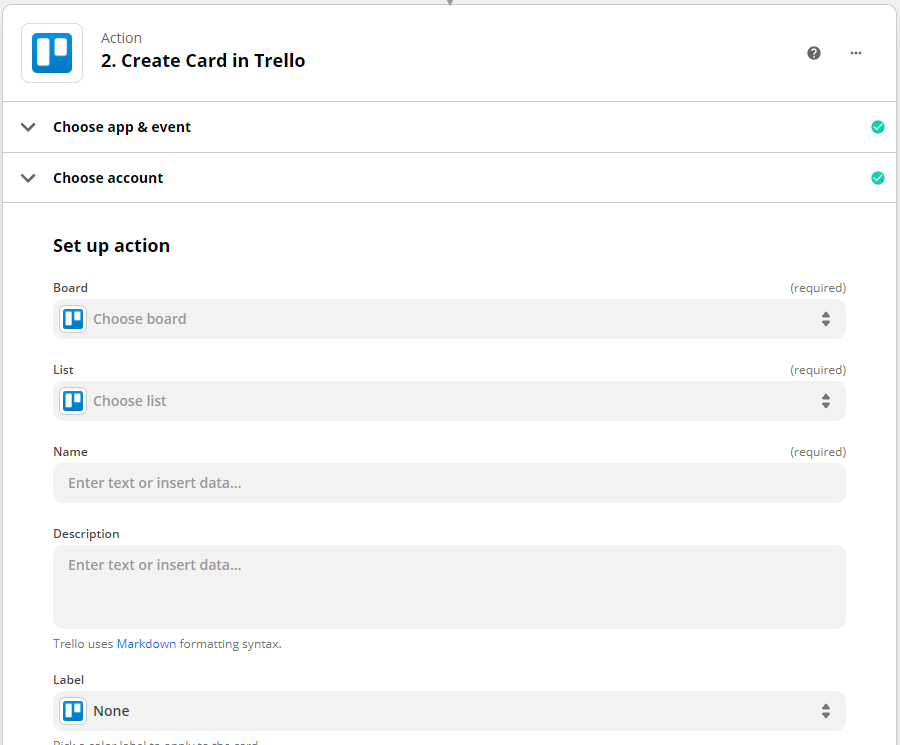
Once linked you will be asked to select what/where you want that data to go. There will be a number of options here and some will be mandatory and others will not depend if you want that information to be passed over. Each Zap will have its own criteria here.
You will then again be asked to confirm the steps in tis action and complete a test which will send a test to your desired location just like it was an action.
Once completed, Click finish, Ensure your Zap has a name and you will be all good to go. Just sit back, relax and watch the magic happen with all those submissions!

Once you have a few Zaps in place its time to start submitting forms and watching the magic happen. Zapier not only frees up valuable time you need for other tasks but it takes the worry of mundane tasks away so you can focus more on what does need to be completed.
What is Zendesk Sell?
Zendesk Sell is a customer-relations management software focused on optimizing the sales pipeline of a growing business. Users can add clients and potential buyers to their database, allowing them to keep track of relevant information. Not only does Zendesk Sell store basic information such as a lead’s name, company, email, phone number, or address, but it can also take notes about conversations you’ve had with your clients, their concerns and satisfactions with your service, and the dates of your last correspondences.
If you don’t already have a Zendesk Sell account, you can create one here.
Integrating Zendesk Sell
Once you’ve created an account with Zendesk Sell, you’re able to connect it with Array. First, visit our Array Market and search for the Zendesk Sell integration. (You’ll be able to peruse our other integrations here as well.) The Market can be found through the “Installed Apps” panel found in the navigation bar at the top of your account.

Alternatively, you can go straight to the Zendesk Sell integration page by following this link.
Next you’ll need to activate the integration, which you can do by clicking the “Install” button.
A popup screen asking for your Zendesk Sell account credentials will appear. Enter your information so Array can access your Zendesk Sell account.
You’ll now see your Zendesk Sell account listed as being attached to Array. To connect another account, click the “Add Zendesk Sell CRM account” button.

Disconnecting Zendesk Sell
To disconnect your Zendesk Sell account from Array, click the X to the right of the account email. Be aware that any forms with fields that use the Zendesk Sell integration will stop working properly.
Capturing Information
Now that you’re all setup, you can add special fields to your Array forms that will automatically share the responses with Zendesk Sell.
Start by navigating to the Form Builder to create or edit a form as you usually would, then open the “Integrations” tab. Here you’ll see three options: add lead, add contact person, and add contact company.
Each of these represents a different piece of information that you can save to Zendesk Sell. Unlike a typical data field in a Array, these responses are stored on the Array database and in Zendesk Sell itself. With each completed form that’s submitted, the information related to the new lead, contact person, or contact company will appear in your Zendesk Sell account.
Pay attention to the fact that adding one of these special fields will actually create several fields in your form. For example, the “Add Lead” field creates fields for the lead’s name and title, the name of their organization, and their email, phone number, and address.
You can delete these extra fields as you please. Look for the Base logo to determine if the field is associated with the integration.

Data Search
The Zendesk Sell integration actually works in both directions, meaning you can retrieve data just as easily as you can send it. This works great in situations where a respondent’s information may already be saved in your Zendesk Sell database. Searching for their name will auto-populate the form with their information.
To implement data search, open the “Text Input” field in the form builder. On the bottom you’ll see a “Data Search” option. Drop this into your form and you’re all set — a live search option will appear in the finished form.
Two-Way Sync
In addition to simply creating new leads in Zendesk Sell, you can also update existing contacts or add file attachments.
To implement two-way sync, click on the Zendesk Sell option in the popup menu that appears after dropping a new data search field onto a form.
You’ll then be asked to make two choices:
1. Responses update record on Zendesk Sell
This is asking if you would like submissions entered via your Array form to overwrite existing data in Zendesk Sell? For example, if someone already in your Zendesk Sell database completes the form using a different phone number from the one currently saved in Zendesk Sell, would you like the new number to replace the old one?
2. Attach responses to Zendesk Sell record
This determines whether you’d like CSVs, PDFs, or other file types to be attached to the contact’s information in Zendesk Sell. You can select as many of these options as you’d like. A PDF would be a copy of the entire Array form, whereas an image would only include any image files submitted within the form itself.
Related Articles
How to set up an Integration
Ways to set up different Integrations. Connect Via Array Market To view all of the Array integrations, you can visit the Array Market. You can also use the search bar at the top of the page to look for specific integrations. You can then press ...Zapier Integration
Zapier is an automation tool that will bolt onto existing software and perform day to day, repetitive, mundane tasks. With Array releasing our integrations, it opens up a whole new world of opportunities for automation between existing software that ...Zapier Integration with Evernote
Evernote is a cloud-based workspace to write, collect, share, and present your business or personal notes. Array is great at capturing and interpreting data, but that’s only one aspect of any workflow. Often, teams will use a one-stop workspace such ...Zapier Integration with Dropbox
Dropbox is great for centralizing a team or company’s valuable documents. Dropbox is great for centralizing a team or company’s valuable documents, but sometimes it can be difficult to make sense of everything later. With Array’s Dropbox integration, ...Zapier Integration with MailChimp
A healthy, engaged email mailing list is a marketer’s favorite asset. A healthy, engaged email mailing list is a marketer’s favourite asset. It provides a direct line of communication with a body of customers who’ve already expressed a willingness to ...