Zapier Integration with Dropbox
Dropbox is great for centralizing a team or company’s valuable documents, but sometimes it can be difficult to make sense of everything later. With Array’s Dropbox integration, users can still store all their files and media documents in Dropbox, but with the added benefit of Array’s form structure. The integration also allows you to quickly scan a Dropbox account for spreadsheet files and easily pull relevant data into a form.
In this article, we'll be showing you how to:
- Set up Zapier
- Set up a Trigger
- Set up an Action
- Connect your Array account to Dropbox
- Send documents and media files to Dropbox from Array
- Create a spreadsheet in Dropbox from within a Array form
- Save a PDF backup of Array response forms in Dropbox
- Populate a Array form with information from Dropbox
How to set up Zapier
If you would like to get started using Zapier, click the link here to locate to Array/Zapier setup.
You will need to ensure you have a Zapier account set up. Visit Zapier's login page to set up your account

If you have an existing account then login with your details.
Once you have created an account the integration is set up and you can begin to set up your Zaps in Zapier.
Setting up a Trigger
First, start by signing into your Zapier account.
Either navigate to the admin dashboard of your account on the left hand side menu and click on 'Zaps'
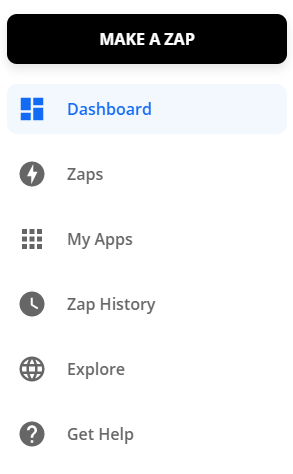
Or select the large 'Make a Zap' button to begin.

You will be taken to a page where it will show you all applications you have linked to your account.
This is where we begin. Zapier will walk you through each step so you can set up your zaps correctly.
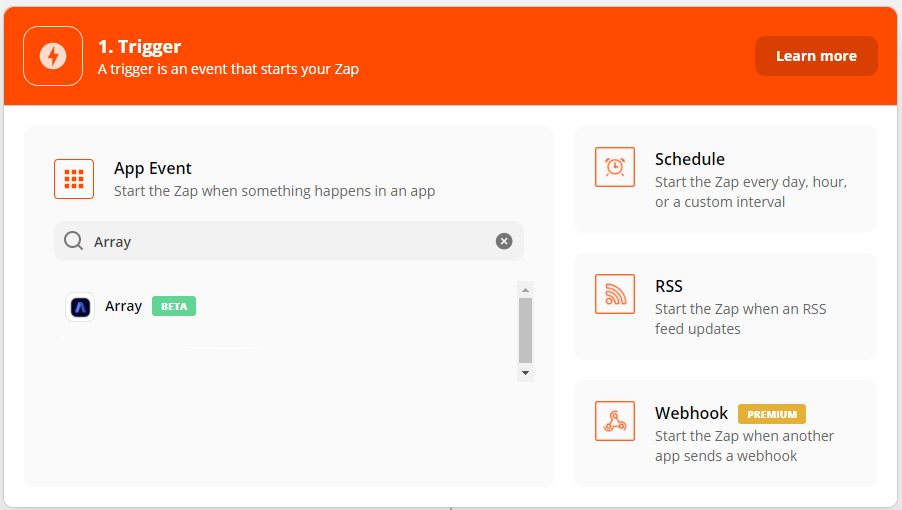
If Array is not linked to your Zapier account begin by searching for Array and adding your account. This is what Zapier call a 'Trigger App' to start the process.
You are then directed to choose a trigger that will cause your new Zap to happen. This could be when a form is submitted or if you want the process to occur after administration of your submission, you may want to start the Zap when a form is updated.
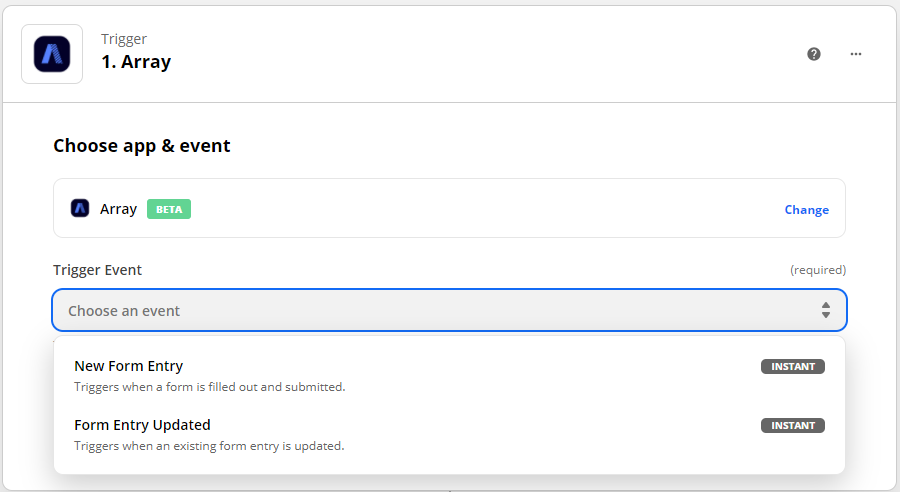
For this example, we have selected 'New Form Entry'

Now you will need to sign in to your Array account by clicking on 'Sign in to Array'
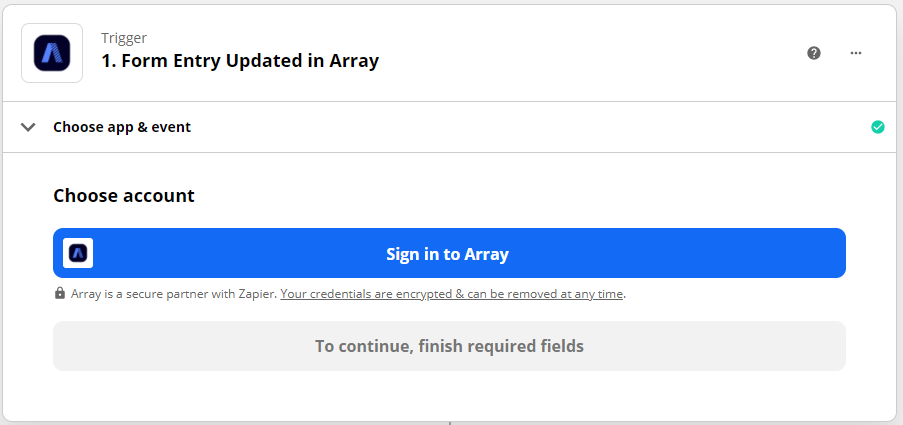
A pop up window will appear to put your log in details in.

Now select the form that you would like the action to happen upon. You can either search for the form or look at the drop-down that is produced.
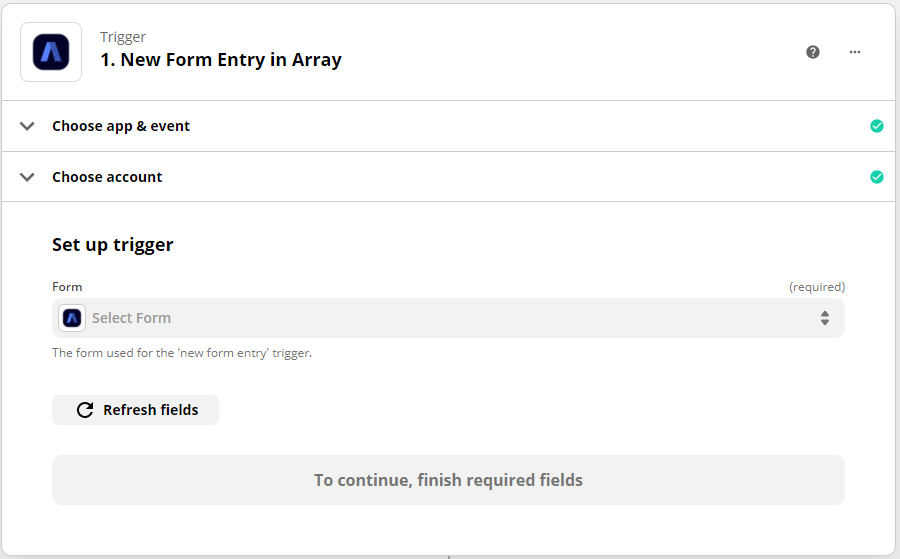
If your form is not shown, select the 'Load More' button to load more.

If this does not work, you can use the advanced feature to locate your form with the Unique ID produced at the end of the form URL. To understand this more follow the doc here.

You need to ensure at least one submission of the form has been completed on Array for Zapier to pick up and test the form itself.
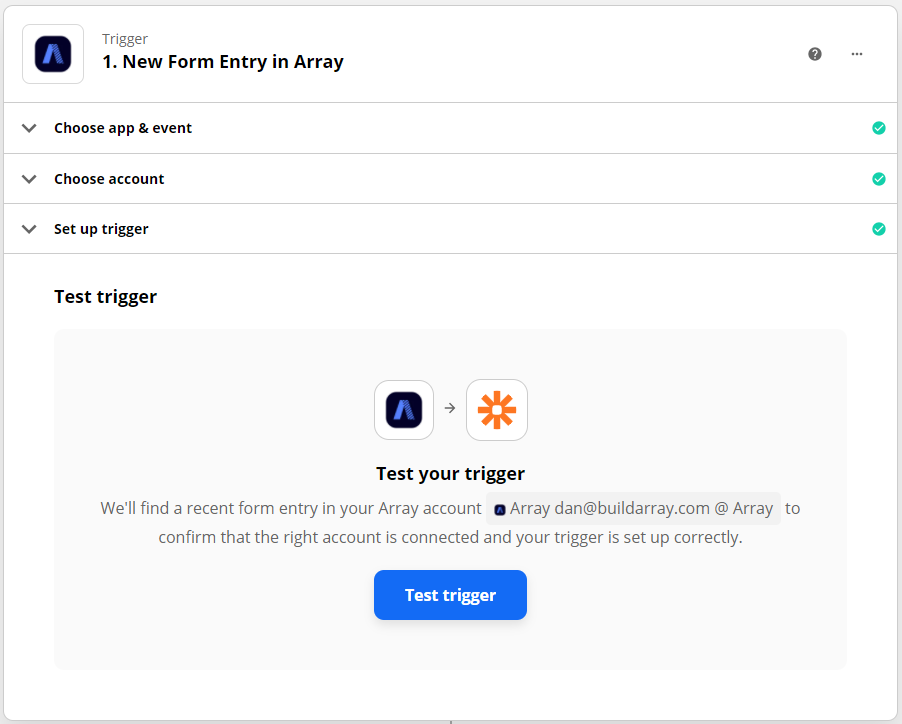
Once this has been successful you will move onto the application you want to connect with in exactly the same manner, expect you will be choosing what you want to happen to that submission/data on that form. This is called the 'Action'.
Setting up an Action
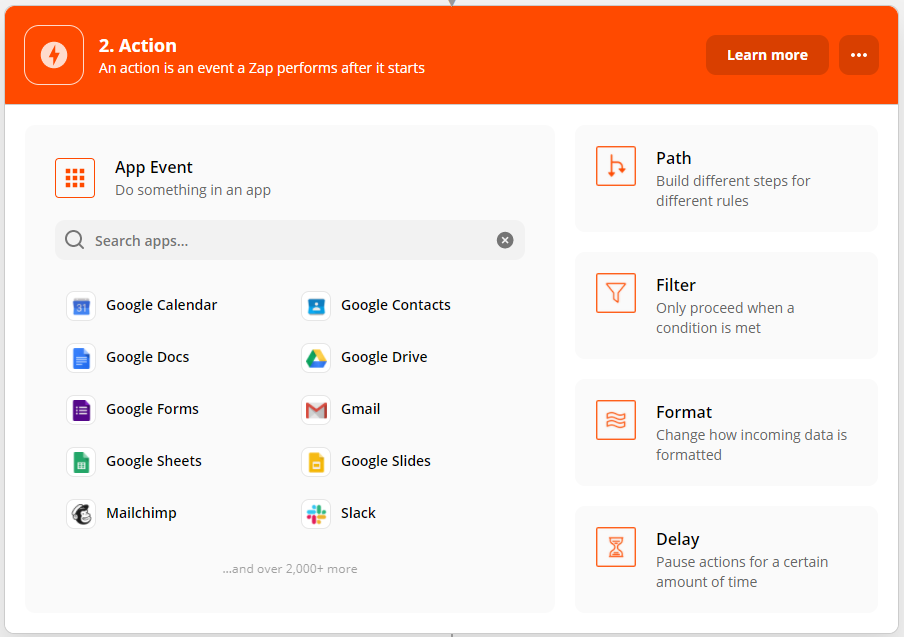
Firstly, Select your Action Application. If you have not already linked any to your account this is where you will be asked to do so. You will be provided with a long list of apps to choose from as well as built-in software you may already use. Either search for the application in the search bar or scroll the page to see what apps are available.
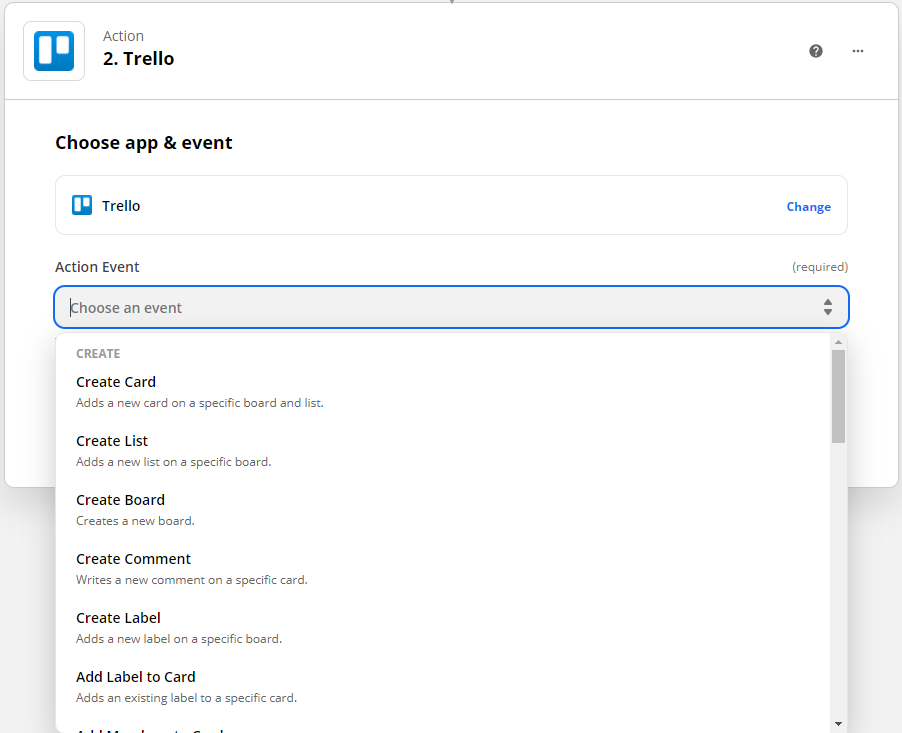
In this example, I shall choose Trello.
Next stages you are asked what you want the action to be. You will see on Trello you have a few options but this could range from anything to set up a calendar event with the specific date on the form to sending specific data on the form to Asana or another CRM. There are hundreds of actions and depending on the app/software will depend on the Zaps that can be performed.
Here for Trello I have the option to Create a new List/Board/Card and more or search for Find Board/Find Member/Find Card and more. Depending on your action will depend which one you choose. each has a description so can be understood easily.
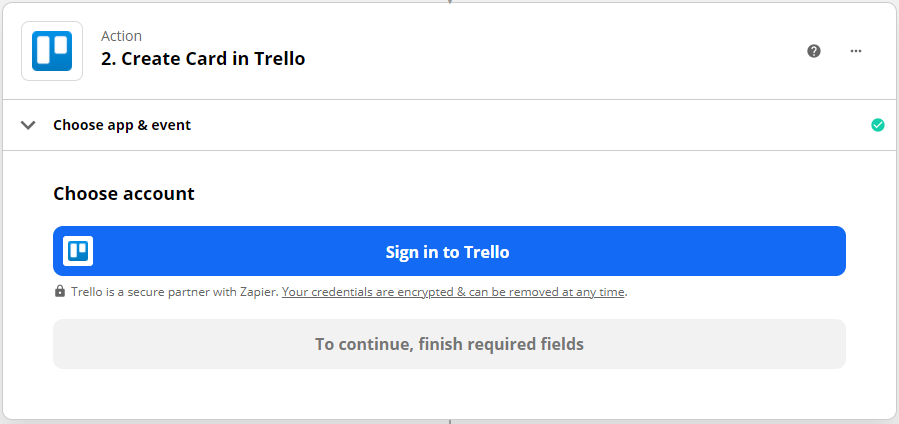
Once you have chosen your action to perform you will be asked to link your account so Zapier has access to send the data to. This will run a quick test to ensure it has access and you can continue.
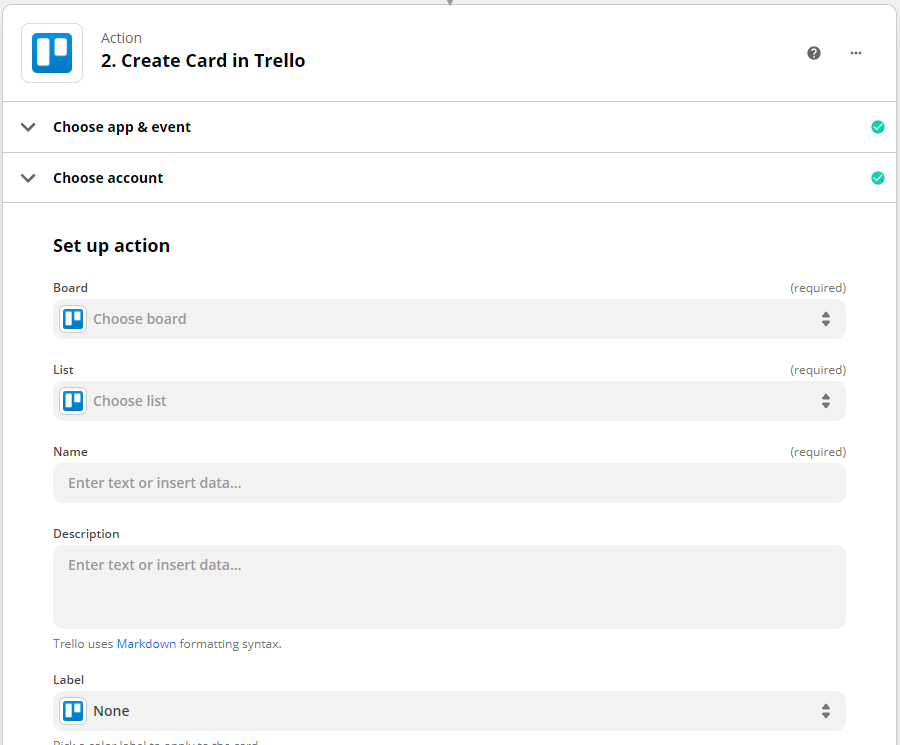
Once linked you will be asked to select what/where you want that data to go. There will be a number of options here and some will be mandatory and others will not depend if you want that information to be passed over. Each Zap will have its own criteria here.
You will then again be asked to confirm the steps in tis action and complete a test which will send a test to your desired location just like it was an action.
Once completed, Click finish, Ensure your Zap has a name and you will be all good to go. Just sit back, relax and watch the magic happen with all those submissions!
Once you have a few Zaps in place its time to start submitting forms and watching the magic happen. Zapier not only frees up valuable time you need for other tasks but it takes the worry of mundane tasks away so you can focus more on what does need to be completed.
What is Dropbox?
Dropbox is a cloud storage service that makes it easy to access your critical documents no matter where you are. It provides a great backup to locally-stored files, or it can be used as a centralized location for shared documents across a team.
If you don’t already have a Dropbox account, you can create one here.
Integrating Dropbox
Once you’ve created an account with Dropbox, you’re able to connect it with Array. First, visit our Array Market and search for the Dropbox integration. (You’ll be able to peruse our other integrations here as well.) The Market can be found through the “Installed Apps” panel found in the navigation bar at the top of your account.
Alternatively, you can go straight to the Dropbox integration page by following this link.
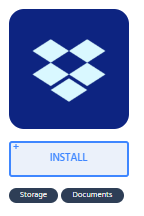
Next you’ll need to activate the integration, which you can do by clicking the “Install” button.
A login screen asking for your Dropbox account credentials will appear. Enter your information so Array can access your account.


You’ll now see your Dropbox account listed as being attached to Array. To connect another account, click the “Add Dropbox account” button.

Disconnecting Dropbox
To disconnect your Dropbox account from Array, click the X to the right of the account email. Be aware that any forms with fields that use the Dropbox integration will stop working properly.
Save Files to Dropbox
Often times, users will include media files — images, videos, etc. — as part of their Array form response. Forms can be set up to automatically send these files to Dropbox.
To send files to Dropbox, open the desired form and navigate to the 'Connect' at the Top of the Form Builder.

Next, head to the Storage tab and open the Dropbox option.

You’ll then be presented with a list of file types — just click the circle to the right of all file types you’d like to save in Dropbox.
Note that a form must include an upload field for the corresponding media type in order to send it to Dropbox. For example, if you’d like to save images to Dropbox, be sure to include the “Take Picture” field located in the “Media & More” tab of the Form Builder Toolbox.
A new folder will be created in your Dropbox account with the same name as your Array form. Each time a user submits a media file through Array, it will be added to this folder.
Create Spreadsheets in Dropbox
The Dropbox integration can also create new Excel or CSV files that automatically update to reflect each new form response submission.
The process for creating spreadsheets in Dropbox is very similar to that of saving media files. When viewing the file storage options, simply select either CSV, XLS, or XLSX.
You’ll now see a CSV or Excel file in your Array Dropbox folder. A new line will be appended to the bottom of these spreadsheets to reflect each new form submission received through Array.
Save PDFs to Dropbox
Finally, the Dropbox integration can also save a PDF copy of each completed form, making it easier to provide context around your media files and spreadsheets. As with before, simply look for the PDF option in the file storage menu.
The next time you go to your Dropbox account, you’ll see a new folder has been created to store all PDFs.
Data Search
You can also use data search to quickly populate a Array form with data from any spreadsheet found in Dropbox. To utilize this feature, drag the “Data Search” field located under the “Text Input” tab onto your form.
This will launch the Search Data Link menu. Click the Dropbox option located in the Integrations tab.
Next, you’ll see a list of all the spreadsheets saved to your Dropbox account. Find the one you’d like to search from, then click the right arrow on the right side of the field.
Finally, you’ll have the option of choosing from each of the column titles in that spreadsheet. Select each of the fields that you’d like to be populated with your search results.
Related Articles
Zapier Integration
Zapier is an automation tool that will bolt onto existing software and perform day to day, repetitive, mundane tasks. With Array releasing our integrations, it opens up a whole new world of opportunities for automation between existing software that ...Zapier Integration with Evernote
Evernote is a cloud-based workspace to write, collect, share, and present your business or personal notes. Array is great at capturing and interpreting data, but that’s only one aspect of any workflow. Often, teams will use a one-stop workspace such ...Zapier Integration with MailChimp
A healthy, engaged email mailing list is a marketer’s favorite asset. A healthy, engaged email mailing list is a marketer’s favourite asset. It provides a direct line of communication with a body of customers who’ve already expressed a willingness to ...Zapier Integration with Google Calendar
The Google Calendar integration in Array makes it easy to add events to a team’s schedule regardless of its size. As an organization grows, it becomes increasing difficult to keep track of everyone’s schedule. In most cases, access to a centralized ...Zapier Integration with Zendesk Sell
Zendesk Sell is a customer-relations management software focused on optimizing the sales pipeline of a growing business. Maintaining and growing a healthy list of sales leads plays a pivotal role for any marketing team’s success. It provides the fuel ...