Stripe Payments
Taking payments is essential to any business. With Array's Stripe integration, users can now receive payments in Array forms with a one-click install. This means you can receive your usual bookings, reservations and appointments for your services, along with a seamless payment for that service - freeing up your time for more important things. This integration means that a user can sit back and let Array make one of the most stressful elements of running a business autonomous and stress-free.
In this article we explain how to:
- Connect your Array account to Stripe
- How to integrate the Stripe Payment method into your forms
- How to personalise your Stripe Payment method
What is Stripe?
Stripe Payment offers a brilliant payment method that works great in Array forms. Stripe actively works to protect your business from fraudulent charges and monitors suspicious transactions. Stripe it is a member of Payment Card Industry Data Security Standard (PCI DSS).
Stripe has battle-tested systems with high availability, compliant transparent uptime reporting, and can handle high transaction inputs - so if your business goes through a busy period, Stripe won't let you down.
Authorising a Stripe Payment Method to Your Array Account
To connect a Stripe payment integration into a Array form you will first need to visit the Array Market.
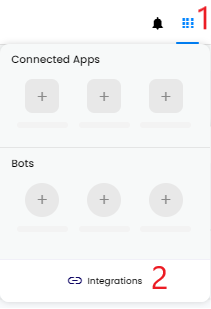
Click on the integrations and bot menu at the top of the page (1) and click on integrations (2)
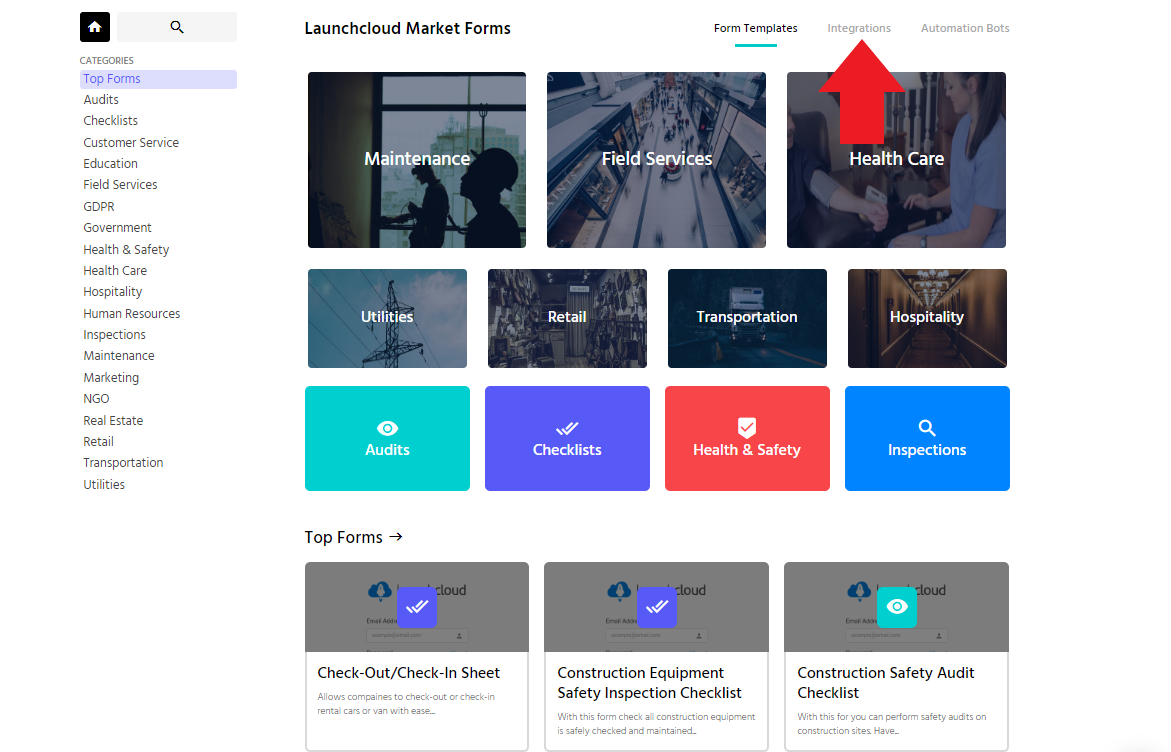
From here you select the Integrations option in the right-hand corner. This will take you to all of the available integrations that you can integrate into your forms.
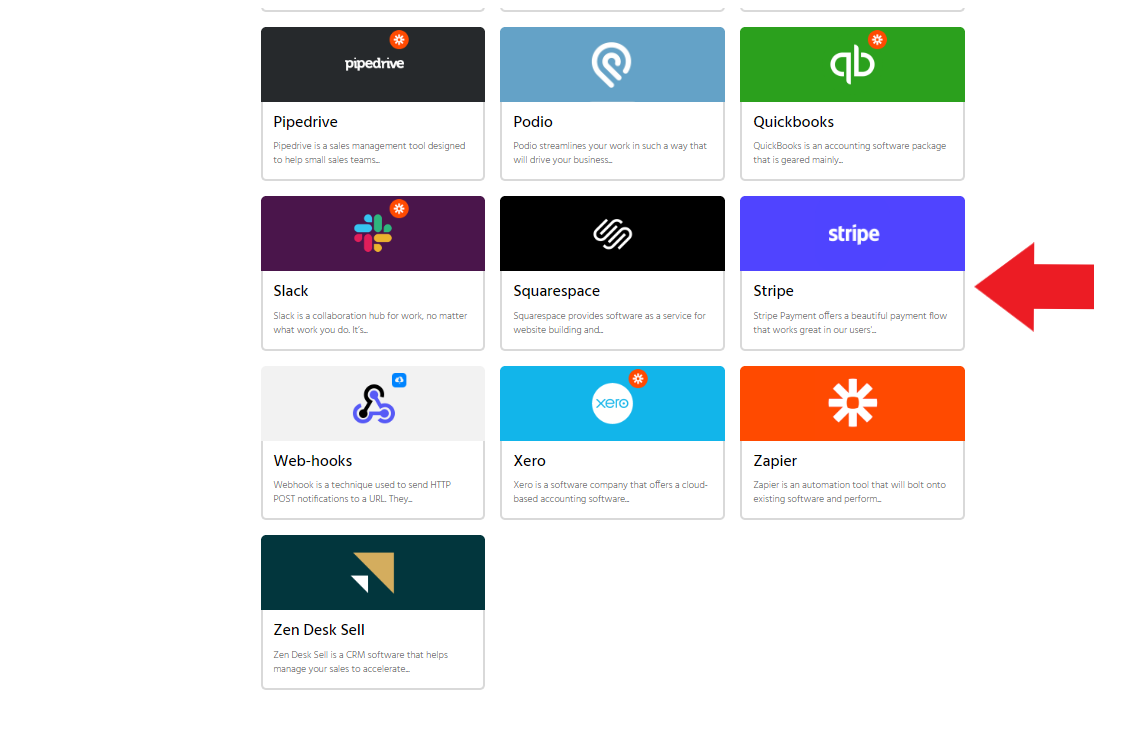
Once you have clicked through to the APPS page you simply select the Stripe App.
Next, you will need to add a Stripe verification to your Array account. Click ADD STRIPE ACCOUNT to continue.

Get your business bank account details ready - this page will require your information - this is so you can get paid. Alternatively, if you already have Stripe Payment account please sign in.
Once you have filled out all the relevant financial information, you will press the button that says (AUTHORISE ACCESS TO THIS ACCOUNT). Once you have done this you will be authorised to take Stripe payments in Launch Cloud.
Congratulations you have authorised the use of Stripe in your Array account. The next section will detail how you'll add the Stripe payment method into your forms.
Integrating Stripe Into Your Forms
Follow the same process as you usually would when creating a form. After you click the toolbox, click the Integrations category.
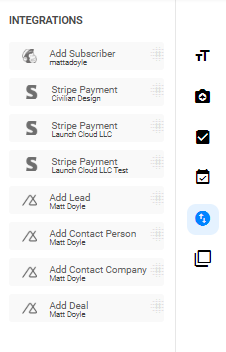
Next, drag and drop the Stripe Payment option where you would like it to appear in your form.
From here, after selecting the Stripe payment functionality, you can choose the currency that you would like your customer's payments to be made in. There is also an option to charge a transaction fee.
You may set a fixed amount of currency for the payments to be made in - alternatively another feature is the opportunity to link your Stripe payment with a product box or product boxes. The cost of your product and the quantity will be automatically totalled in the end payment amount. To find out more about Product Boxes click here.

Reports
Your reports will show all of your transactions, so there won't ever be a doubt in your mind whether a payment has been accepted or not.

How you view your transactions in your reports is up to you. You can even view them on your phone when you are on the go.

Video Tutorials

