Sections
Sections can be used to change how users approach your forms by either selecting for them to collect sections rather than the more traditional pages. Sections gives users a view of the sections that need completing before submitting the form.
In this article, we will be showing you how to:
- Change your pages to section
- Edit your sections
- How it displays in Web Forms
Changing your form to Sections
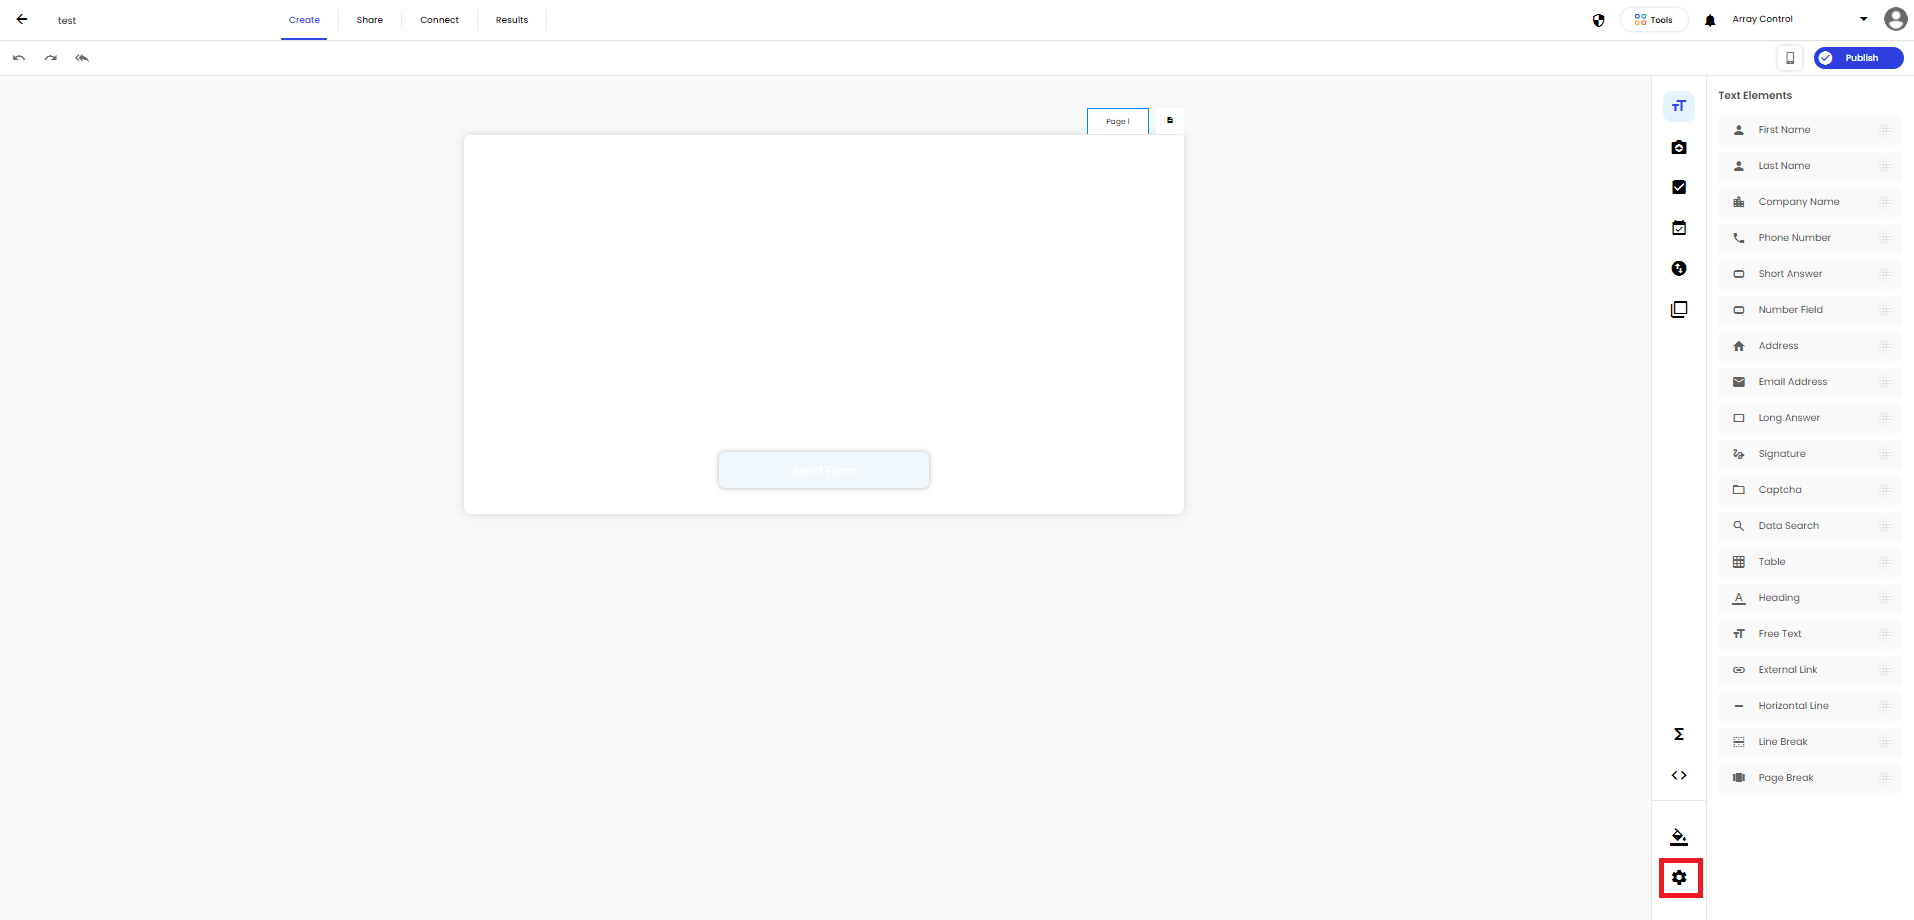
To change your pages to sections, you need to be on the form you wish to change. Go to the form settings by clicking on the cog icon in the bottom right hand corner.

The form settings will appear as a popup window. In the form settings, scroll down to ‘Pages’ and click on the dropdown menu.

Select ‘Sections’ and then click ‘Save’ at the bottom of the popup window.

Once you have clicked ‘Save’ you will notice the ‘Page 1’ tab at the top of your form builder will now have a pencil icon.

Edit your sections
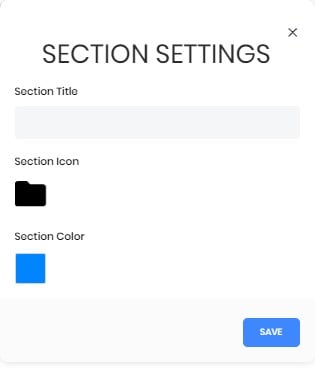
Your sections can have a separate title, icon and color. To edit your section, you will need to click on the pencil icon which can be found on the ‘Page 1’ tab at the top of your form builder.

Once you click on the pencil icon, a popup window will appear.

On this popup you can change the title, icon and color. Once you have changed all the details you wish to, click on save at the bottom of the popup window.
Sections in Web Form
Users will not notice any changes to the form builder that have sections or the mobile app. The changes will appear on the Web Forms.
When users go onto a form with sections, the user will see a sections page with the title, icon and color

Under the section name, users will either see optional or required.

Required means there are elements in that section that has been set to ‘Required’ in the form builder. A progress bar will show how many of these elements the user have filled in.

Optional means there are no elements in that section that are set to 'Required' which results in no progress bar in the sections view.
Take a look at this section example form on your desktop by clicking here.