Docs (Pro Account)
Docs allows users to customize the output of their submitted forms by downloading and upload a word document template.
In this article, we’ll be showing you:
- Where to find Docs
- How to create a Doc or template
- Folders
- Uploading a template
- Downloading your submissions
If you have a Essential Account, please click here for our Doc (Essential Account) support doc.
Docs
Docs has its own separate section so you can see all your created docs.
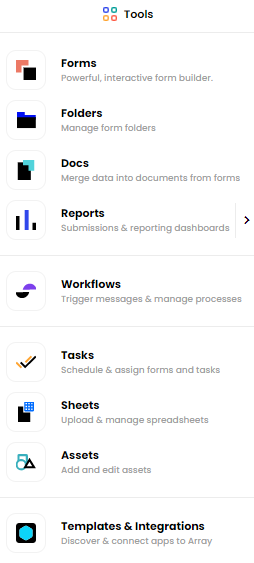
To get to Docs you’ll need to click on the 'Tools' dropdown menu in the top right hand corner of the page, next to your account name, and click on 'Docs'
On this page you will see all your current folders.
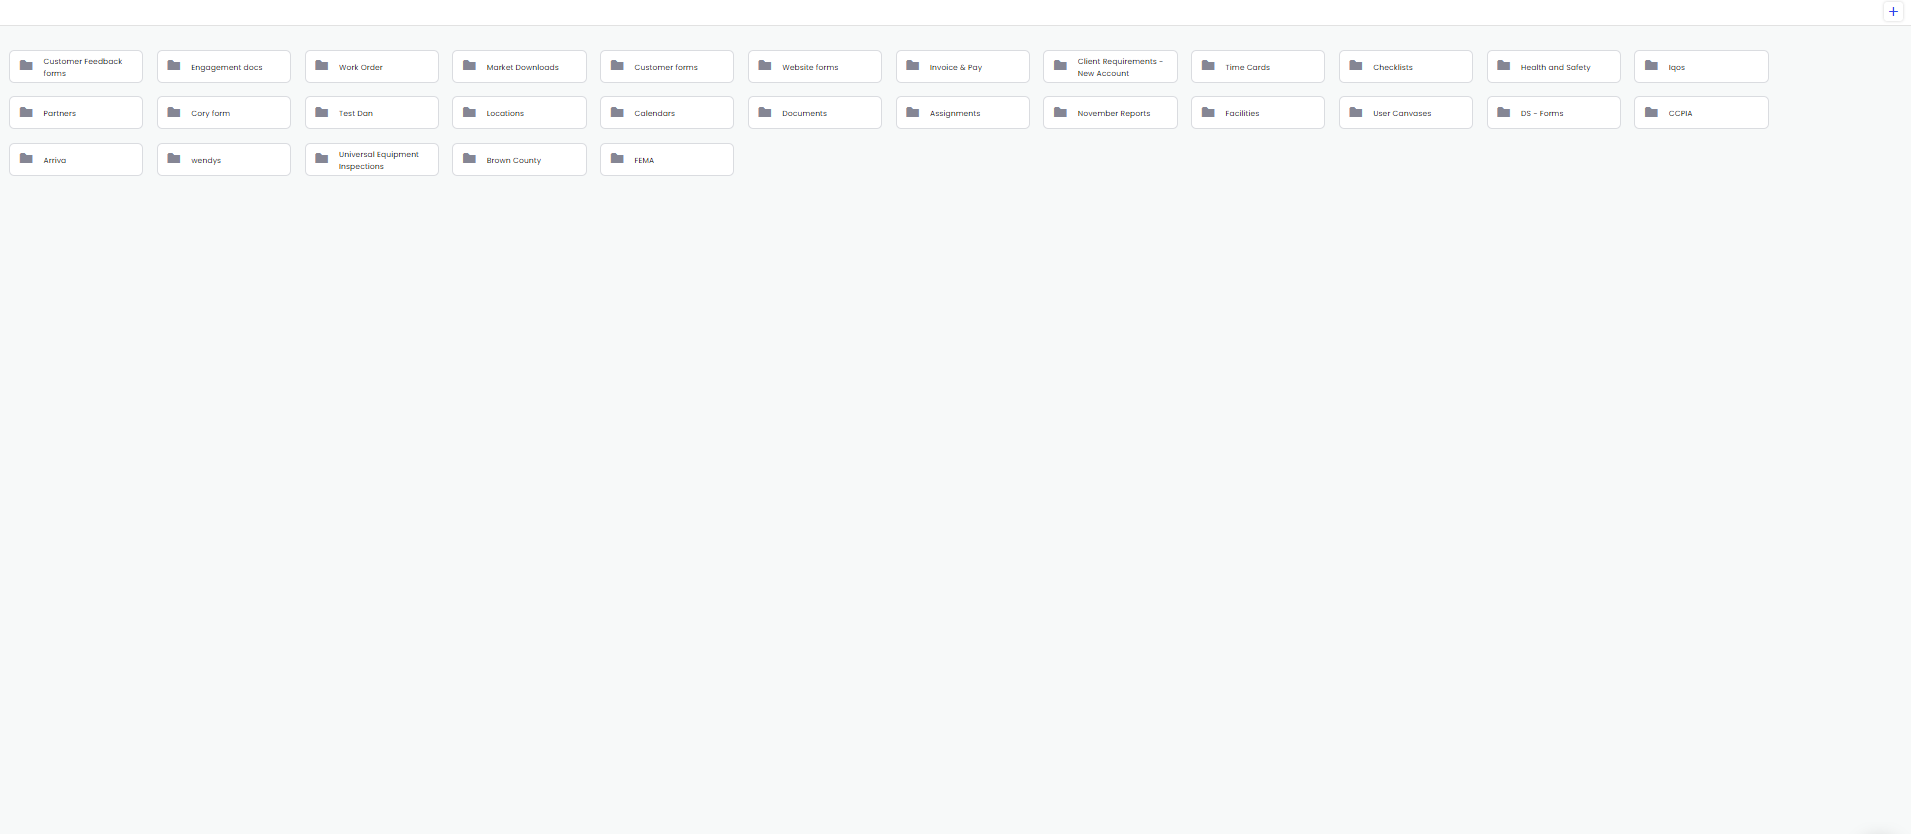
You will need to select what folder you wish to add your doc into.
Once in a folder, this page will allow you to upload a new file, create a template and edit existing docs.

Creating a Doc or template
To create a Doc or template, on the Doc tab use the Plus button in the top right-hand corner.
![]()
A drop down menu will appear and you will need to select whether to use 'Add PDF Doc' or 'Add Word Doc'
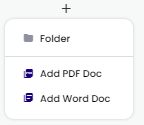
If you select 'Add PDF Doc' you will be presented with this pop up window
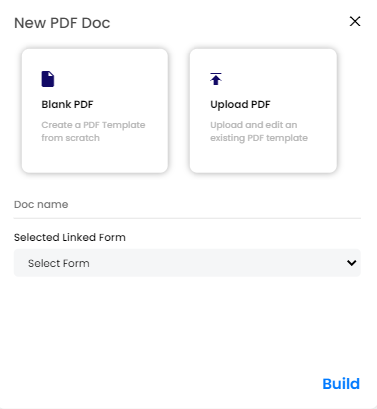
You will have the options to start with a 'Blank PDF' or 'Upload PDF'. You will need to give your Doc a name and it you wish to link it to a form.
Once you have selected all of your options click ‘Build’ at the bottom right hand corner of the pop up window.

If you click on 'Add Word Doc' you will be presented with this menu
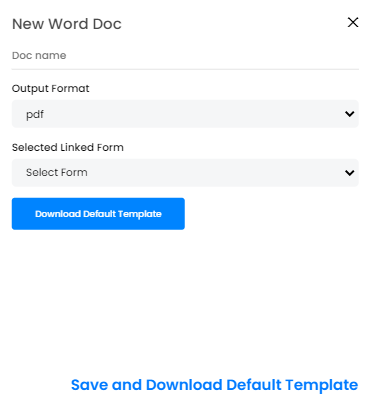
You will need to give your doc a name, select the output format and decide if you want to link a form to the doc.
Once you have selected all your options, click on 'Save and Download Default Template' button in the bottom right hand corner.

If you decided to link a form to the doc, after clicking 'Save and Download Default Template' button, it will download a default template with all the form markers on it.
Add PDF Doc
If you selected ‘Add PDF Doc’, our Document Designer will load up. If you uploaded a file, it will display this file for you to add to. If you started with a blank doc, you can use the Document Designer to build your doc. In this example, we have uploaded our ROI calculator we have previously created through our menu options.
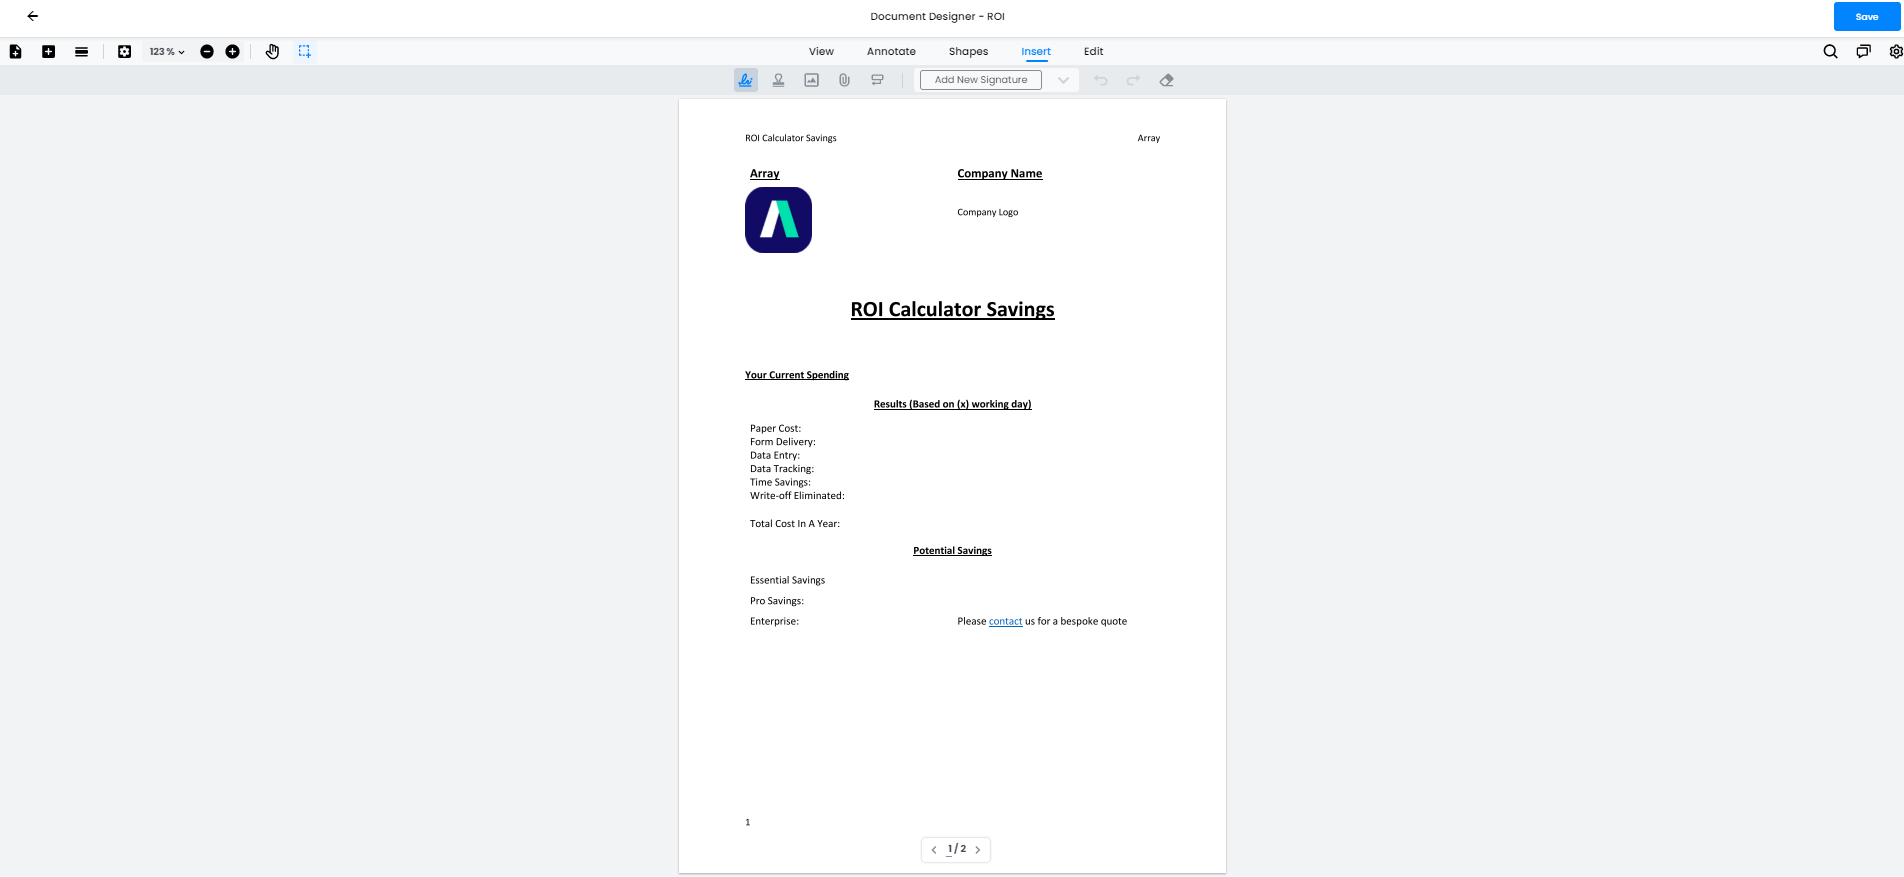
Once you have finished designing your doc, click ‘Save’ in the top right-hand corner of the page.
Your Doc will save on the Doc page so you will be able to edit it by clicking on the Doc.

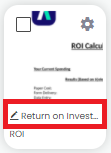
If you selected ‘Generate form from the document's fillable form fields (if any)’ slider when setting up your doc, you will be able to find your form by searching the name you have given your doc. Alternatively, you can click on the Doc Name next the pencil icon to take you to the linked form.
Add Word Doc
If you selected ‘Add Word Doc’, your newly created doc will appear on the Doc tab page

Your doc will be a standard word doc template with all the markers from your selected form. This can be downloaded on to your computer by clicking on the setting cog of the doc
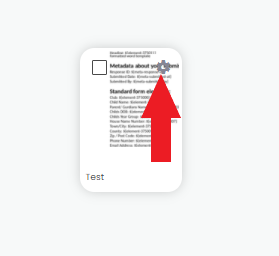
A pop up window we appear for this doc.
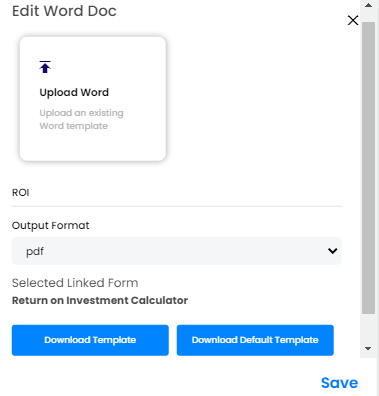
As it is currently the standard word doc, you can either select ‘Download Template’ or ‘Download Default Template’ to get the standard word doc template.
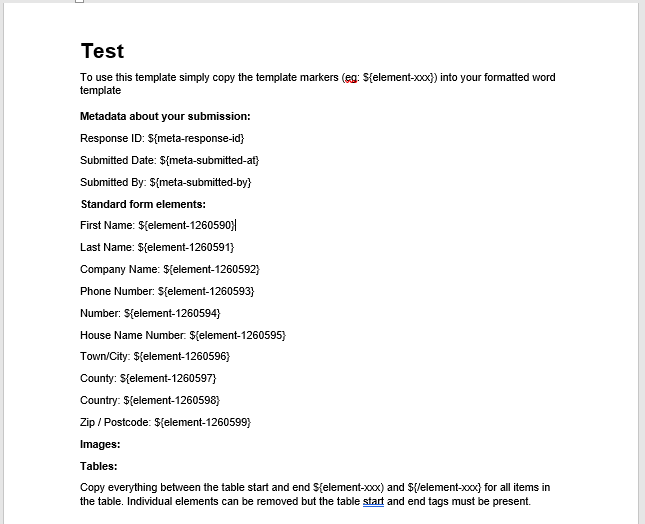
Once you have uploaded a customized word doc, ‘Download Template’ will download the most update customized word doc.
Also if you selected 'Download Doc Template' on the original set up window, this will give you the same word doc.
Select File
If you are looking to build a doc from a file, you can ‘Select File’ at the top of the Doc page.

This must be a PDF document. Once you click ‘Select File’, find your file, and click ‘Save’. Once you have selected your file, you will be given the option to generate a form from your file. Click ‘Yes’ to create your form.
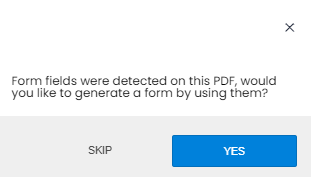
Next you will be taken to our Document Designer, which will show the file you have just uploaded to Array. In this example, we have used our ROI calculator we have previously created.

Once you have finished designing your doc, click ‘Save’ in the top right-hand corner of the page.
Your Doc will save on the Doc page so you will be able to edit it by clicking on the Doc.

If you created a form, this can be found by searching your file name as this is the name used for the form. Alternatively, you can click on the Doc Name next the pencil icon to take you to the linked form.

Folders
You can sort your docs into folder just like your forms. We start you off by adding in all your existing Folders and have put any of your docs already made assigned to forms in there correct folders.

To create a folder, click the Plus button on the top right-hand side underneath your folders.
![]()
Click on ‘Folder’ in the dropdown menu.

A pop up window will appear allowing you to name your Folder

Give your folder a name and click ‘Save’ in the bottom right hand corner of the pop up menu.
Now your folder will appear
You can either click on the folder and create new docs or templates inside the folder by clicking on the folder and clicking the plus button in the top right hand corner.
If you need to delete a folder, when you are on the Doc page with your folder, right clicking on your mouse will reveal ‘Delete’.

Clicking ‘Delete’ will delete your folder.
Uploading a template
If you have a template already created or you have just customized one of our templates, you can now upload this into Array so your form submissions can be downloaded in an output of your choose.
To upload your template, you’ll need to have created a doc already for your selected form. Find the form in the doc page and click on it. A menu will appear which will allow you to upload your template. Click the ‘Upload Word’ and find your template. Once you have uploaded your template, click save at the bottom right hand corner of the menu to save your template.

Downloading your submissions
Once you have uploaded your template, you’ll be able to download a submission into your output format. Click on Forms and find your selected form. Now click on submissions under the name of the form.

Now select a submission by ticking the checkbox.

You have the option to download your submission at the bottom of the page.

Click download and a menu will appear with all the download options. The named option will be your uploaded template.

Choosing this option and clicking download at the bottom of the menu will allow you to download your submission into a ZIP folder in your customized output template.
Deleting A Doc
If you do not need a page anymore you can delete them. To delete your page, find your page and click on the tick box.

Once a tick appears in the box the options to copy or delete your page will appear at the bottom of the page.

Click on 'Delete' and then delete on the following menu will delete your page.

Related Articles
Docs (Essential Account)
Docs allows users to customize the output of their submitted forms Docs allows users to customize the output of their submitted forms by downloading and upload a word document template. In this article, we’ll be showing you: Where to find Docs ...Subforms on Docs
Any subform on your forms can be easily displayed on a Docs output. A subform submitted within your forms can be displayed on your Docs templates so you can download them your way. In this article we’ll be showing you - How to find and display ...Logic on Docs
Logic can be applied to Docs so it can show and hide elements on your templates. If your forms have logic on them, you can display this on your Docs so the logic is applied to the elements on your templates and can hide or show depending on the ...Images on Docs
Any images on your forms can be easily displayed on a Docs output. Images submitted within your forms can be displayed on your Docs templates so you can download them your way. In this article we’ll be showing you - How to find and display images on ...Tables on Docs
Tables can be easily displayed and customized on your templates in Docs If your forms have tables on them, you can display them on a template with Docs and customize the table to the layout you would prefer. In this article we'll showing you How to ...