Assets
You can use our feature called Assets to keep a log of your company’s assets from tablets to vehicles.
In this article we will be showing you
How to create an asset form
Each of your assets will need an asset form. Your asset form will action as a folder for your assets, i.e. if you set up an asset form called ‘Tablet’, then you can create several tablet assets under the tablet form.
To do this you will need to start by creating a form. Take a look at Adding Folders and Form on how to do this.
Create your form with all the information you need for your asset i.e. a tablet asset form may need the device type, serial number and maybe a picture of the device.
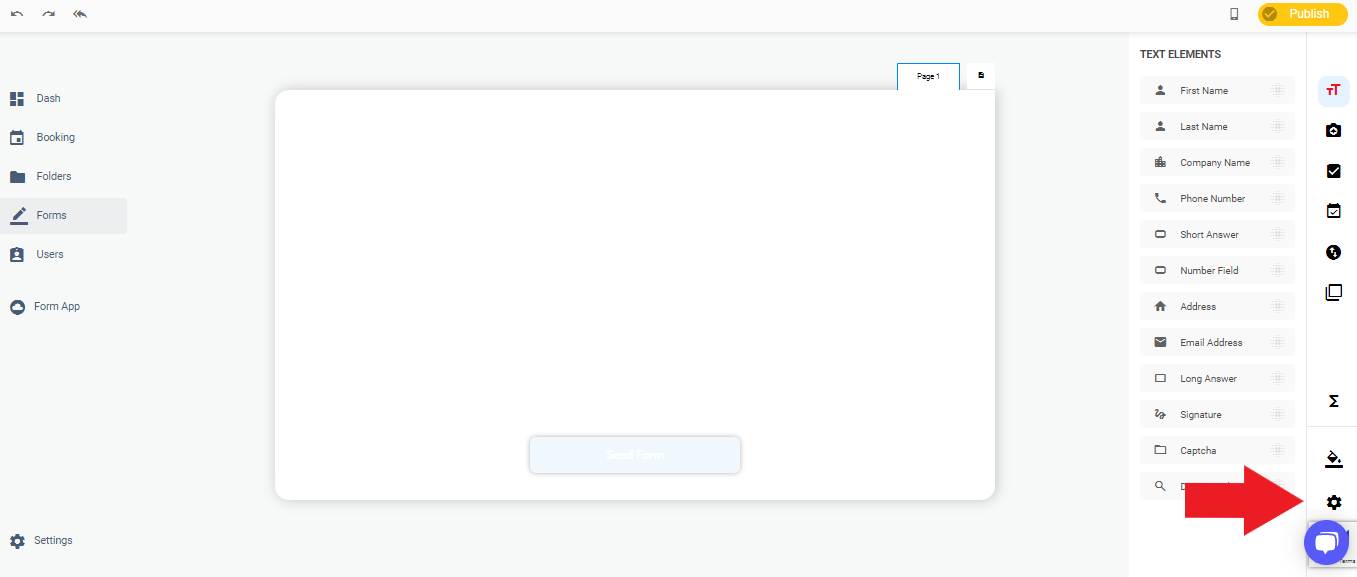
Once you have created the form, you need to make the form into an asset form. To do this, click on the settings cog in the bottom right hand corner
In this popup window, you need to change your form type from ‘Form’ to ‘Asset’
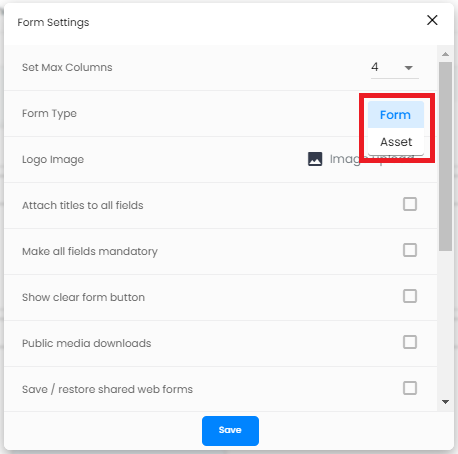
‘Logo Image’ allows you to assign a picture to your asset.
Once you have made these changes, click ‘Save’ at the bottom of the window.

Once you have made this change, click 'Publish' in the top right-hand corner

Where to find your assets
Once you have created the asset form, you will be about to find your assets by clicking on your profile in the top right hand corner of the page, next to your account name, and click on 'Users & Teams'
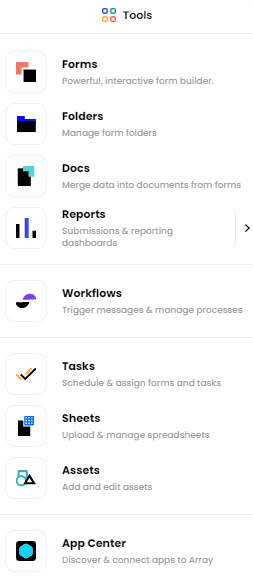
Once you click on ‘Assets’ it will take you to the assets page.
If your asset doesn’t appear hear, you will be able to add it by clicking on the plus button in the top right-hand corner
![]()
On the popup window, you can find your form and assign an image to the asset.
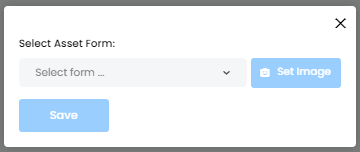
Once you have found your form and assigned it an image, click on ‘Save’ at the bottom of the window.
You can remove an asset by clicking the check box of the asset and clicking on ‘Remove Form From Assets’ button at the bottom of the page.
How to create assets
Now you have found your asset form on the asset page, you can click on it. You will now need to create assets under this assets form. The assets are essentially a submission of your asset form.
To create a new asset, click on the plus button in the top right-hand corner.
![]()
This will load up your asset form for you to fill in.
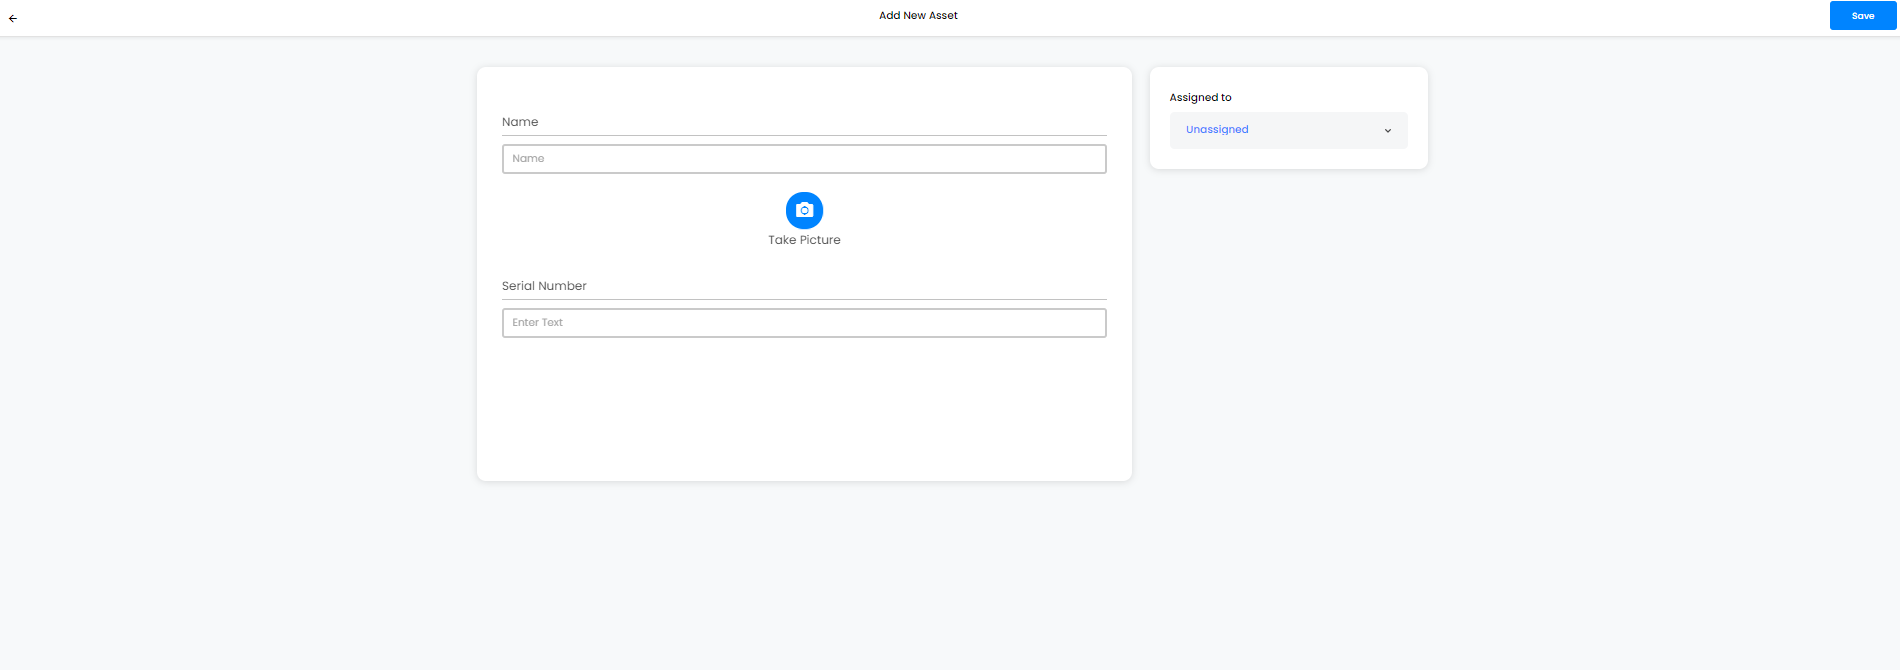
Fill in the information and click ‘Save’ in the top right-hand corner.
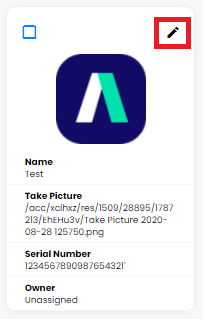
Your asset will now appear will all the information you have just entered. You can repeat this as many times as you need to, depending on how many of that asset you have.
You can edit the asset by clicking on the pencil icon in the top right-hand corner of the asset.
This will take you to the form view. Change the information and click on ‘Save’ in the top right-hand corner.
To delete an asset, click the check box of the asset and clicking on ‘Move to Trash’ button at the bottom of the page.
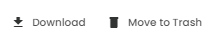
You can download all your assets by clicking on all or some of them check box and clicking ‘Download’ at the bottom of the page.
As mentioned, assets are submissions of the asset form so all the above can be found under ‘Results’ in the form builder as well.

How to assign an asset
You can assign your assets to teams or users in your Array account. To do this, find the asset you wish to assign and click on the pencil icon.
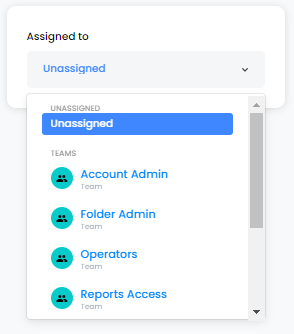
Next to the form view, you will see ‘Assigned to’
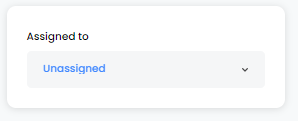
Click on the drop down to select your team or user.
Once you have selected your team or user and the information is correct on your form, click on ‘Save’ in the top right-hand corner of the page.
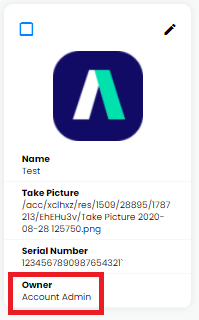
Once you have saved it, you will be able to see which assets are assigned to either a team or user.
To unassign a team or user, click on the pencil icon again. Go to the ‘Assigned to’ drop down and scroll to the top of the list and select ‘Unassigned’
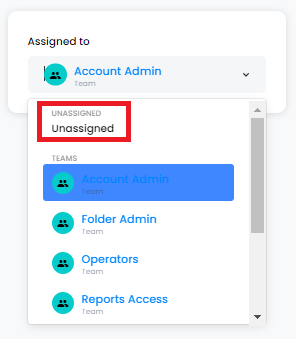
Click on ‘Save’ in the top right-hand corner to save your changes.